
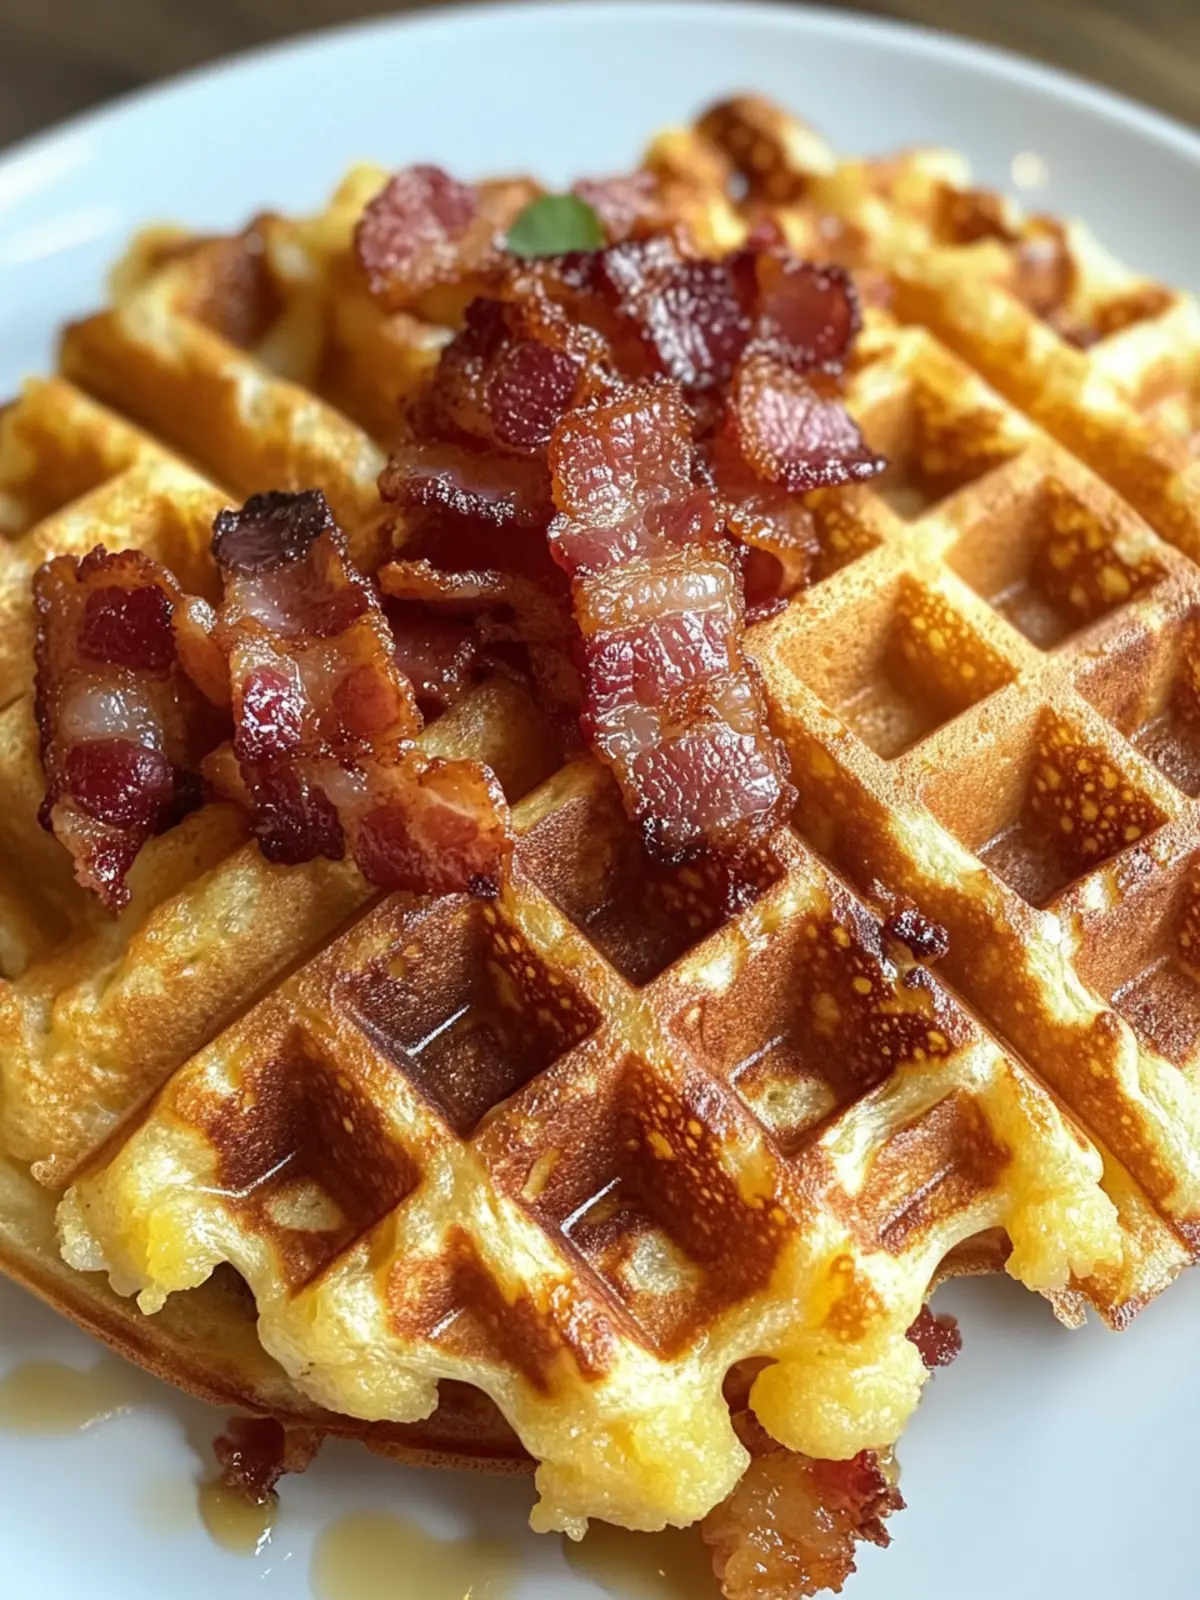
There’s a certain comfort that comes with the sizzling sound of bacon and the savory aroma of melted cheese filling the kitchen, and when you combine that with the crunch of crispy hash browns, you know you’re in for a treat. I discovered these Cheesy Bacon Hashbrown Waffles during a lazy Sunday breakfast craving, and they quickly turned into a family favorite. Imagine biting into a perfectly golden waffle that’s not just fluffy but loaded with flavor—it’s the ultimate way to start your day or even elevate brunch with friends.
These waffles are an extraordinary twist on traditional breakfast fare, effortlessly blending simplicity and satisfaction. Perfect for those tired of mundane meals, they offer a delightful crunch on the outside while remaining tender and cheesy inside. Plus, they can easily be customized with your favorite ingredients, making them versatile for any occasion. Trust me, once you try these, fast food will be a distant memory! Let’s dive into this easy recipe that guarantees smiles at the breakfast table.

Why are Cheesy Bacon Hashbrown Waffles a Must-Try?
Irresistible Flavor: These waffles combine crispy hash browns, savory bacon, and melted cheese for an explosion of taste.
Quick Preparation: With minimal prep time, you’ll have a delicious breakfast or brunch ready in no time.
Endless Customization: Feel free to add your favorite ingredients—think jalapeños or chives—for a personal touch!
Crowd-Pleasing Appeal: Perfect for family gatherings or weekend brunch with friends, these waffles will have everyone asking for seconds.
Satisfying Crunch: Enjoy the delightful contrast of crispy edges and soft, cheesy centers—an experience that’s hard to beat.
Make your mornings special with these irresistible delights; your breakfast table will never be the same again!
Cheesy Bacon Hashbrown Waffles Ingredients
For the Waffle Mixture
• Refrigerated shredded hash browns – 1 pound; the backbone of this dish, providing that crispy texture everyone loves.
• Bacon bits – 1 cup; adds a salty, savory punch to every bite.
• Shredded cheese – 1 cup; feel free to use your favorite cheese for a melty goodness that makes these waffles truly cheesy.
• Eggs – 4; help bind the mixture together while adding richness.
• Salt – to taste; elevates all the wonderful flavors in your cheesy bacon hashbrown waffles.
• Black pepper – to taste; a hint of spice to balance out the richness and enhance the taste.
• Non-stick cooking spray – as needed; prevents those golden waffles from sticking to the iron for a flawless release.
Transform your breakfast routine with these Cheesy Bacon Hashbrown Waffles and enjoy every delightful crunch!
How to Make Cheesy Bacon Hashbrown Waffles
-
Preheat your waffle iron and spray it generously with non-stick cooking spray. This step is crucial to ensure your waffles come out perfectly without sticking, so don’t skip it!
-
Combine in a large bowl the refrigerated shredded hash browns, bacon bits, shredded cheese, and beaten eggs. Sprinkle in salt and black pepper to taste. Mix everything together until well blended—this is where the magic happens!
-
Spoon the mixture onto your preheated waffle iron, spreading it out evenly. Close the lid and cook for about 5-7 minutes or until the waffles are golden brown and crispy on the outside.
-
Serve your delicious waffles hot! Pair them with your favorite dip or extra toppings like sour cream or chives for an added touch of flavor.
Optional: Drizzle with hot sauce for a little kick!
Exact quantities are listed in the recipe card below.
Make Ahead Options
These Cheesy Bacon Hashbrown Waffles are perfect for busy cooks looking to simplify breakfast! You can prepare the waffle mixture (hash browns, bacon bits, cheese, eggs, salt, and pepper) up to 24 hours in advance. Simply combine all the ingredients in a bowl, cover tightly, and refrigerate overnight to keep everything fresh and prevent the hash browns from browning. When you’re ready to enjoy them, just spoon the mixture onto a preheated waffle iron, and cook as directed. This method not only saves time but ensures a delicious breakfast with minimal effort, allowing you to relish the warm, cheesy goodness without any last-minute rush!
Cheesy Bacon Hashbrown Waffles Variations
Embrace the joy of customizing these waffles to make them uniquely yours and elevate your breakfast experience!
-
Vegetarian: Replace bacon bits with sautéed mushrooms or spinach for a deliciously healthy twist that’s still packed with flavor.
-
Spicy Kick: Add diced jalapeños to the mixture for a fiery flavor that adds excitement to each bite—a delightful surprise for spice lovers!
-
Herb Infusion: Mix in chopped fresh herbs like chives or parsley to brighten the flavors while giving your waffles a beautiful pop of color.
-
Cheese Lovers: Experiment with different cheeses, such as pepper jack for heat or a blend of sharp cheddar and mozzarella for a melty contrast.
-
Gluten-Free: Use gluten-free hash browns and bacon bits, ensuring everyone can enjoy these crispy delights without worry.
-
Smoky Flavor: Incorporate smoked paprika or chipotle powder into the mix—these spices add a wonderful depth, making breakfast feel even more special.
-
Breakfast Sandwich: Use the waffles as a base for a breakfast sandwich, stacking them with eggs, avocado, or even fried chicken for an indulgent morning treat.
-
Sweet Twist: For a surprising change, try adding a hint of brown sugar and cinnamon to the mix, topped with maple syrup for a sweet-and-savory delight!
What to Serve with Cheesy Bacon Hashbrown Waffles?
Elevate your breakfast experience with delightful pairings that enhance the flavors of these scrumptious waffles.
-
Sunny-Side Up Eggs: The runny yolk adds a rich, luscious touch that perfectly complements the savory waffles.
-
Avocado Slices: Creamy, buttery avocado brings a fresh element, balancing the crunch and richness of the hashbrowns wonderfully.
-
Sour Cream: A dollop of tangy sour cream adds a creamy contrast, enhancing every bite you take and providing a zingy balance.
-
Crisp Green Salad: A light, zesty salad brings freshness, cutting through the richness of the waffles, and makes your meal feel more complete.
-
Fruit Salad: Bright, juicy fruit offers a refreshing sweetness that contrasts beautifully with the savory flavors, adding a vibrant touch to your plate.
-
Hot Sauce: For those who love a kick, drizzle some hot sauce over your waffles to spice things up and awaken your taste buds!
Indulge in these delightful pairings, and watch how they transform your Cheesy Bacon Hashbrown Waffles into a sumptuous feast!
How to Store and Freeze Cheesy Bacon Hashbrown Waffles
Fridge: Keep any leftover cheesy bacon hashbrown waffles in an airtight container for up to 3 days to maintain their crispiness and flavor.
Freezer: For longer storage, freeze the waffles individually by laying them flat on a baking sheet before transferring to a freezer-safe bag. They can last up to 2 months!
Reheating: To reheat, pop them directly from the fridge or freezer into a preheated toaster oven for the best texture. Aim for 5-7 minutes until heated through and crispy again.
Serving Suggestions: These waffles also pair wonderfully with toppings like sour cream or fresh herbs if you want to jazz them up during a busy morning!
Expert Tips for Cheesy Bacon Hashbrown Waffles
-
Preheat Properly: Ensure your waffle iron is fully preheated before starting. This helps achieve that crispy texture we love in cheesy bacon hashbrown waffles.
-
Do Not Overmix: Mix just until ingredients are combined. Overmixing can lead to dense waffles; keep it fluffy to savor every bite!
-
Customize Wisely: Feel free to add ingredients like diced jalapeños or green onions, but remember not to overload; too much can lead to soggy waffles.
-
Mind the Cooking Time: Cooking times may vary by waffle iron. Check for golden brown color before removing; undercooked waffles can be a disappointment.
-
Serve Immediately: These waffles are best enjoyed fresh. If you need to keep them warm, set your oven to low heat instead of stacking them, which can make them lose their crunch.
Enjoy making these Cheesy Bacon Hashbrown Waffles and delight in the smiles at your breakfast table!

Cheesy Bacon Hashbrown Waffles Recipe FAQs
What type of hash browns should I use?
Absolutely! For the best texture in your Cheesy Bacon Hashbrown Waffles, I recommend using refrigerated shredded hash browns. They offer that perfect crispy exterior while remaining soft and tender on the inside. Frozen hash browns can work as well, but be sure to thaw and squeeze out excess moisture before mixing.
How should I store leftovers?
You can keep any leftover cheesy bacon hashbrown waffles in an airtight container in the fridge for up to 3 days. This will help maintain their crispiness and delightful flavor. Just be sure to let them cool completely before sealing to avoid excess moisture inside.
Can I freeze these waffles?
Very much! Freezing is a fantastic option. Lay each waffle out flat on a baking sheet to freeze individually, which takes about 1-2 hours. Once solid, transfer them to a freezer-safe bag. They can stay fresh for up to 2 months! Just label and date the bag for easy reference.
How do I reheat frozen waffles?
To reheat your frozen waffles, preheat your toaster oven to 375°F (190°C). Place the waffle directly from the freezer into the oven and heat for about 5-7 minutes, or until they are crispy and heated through. This method keeps them crunchy, avoiding a soggy texture.
Are there any allergens in this recipe?
Yes, be mindful of potential allergens! This recipe contains eggs and cheese, which could be problematic for those with dairy or egg allergies. For a dairy-free substitute, try using a dairy-free cheese option and flaxseed meal to replace the eggs in equal parts for binding—1 tablespoon of flaxseed meal + 2.5 tablespoons of water equals one egg.
What if my waffles are soggy?
If your Cheesy Bacon Hashbrown Waffles turn out soggy, it may be due to excess moisture in the mixture or not cooking them long enough. To fix this, try pressing the mixture gently to remove extra moisture before cooking. Additionally, ensure your waffle iron is hot enough before placing the mixture inside, and leave them until they are golden brown and crispy.

Cheesy Bacon Hashbrown Waffles for a Breakfast Win
Ingredients
Equipment
Method
- Preheat your waffle iron and spray it generously with non-stick cooking spray.
- Combine in a large bowl the refrigerated shredded hash browns, bacon bits, shredded cheese, and beaten eggs. Sprinkle in salt and black pepper to taste. Mix everything together until well blended.
- Spoon the mixture onto your preheated waffle iron, spreading it out evenly. Close the lid and cook for about 5-7 minutes or until the waffles are golden brown and crispy on the outside.
- Serve your delicious waffles hot! Pair them with your favorite dip or extra toppings like sour cream or chives.