The moment I pull these Baked Garlic Butter Cheese Bombs from the oven, I’m transported into a cheesy paradise. The combination of warm, fluffy dough and that irresistible garlic-butter aroma fills the kitchen, beckoning everyone nearby to come take a peek. What’s more delightful than a bite into that golden exterior, revealing a melty, gooey cheese center? Perfect for gatherings or simply as a satisfying snack, these cheese bombs come together in a flash and can be tailored to suit your taste—whether you fancy a spicy kick or a herby touch.
Whenever I’m in need of a quick and delicious crowd-pleaser, this recipe never fails. It’s the perfect antidote to fast-food fatigue, delivering homemade comfort in every bite. So, grab your biscuit dough, and let’s dive into a recipe that promises not only comfort but bursts of flavor with each cheesy morsel. Get ready to impress your guests, or simply indulge in a delight that feels like a warm hug on a plate!
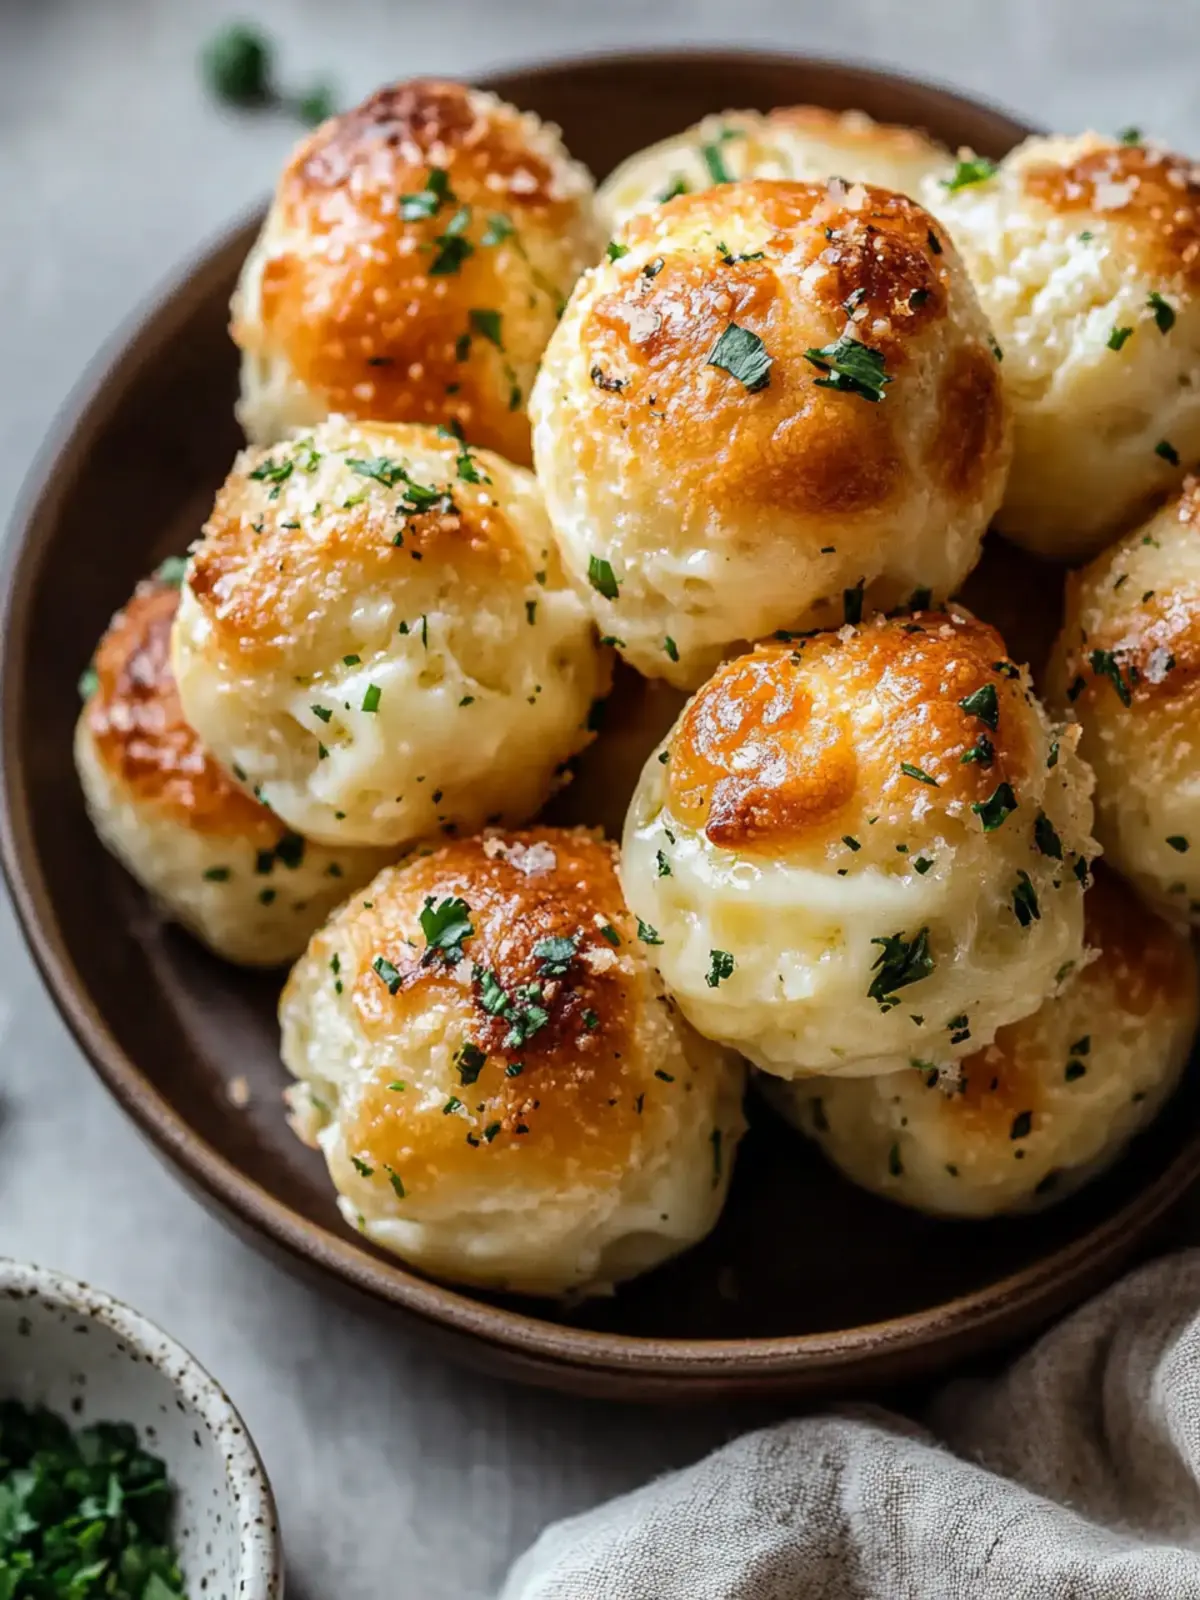
Why are Baked Garlic Butter Cheese Bombs a hit?
Irresistible aroma: The blend of garlic and butter creates an inviting scent that fills your kitchen, drawing everyone in.
Quick and easy: With just a few minutes of prep and minimal baking time, you’ll have a fantastic snack ready in no time.
Customizable flavors: Whether you prefer spicy, herby, or loaded with different cheeses, these cheese bombs can adapt to your cravings.
Crowd-pleaser: They’re perfect for all occasions, be it a cozy night in or a lively gathering with friends. Plus, don’t forget to try these alongside a delicious dip for an added layer of flavor. With every bite, you’re sure to make delicious memories!
Baked Garlic Butter Cheese Bombs Ingredients
For the Dough
- Refrigerated Biscuit Dough – Offers a quick base and can easily be substituted with pizza dough for a homemade twist.
For the Cheese Filling
- Mozzarella Cheese – The classic choice for its melty goodness; feel free to swap with cheddar or Monterey Jack for a different flavor.
- Parmesan Cheese – Freshly grated adds a savory touch on top; opt for a generous sprinkle to enhance the taste.
For the Garlic Butter Mixture
- Unsalted Butter – Brings richness; unsalted gives you better control over the dish’s flavor profile.
- Freshly Minced Garlic – Infuses the bombs with a bold aroma; you can substitute garlic powder in a pinch.
- Fresh Parsley – Adds a pop of color and freshness; dried parsley is a suitable backup if fresh isn’t on hand.
- Salt – Elevates all the flavors; keep in mind the saltiness of the cheese when seasoning.
Extra Flavorings
- Red Pepper Flakes or Jalapeños – Add these for a spicy twist on your Baked Garlic Butter Cheese Bombs.
- Italian Seasoning or Rosemary – Incorporate these for a herby version bursting with flavor.
These ingredients come together to create an unforgettable cheesy treat that will leave everyone wanting more!
How to Make Baked Garlic Butter Cheese Bombs
-
Preheat Oven: Start by preheating your oven to 375°F (190°C). Line your baking sheet with parchment paper, ensuring an easy cleanup once those cheesy delights are ready!
-
Prepare Dough: Take the refrigerated biscuit dough and separate it into individual pieces. Cut each piece in half and gently flatten them with your fingers to create a base for the cheese filling.
-
Add Cheese: Place a cube of your favorite cheese in the center of each dough piece. Wrap the dough tightly around the cheese to lock in that melty goodness.
-
Shape Bombs: Roll the dough into smooth balls, ensuring the seam side is down on the baking sheet. Leave a little space between each bomb so they have room to puff up in the oven.
-
Bake: Slide the baking sheet into the preheated oven and bake for 12-15 minutes. You’ll know they’re done when they turn golden brown and puffed, with a glossy finish on top.
-
Make Garlic Butter: While the cheese bombs bake, melt the butter in a small saucepan. Stir in the minced garlic, chopped parsley, salt, and a sprinkle of Parmesan cheese for an aromatic glaze.
-
Finish and Serve: Once the bombs are baked to perfection, generously brush them with the warm garlic butter mixture. Serve them immediately for the best cheesy experience!
Optional: Drizzle with extra melted butter for an indulgent touch.
Exact quantities are listed in the recipe card below.
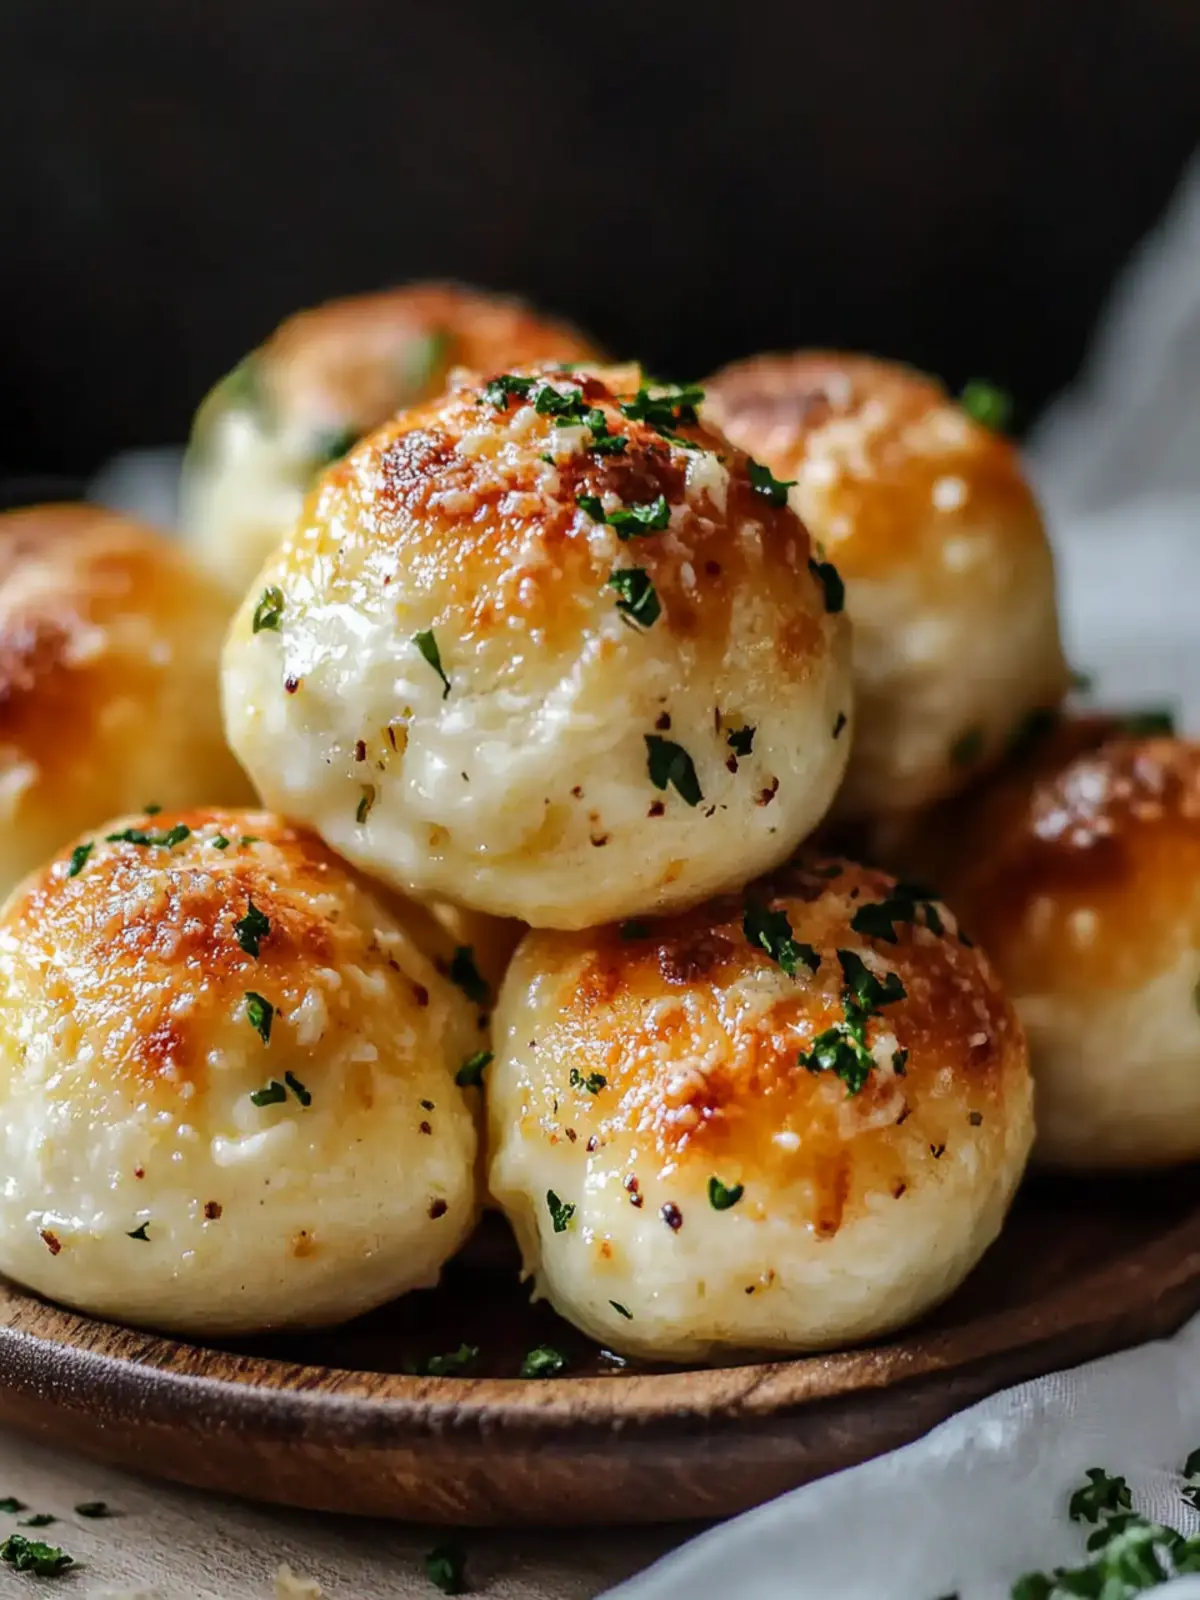
Expert Tips for Baked Garlic Butter Cheese Bombs
- Seal Tightly: Ensure each dough bomb is sealed well around the cheese to prevent any leakage during baking, keeping that melty center intact.
- Make Ahead: Prep your cheese bombs in advance, refrigerate them overnight, then bake right before serving for quick party-ready snacks.
- Test Temperature: If baking from frozen, add 3-5 extra minutes to the baking time to ensure your Baked Garlic Butter Cheese Bombs are fully cooked.
- Customize Wisely: Feel free to experiment with cheese varieties and spices; just remember that some cheeses melt differently, so choose wisely!
- Garnish for Wow Factor: A sprinkle of fresh herbs or extra Parmesan right before serving adds a delicious touch and elevates the presentation.
Baked Garlic Butter Cheese Bombs Variations
Get ready to explore a world of flavors and textures with these delightful cheese bombs!
-
Dairy-Free: Substitute mozzarella with cashew cheese or a dairy-free alternative to enjoy a creamy texture without the dairy.
-
Spice It Up: Incorporate diced jalapeños or crushed red pepper flakes into the cheese filling for a fiery twist that will excite your taste buds.
-
Herb-Infused: Mix dried Italian herbs or fresh basil into the garlic butter for a fragrant, herbaceous flavor that complements the cheesy goodness.
-
Cheese Medley: Use a combination of cheeses like cheddar, gouda, and pepper jack for a rich, layered cheese experience that tantalizes each bite.
-
Veggie Loaded: Add finely chopped spinach or sautéed mushrooms to the cheese filling for a veggie-packed version bursting with flavor and nutrition.
-
Sweet & Savory: Fold in a teaspoon of honey or maple syrup into the garlic butter for an unexpected hint of sweetness that pairs beautifully with the cheese.
-
Stuffed Surprise: Experiment with filling some bombs with pulled pork or seasoned ground beef to create a hearty snack that’s sure to impress.
-
Crunchy Topping: Before baking, sprinkle breadcrumbs mixed with Parmesan over the bombs for an extra-crispy layer that adds delicious texture and flavor.
Make Ahead Options
These Baked Garlic Butter Cheese Bombs are perfect for meal prep enthusiasts looking to save time during busy weeknights! You can prepare the cheese-filled dough balls up to 24 hours in advance. Simply shape the bombs as directed and place them on a baking sheet lined with parchment paper. Cover tightly with plastic wrap and refrigerate until you’re ready to bake. When it’s time to serve, just pop them in the preheated oven, adding an extra 2-3 minutes to the baking time for optimal fluffiness. This way, you’ll enjoy the same delicious, cheesy goodness, while cutting down on prep time when it matters most!
Storage Tips for Baked Garlic Butter Cheese Bombs
-
Room Temperature: Keep leftover cheese bombs at room temperature for up to 2 hours; they are best enjoyed warm and fresh right after baking.
-
Fridge: Store any uneaten Baked Garlic Butter Cheese Bombs in an airtight container in the fridge for up to 3 days. To reheat, place them in a warm oven for a few minutes to regain that crispy exterior.
-
Freezer: If you have unbaked cheese bombs, freeze them on a baking sheet until solid, then transfer to a freezer bag for up to 2 months. Bake straight from frozen, adding an extra 3-5 minutes to the cooking time.
-
Reheating: For the best results, reheat leftovers in the oven rather than the microwave to maintain that delightful texture and flavor.
What to Serve with Baked Garlic Butter Cheese Bombs?
Cozy up your meal with delightful treats that perfectly complement these cheesy, buttery bites.
- Marinara Sauce: A classic pairing, the rich tomato sauce adds a tangy depth that perfectly counters the cheese’s creaminess.
- Garlic Bread: Stay on theme! The additional garlic notes enhance the flavors while offering a satisfying crunch and fragrance.
- Crispy Salad: A fresh, crunchy salad with a citrus vinaigrette brightens the meal, balancing the richness of the cheese bombs beautifully.
- Spicy Chicken Wings: For those who like a kick, the heat from spicy wings contrasts nicely with the cheesy softness of the bombs.
- Wine or Beer: A glass of chilled white wine or a light lager makes for the perfect sipper, enhancing the entire experience.
- Stuffed Mushrooms: For a hearty appetizer option, these savory bites share the cheesy theme while adding a different texture and flavor profile.
- Roasted Vegetables: Mix in some seasonal veggies tossed in garlic and herbs, adding a nice earthy balance while keeping the plate vibrant.
- Honey Mustard Dip: A drizzle of this sweet and tangy sauce creates a delightful balance, offering a kick that complements every cheesy bite.
- Chocolate Fondue: For a whimsical dessert, serve a warm chocolate fondue for dipping fruit after enjoying the cheesy starter, wrapping up your meal in sweet delight.
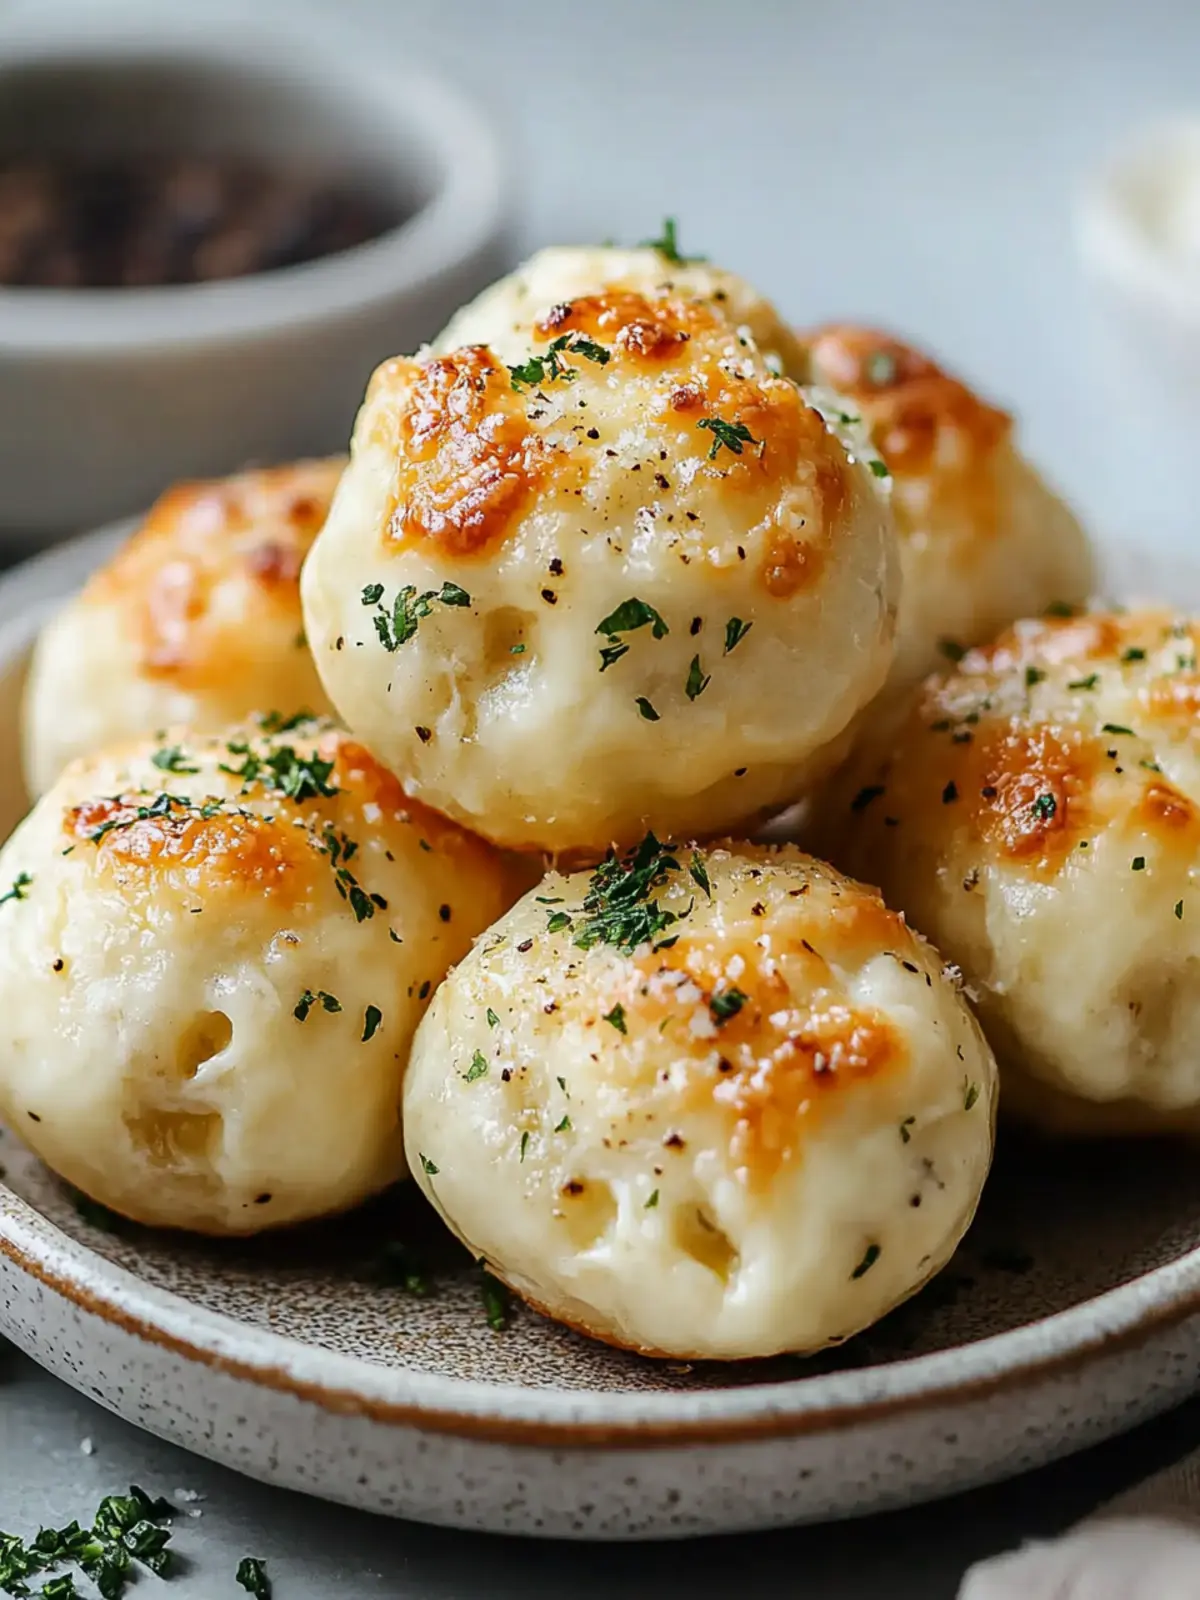
Baked Garlic Butter Cheese Bombs Recipe FAQs
What type of cheese should I use for the best results?
Absolutely! Mozzarella cheese is the classic choice thanks to its gooey, stretchy texture. However, you can experiment with other options like cheddar or Monterey Jack for a different flavor profile. Mix and match according to your taste buds!
How can I store leftover Baked Garlic Butter Cheese Bombs?
Store any leftover Baked Garlic Butter Cheese Bombs in an airtight container in the fridge for up to 3 days. To reheat, I recommend placing them in a warm oven for a few minutes until they’re hot and the exterior regains its crispy texture. This way, they’ll taste almost as fresh as when they came out of the oven!
Can I freeze unbaked cheese bombs before cooking?
Yes, indeed! After shaping the cheese bombs, arrange them on a baking sheet and freeze until solid. Once frozen, transfer them to a freezer bag, squeezing out as much air as possible. They can be stored for up to 2 months. When you’re ready to bake them, just pop them into the oven directly from the freezer, adding an extra 3-5 minutes to the baking time.
Is there a way to make these cheese bombs keto-friendly?
Absolutely! For a keto-friendly version, consider using fathead dough instead of the refrigerated biscuit dough. To make this, combine almond flour, mozzarella cheese, cream cheese, and an egg until it forms a dough. This low-carb alternative will still give you that delightful cheesy bite while keeping your carb count low!
What should I do if my cheese leaks out while baking?
Ah, the classic cheese-leak dilemma! To mitigate this, it’s crucial to seal each dough ball tightly around the cheese before baking. If you notice any cracks, you can gently pinch them closed again. Using a slightly higher dough-to-cheese ratio can also help keep everything nicely contained!
Are there any dietary considerations I should keep in mind?
Very! Always be cautious about any allergies, particularly with cheese or any additional ingredients you might include. If serving to guests, it’s a good idea to inquire about dietary restrictions to ensure everyone can enjoy these delicious cheese bombs.
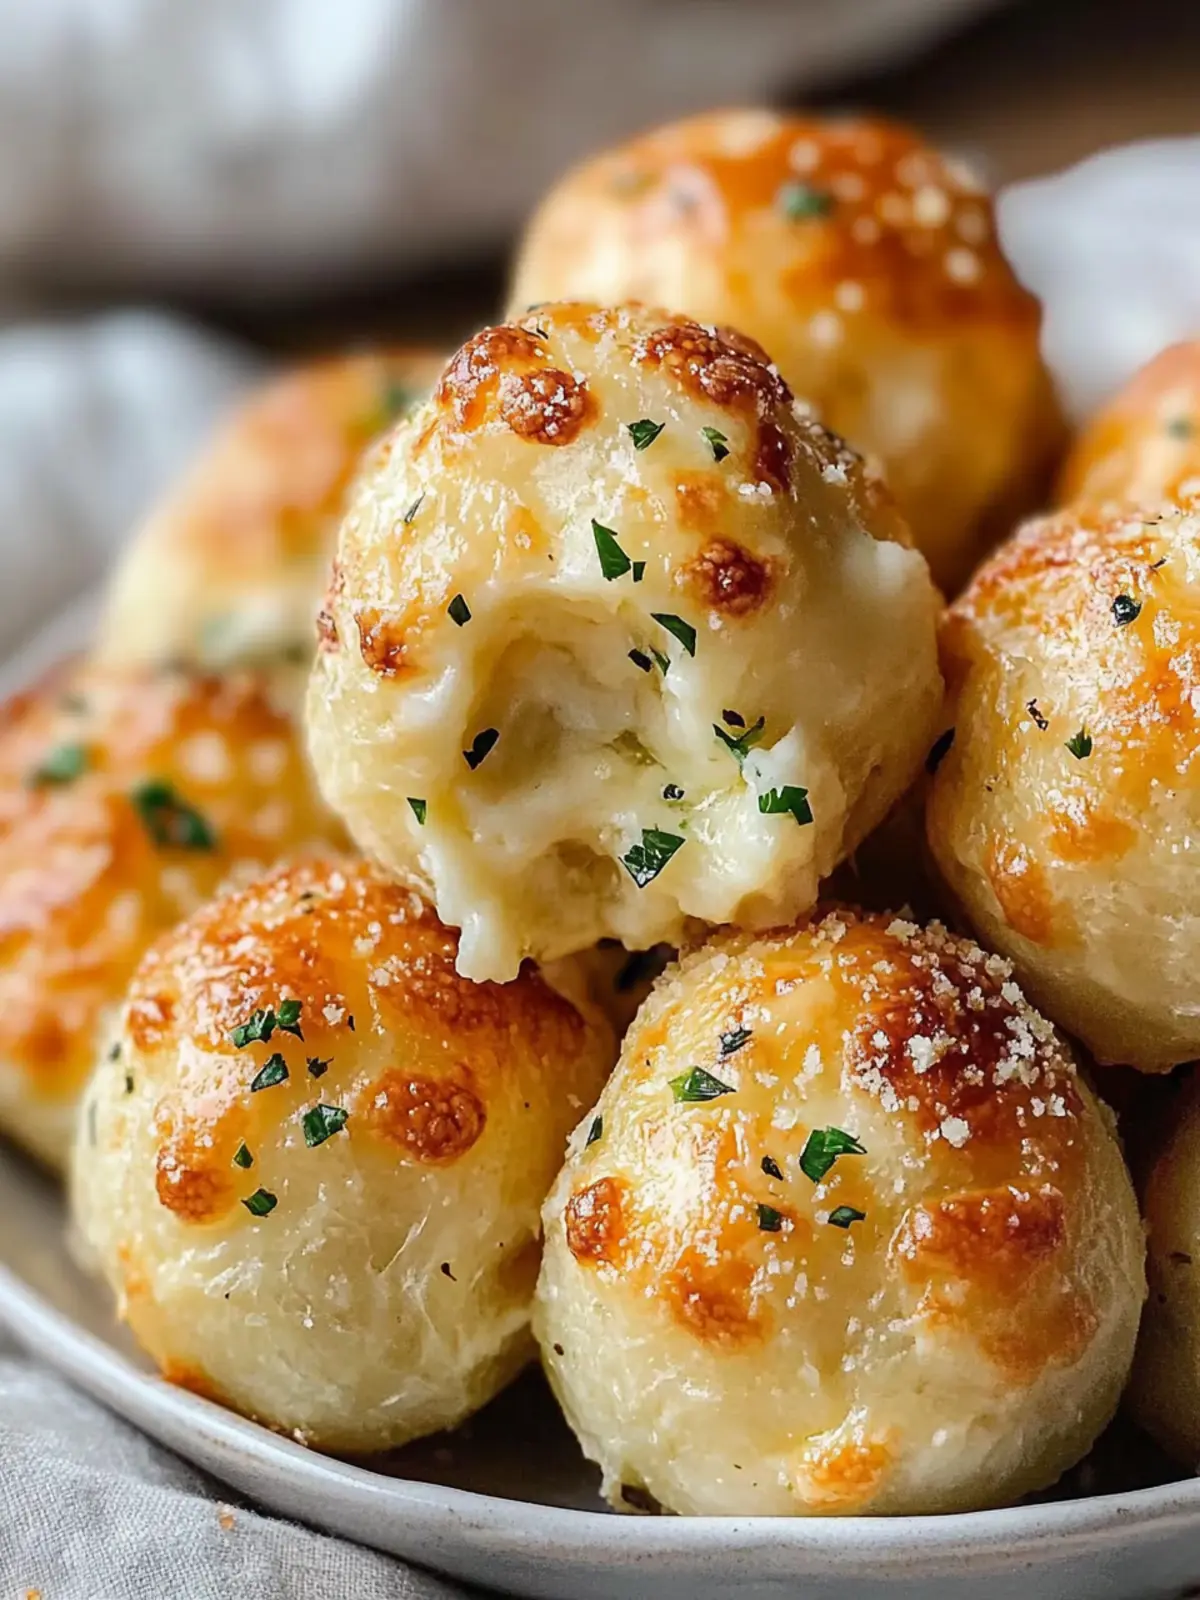
Melty Baked Garlic Butter Cheese Bombs Everyone Will Love
Ingredients
Equipment
Method
- Preheat your oven to 375°F (190°C). Line your baking sheet with parchment paper.
- Separate the refrigerated biscuit dough into individual pieces. Cut each piece in half and flatten it to create a base.
- Place a cube of cheese in the center of each dough piece. Wrap tightly around the cheese.
- Roll into smooth balls, seam side down on the baking sheet, leaving space between each.
- Bake for 12-15 minutes until golden brown and puffed.
- Melt the butter in a saucepan. Stir in minced garlic, parsley, salt, and Parmesan for an aromatic glaze.
- Brush the baked bombs with the garlic butter mixture and serve warm.