
There’s something wonderfully nostalgic about the combination of chocolate and banana, taking me back to sunny afternoons filled with laughter and sweet treats. Imagine a rich chocolate brownie base topped with a creamy, dreamy banana pudding layer, a delightful surprise that’s not only satisfying but also fun to make. As I was experimenting in the kitchen one rainy day, I decided to merge two of my favorite desserts, and the result was nothing short of magical: Banana Pudding Brownies!
These bars are perfect for any occasion—whether it’s a cozy movie night at home or a gathering with friends. The decadent layers melt in your mouth, offering the comforting taste of home while also being surprisingly easy to whip up. And what’s even better? You probably have most of the ingredients right in your pantry! Get ready to indulge in a dessert that’s bound to be a crowd-pleaser, highlighting the flavors of chocolate and banana like never before. Let’s dive in and create a treat that will keep everyone coming back for seconds!
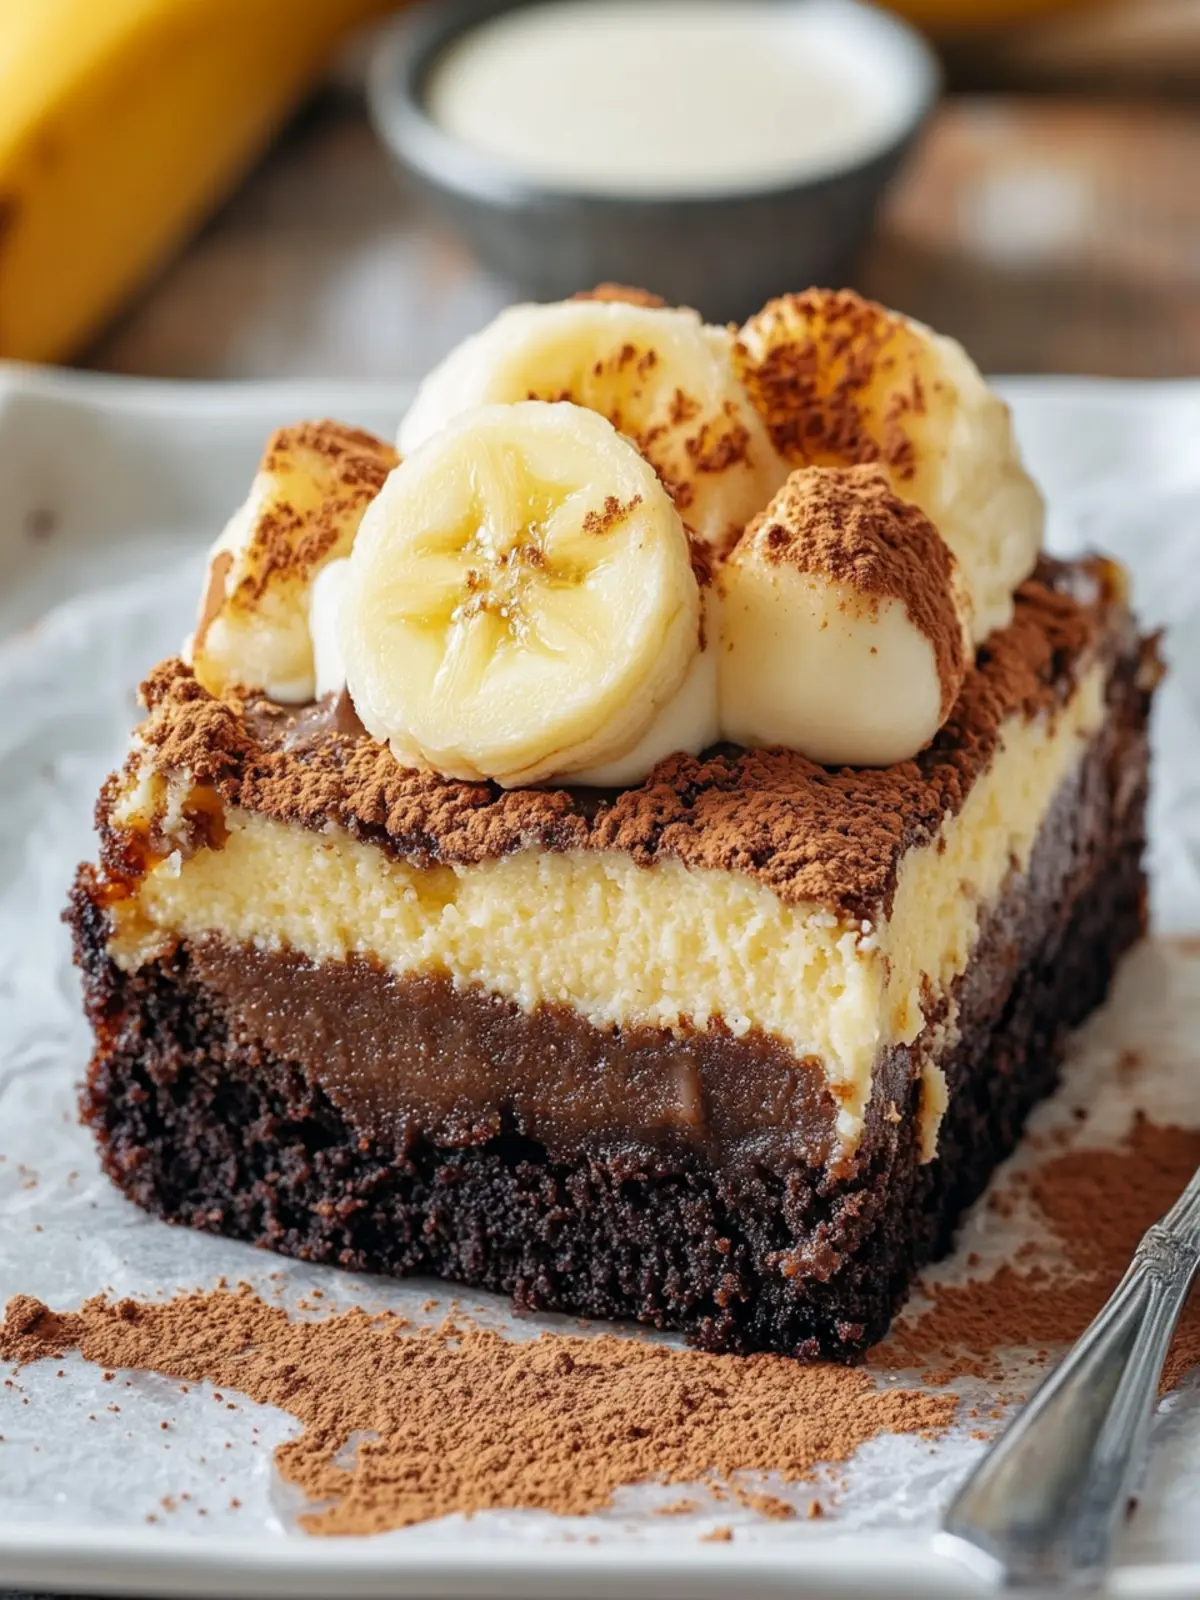
Why are Banana Pudding Brownies so irresistible?
Decadent Layers: This recipe combines a rich chocolate brownie base with a creamy banana pudding layer, creating a delightful contrast.
Easy to Make: With simple ingredients and straightforward steps, even beginner bakers can master these bars.
Crowd Favorite: Perfect for parties or family gatherings, these brownies are sure to impress everyone!
Comforting Taste: The familiar flavors of chocolate and banana offer a nostalgic touch that warms the heart.
Fun to Customize: Feel free to add nuts or extra chocolate morsels for a personalized twist!
Dive into this treat and relish a dessert that makes memories!
Banana Pudding Brownies Ingredients
Get ready to create a sweet masterpiece!
For the Brownie Base
• Soft light brown sugar – gives the brownies a rich, caramel-like flavor.
• Granulated white sugar – adds a touch of sweetness that balances the richness.
• Sweet cream unsalted butter – melted for a moist and fudgy texture.
• Pure vanilla essence – enhances the overall flavor and aroma beautifully.
• Large hens eggs – bind the ingredients together for a luscious brownie.
• Plain unbleached wheat flour – ensures a sturdy yet soft brownie texture.
• Baking cocoa powder – introduces an intense chocolate flavor to the mix.
• Fine table salt – balances the sweetness and enhances the chocolate taste.
• Half-sweet chocolate morsels – provide delicious chocolatey bites throughout the bars.
For the Creamy Layer
• Full-fat cream cheese – creates a rich and creamy consistency for the layer.
• Quick-set banana pudding mix – gives that delightful banana flavor and smooth texture.
• Standard liquid cow’s milk – helps to dissolve the pudding mix, making it velvety.
• Fresh banana – adds natural sweetness and freshness to the cream layer.
• Sweet vanilla wafer cookies – crushed for a delightful crunchy topping.
Now, let’s get ready to layer this deliciousness and create those unforgettable Banana Pudding Brownies!
How to Make Banana Pudding Brownies
-
Preheat the oven to 350°F and line a 9×13-inch baking dish with parchment paper. This helps prevent sticking and makes for easier cleanup—trust me, you’ll appreciate it!
-
Whip together the melted butter, brown sugar, and granulated sugar in a mixing bowl using an electric or stand mixer. Blend until light and fluffy, then mix in the eggs and vanilla until everything is smooth and well combined.
-
Combine the flour, cocoa powder, and salt in a separate bowl. Gradually fold the dry ingredients into the wet batter in three batches, mixing gently until just combined. Beware of over-mixing, or your brownies may come out tough!
-
Stir in the half-sweet chocolate morsels for that extra chocolatey goodness, then spread the batter evenly in the prepared baking dish. This layer is the heart of your brownies, so make sure it’s level!
-
Whip the cream cheese in a clean bowl until it’s lump-free. Add the pudding mix and milk, beating until well combined. Fold in the diced banana gently—it should have a lovely banana aroma at this point!
-
Spread the cream cheese layer evenly over the brownie batter, then scatter the crushed vanilla wafers on top for that satisfying crunch. Take a moment to admire your beautiful layers before baking!
-
Bake for 30 to 40 minutes, until the edges are golden and the center feels firm to the touch. You can even give it a gentle shake; just make sure it doesn’t jiggle too much!
-
Cool completely before slicing into squares. Letting them cool ensures that the layers set beautifully, making for cleaner cuts.
Optional: Drizzle with melted chocolate for a luscious finish!
Exact quantities are listed in the recipe card below.
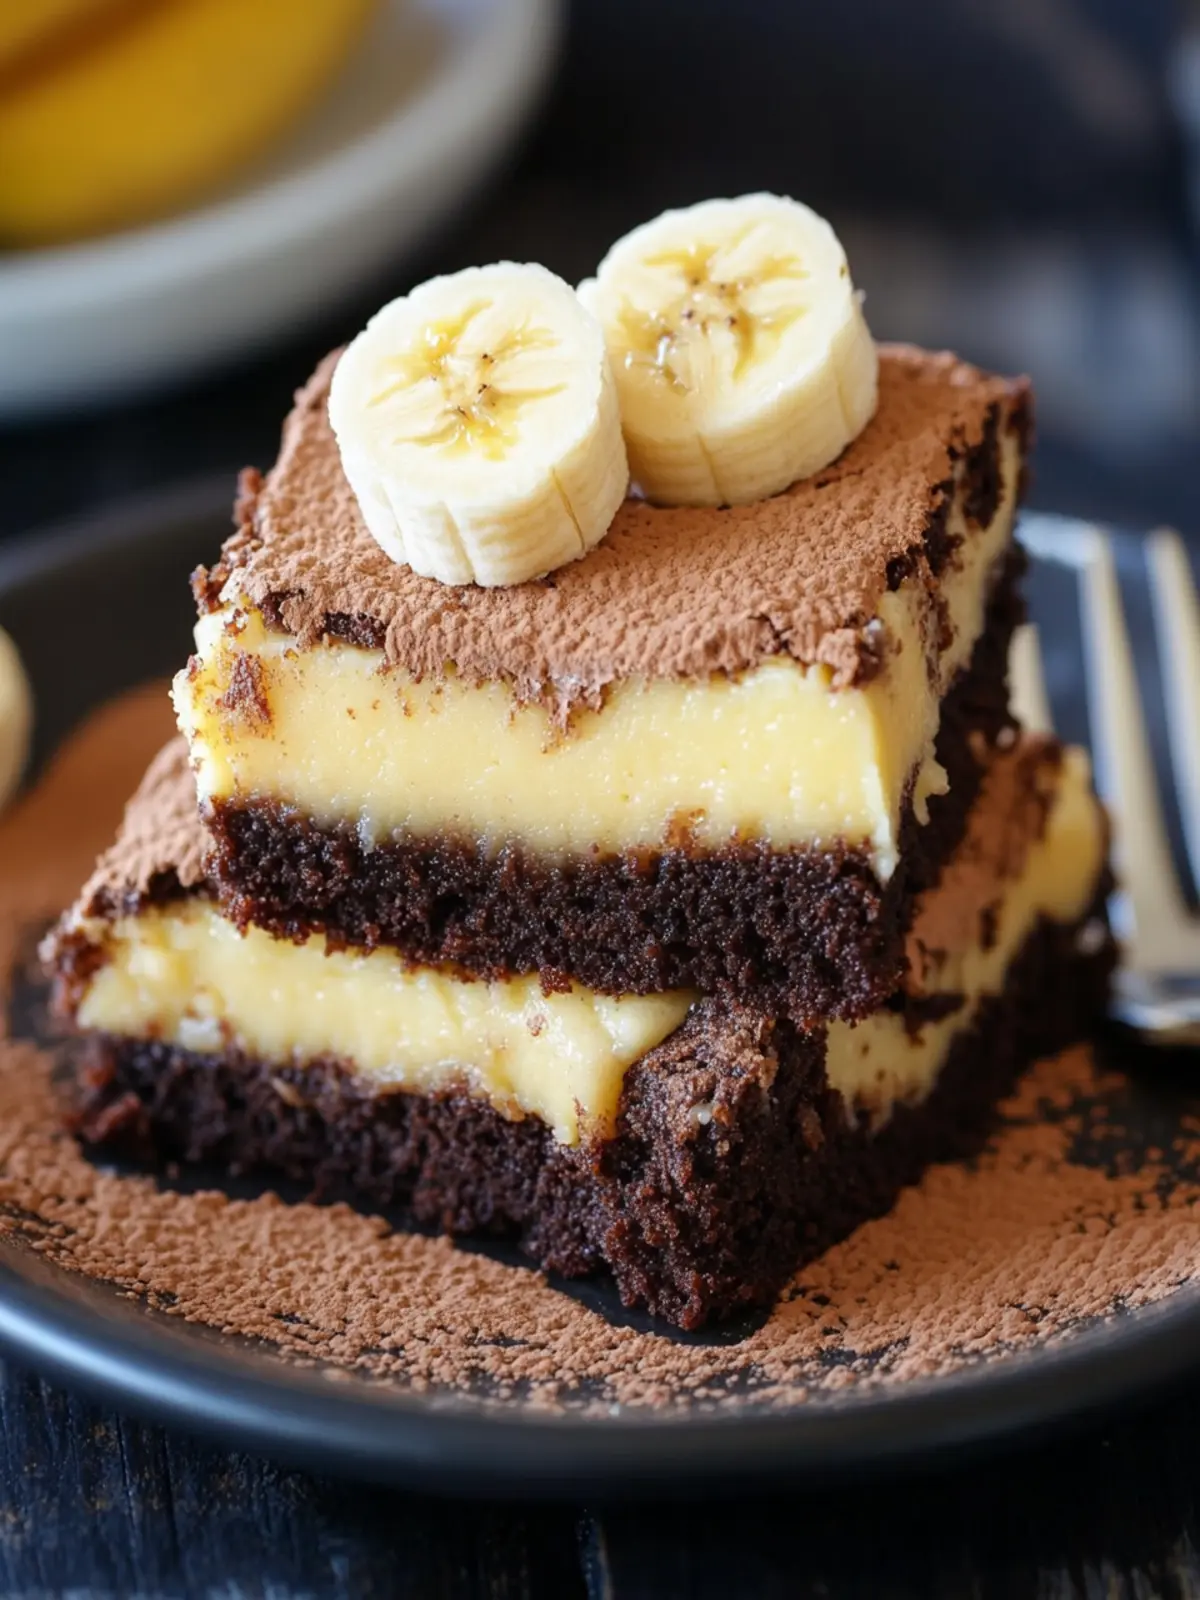
How to Store and Freeze Banana Pudding Brownies
Room Temperature: Store leftover brownies in an airtight container at room temperature for up to 3 days. Make sure they’re completely cool before sealing to maintain freshness.
Fridge: If you want to enjoy them a bit longer, refrigerate in an airtight container for up to a week. This makes the creamy layer extra refreshing!
Freezer: For longer storage, freeze brownies wrapped tightly in plastic wrap and placed in a freezer-safe container for up to 3 months. Thaw in the fridge before serving.
Reheating: To enjoy warm brownies, gently reheat in the microwave for 10-15 seconds or in the oven at low heat until warm for that fresh-out-of-the-oven feel!
Tips for the Best Banana Pudding Brownies
- Use Room Temperature Ingredients: Ensure your cream cheese and eggs are at room temperature for a smoother batter; this helps create a velvety cream layer.
- Don’t Overmix: When combining the flour and cocoa with the wet ingredients, mix until just combined to avoid tough brownies.
- Check for Doneness: Bake until edges are golden; insert a toothpick in the center—it should come out with moist crumbs, not wet batter.
- Cool For Best Results: Allow the brownies to cool completely before slicing. This helps the layers firm up beautifully for a neat presentation.
- Customize Your Crunch: Feel free to mix in nuts or additional chocolate morsels in the brownie layer for extra flavor and texture in your Banana Pudding Brownies!
Make Ahead Options
These Banana Pudding Brownies are perfect for meal prep and can be made ahead to save you time during busy weeknights! You can prepare the brownie base and layer it in the baking dish up to 24 hours in advance; just cover it tightly with plastic wrap to maintain freshness. You can also whip up the cream cheese layer separately and refrigerate it for up to 3 days—this is key for keeping that creamy texture intact! When you’re ready to bake, simply spread the cream cheese layer over the prepped brownie base, add the crushed vanilla wafers, and bake as instructed. Your delicious, homemade brownies will be ready to impress without the last-minute hassle!
Banana Pudding Brownies Variations
Feel free to unleash your creativity and customize these bars to suit your taste buds!
- Nutty Crunch: Add 1/2 cup of chopped walnuts or pecans to the brownie batter for a delightful crunch and a nutty flavor.
- Peanut Butter Swirl: Mix in 1/2 cup of creamy peanut butter into the brownie layer before baking for a rich, nutty twist. Swirls of peanut butter will create a great contrast with the chocolate.
- Gluten-Free Option: Substitute the plain flour with a 1:1 gluten-free baking blend to make these brownies gluten-free. The flavor will still delight your senses!
- Fruit Boost: Fold in 1/2 cup of diced strawberries or blueberries into the cream cheese mixture for a fruity surprise. These vibrant additions will elevate the dessert’s flavor beautifully.
- Dairy-Free Delight: Swap out cream cheese for dairy-free cream cheese and replace the milk with almond or oat milk for a completely dairy-free version. You won’t miss the creaminess!
- Minty Fresh: Add a few drops of peppermint extract to the cream cheese layer for a refreshing twist that harmonizes perfectly with chocolate. Just a hint will be enough!
- Extra Chocolatey: Sprinkle chocolate chips or chunks on top of the cream cheese layer before baking for a decadent chocolaty finish. More chocolate, more happiness!
- Spicy Kick: Blend a pinch of cayenne pepper or a dash of cinnamon into the brownie batter for a unique flavor twist that takes these bars to the next level. Spice it up and enjoy a new adventure!
What to Serve with Banana Pudding Brownies?
Creating the perfect meal to accompany these delightful bars can transform your gathering into something truly special.
-
Vanilla Ice Cream: The creamy sweetness perfectly complements the rich chocolate and banana flavors, offering a delicious contrast. A scoop on the side can elevate your dessert experience!
-
Fresh Fruit Salad: A colorful mix of berries, apples, and citrus provides a refreshing balance to the dessert’s richness. The natural acidity of the fruit helps cleanse the palate.
-
Chocolate Milkshake: This indulgent drink adds a nostalgic touch and reinforces the chocolatey theme. Thick and creamy, it’s a hit for both kids and adults alike!
-
Whipped Cream: Light and fluffy, whipped cream adds a delightful texture that complements the brownies. A dollop on top can make each bite feel even more luxurious.
-
Espresso or Coffee: The deep, rich flavors of coffee contrast beautifully with the sweetness of Banana Pudding Brownies. It’s an ideal pairing for those cozy evenings.
-
Nutty Caramel Sauce: Drizzling this over the brownies creates an exquisite flavor profile, adding a sweet and salty element that keeps everyone coming back for more!
Explore these pairings to create a memorable meal that will delight your guests.
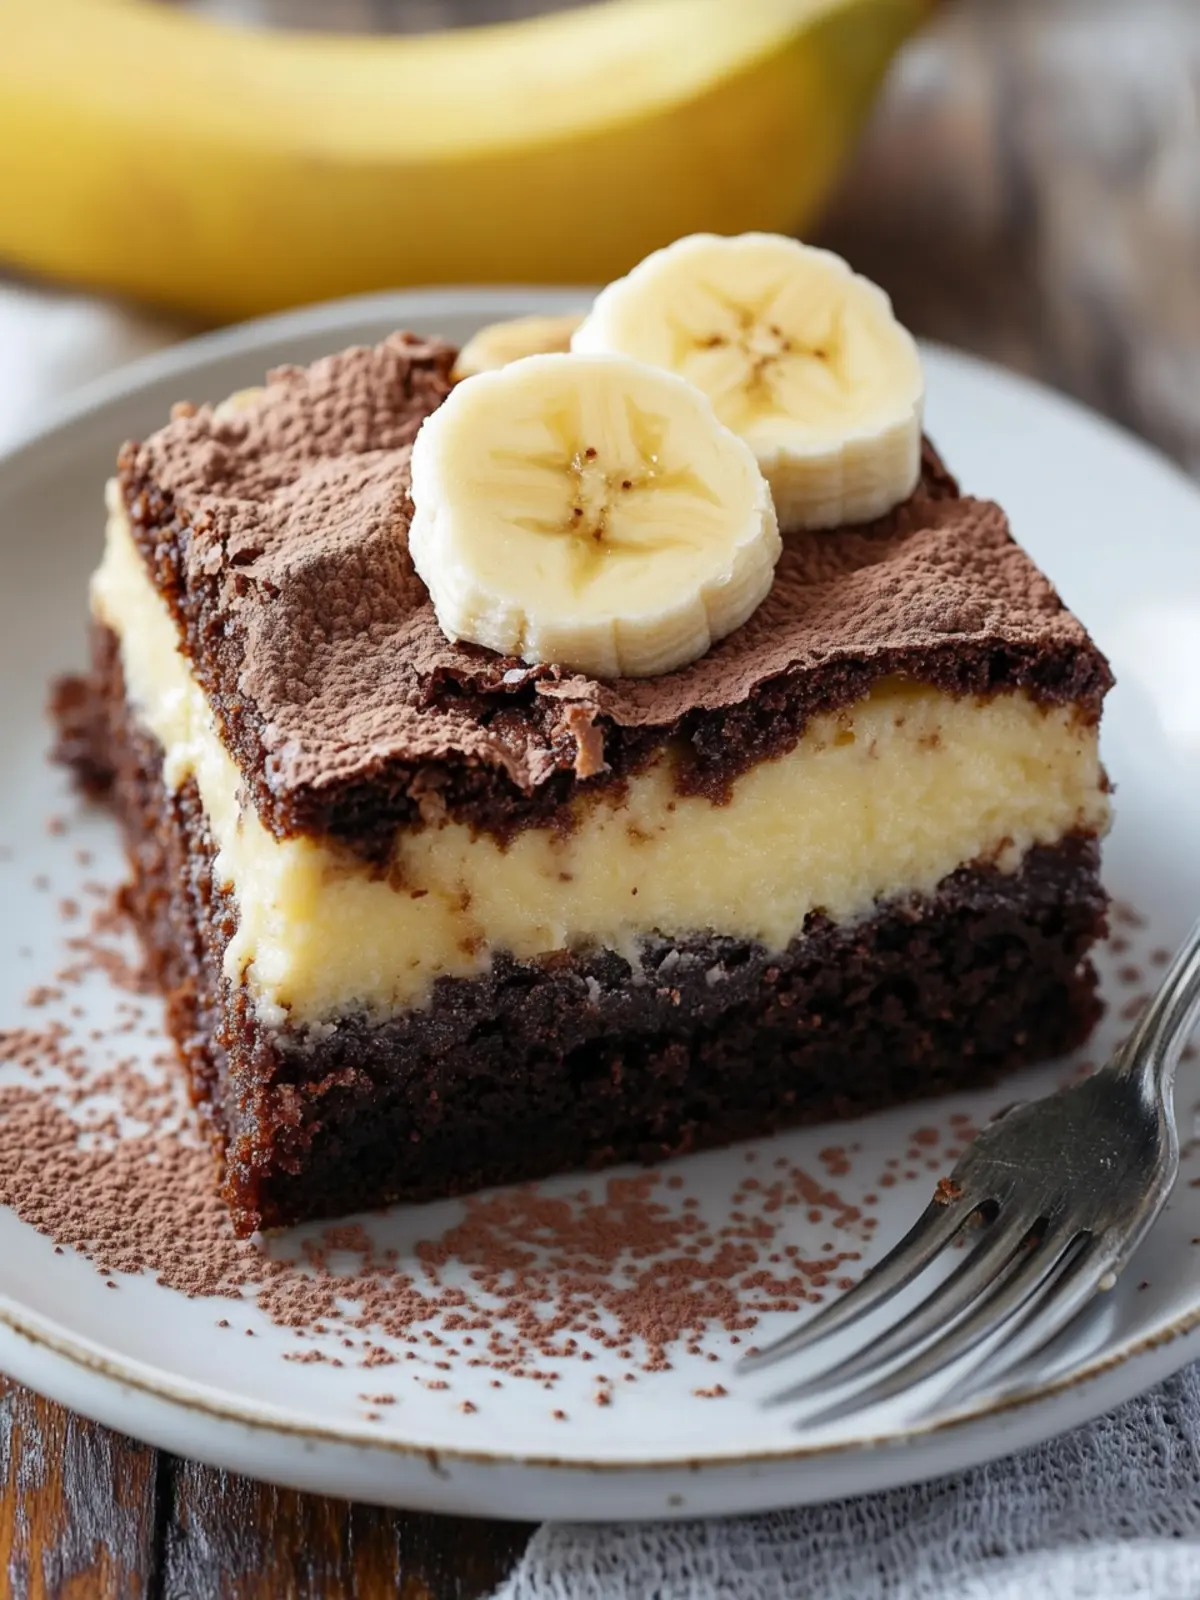
Banana Pudding Brownies Recipe FAQs
What is the best way to select ripe bananas for the creamy layer?
Absolutely! For this recipe, look for bananas that are slightly speckled with brown spots; they should be soft but not overly mushy. This ensures a sweet and flavorful banana addition to your cream cheese layer.
How should I store leftover Banana Pudding Brownies?
To keep your brownies fresh, store them in an airtight container at room temperature for up to 3 days. If you prefer, refrigerate them in a sealed container, which allows them to last for about a week—ideal for those late-night cravings!
Can I freeze Banana Pudding Brownies?
Very! To freeze, wrap the brownies tightly in plastic wrap and place them in a freezer-safe container or bag. They will maintain their quality for up to 3 months. When you’re ready to enjoy, simply thaw them in the refrigerator overnight and savor that fresh taste!
What should I do if my brownies come out too tough?
If your brownies are on the tougher side, it’s likely due to overmixing the batter. It’s crucial to mix the dry ingredients into the wet ingredients just until combined. Next time, be gentle and remember: a few lumps are perfectly fine!
Are Banana Pudding Brownies suitable for those with dairy allergies?
Unfortunately, this specific recipe contains dairy products, including cream cheese and butter. However, you can easily substitute with dairy-free options such as vegan cream cheese and plant-based butter to make it more allergy-friendly—deliciousness doesn’t have to be sacrificed!
What are some variations I can try with the toppings?
The more the merrier! You can add chopped nuts like walnuts or pecans for crunch, or even sprinkle mini marshmallows on top for texture and sweetness. Drizzling with melted dark chocolate can also elevate the flavor profile, making these Banana Pudding Brownies even more indulgent.
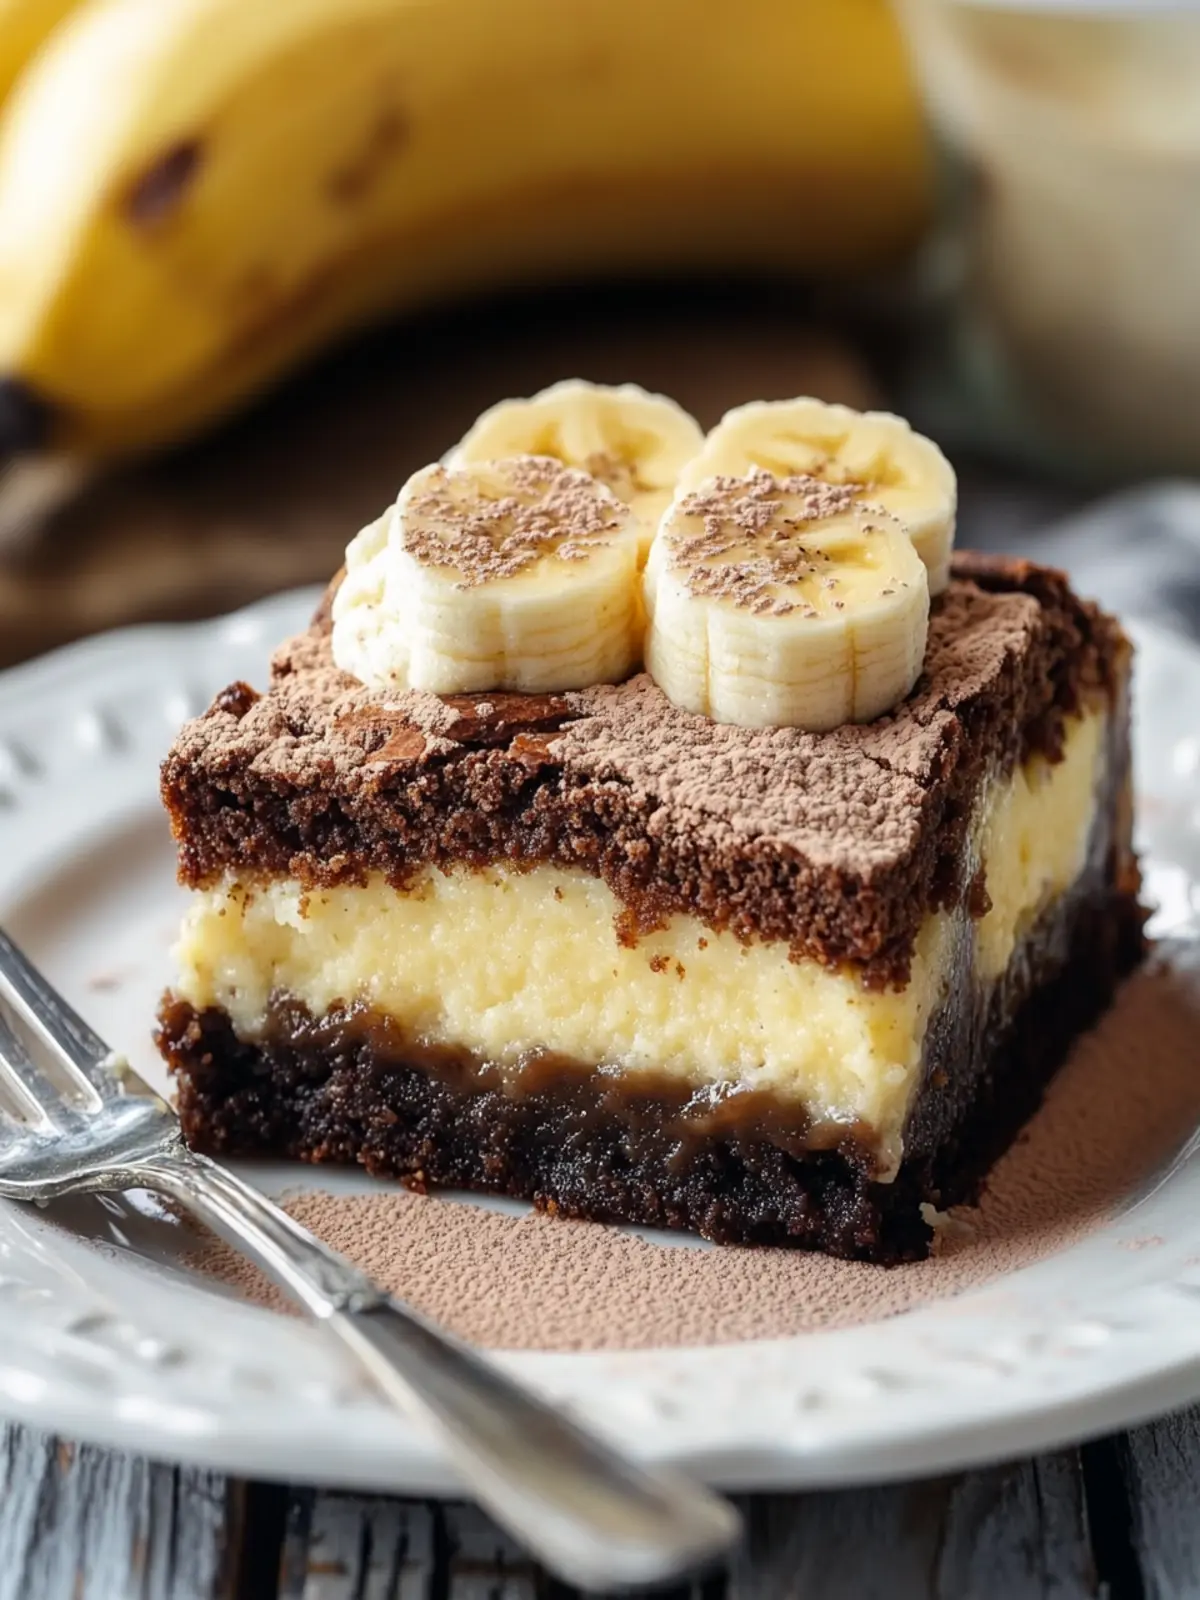
Savory Banana Pudding Brownies That Delight Every Bite
Ingredients
Equipment
Method
- Preheat the oven to 350°F and line a 9×13-inch baking dish with parchment paper.
- Whip together the melted butter, brown sugar, and granulated sugar in a mixing bowl using an electric or stand mixer.
- Combine the flour, cocoa powder, and salt in a separate bowl. Gradually fold the dry ingredients into the wet batter in three batches.
- Stir in the half-sweet chocolate morsels and spread the batter evenly in the prepared baking dish.
- Whip the cream cheese in a clean bowl until lump-free. Add the pudding mix and milk, and fold in the diced banana gently.
- Spread the cream cheese layer evenly over the brownie batter, then scatter the crushed vanilla wafers on top.
- Bake for 30 to 40 minutes, until the edges are golden and the center feels firm.
- Cool completely before slicing into squares.