
There’s something truly delightful about the crunch of crispy chicken nestled in a warm tortilla, especially when it’s drizzled with rich, creamy Caesar dressing. I found myself inspired to prepare these Crispy Chicken Caesar Wraps after a friend shared her tantalizing lunch creation that wowed everyone in the office. Combining the iconic flavors of a Caesar salad with the convenience of a handheld wrap, this dish has become my go-to solution for busy afternoons.
Whether you’re looking for a quick lunch that can be thrown together in minutes or a stress-free dinner that’ll impress even the pickiest eaters, these wraps deliver both flavor and satisfaction. With perfectly seasoned chicken, crisp romaine, and a bright, zesty dressing, every bite promises to transport you away from mundane meals and into a world of culinary delight. Let’s roll up our sleeves and bring this deliciousness into your kitchen!
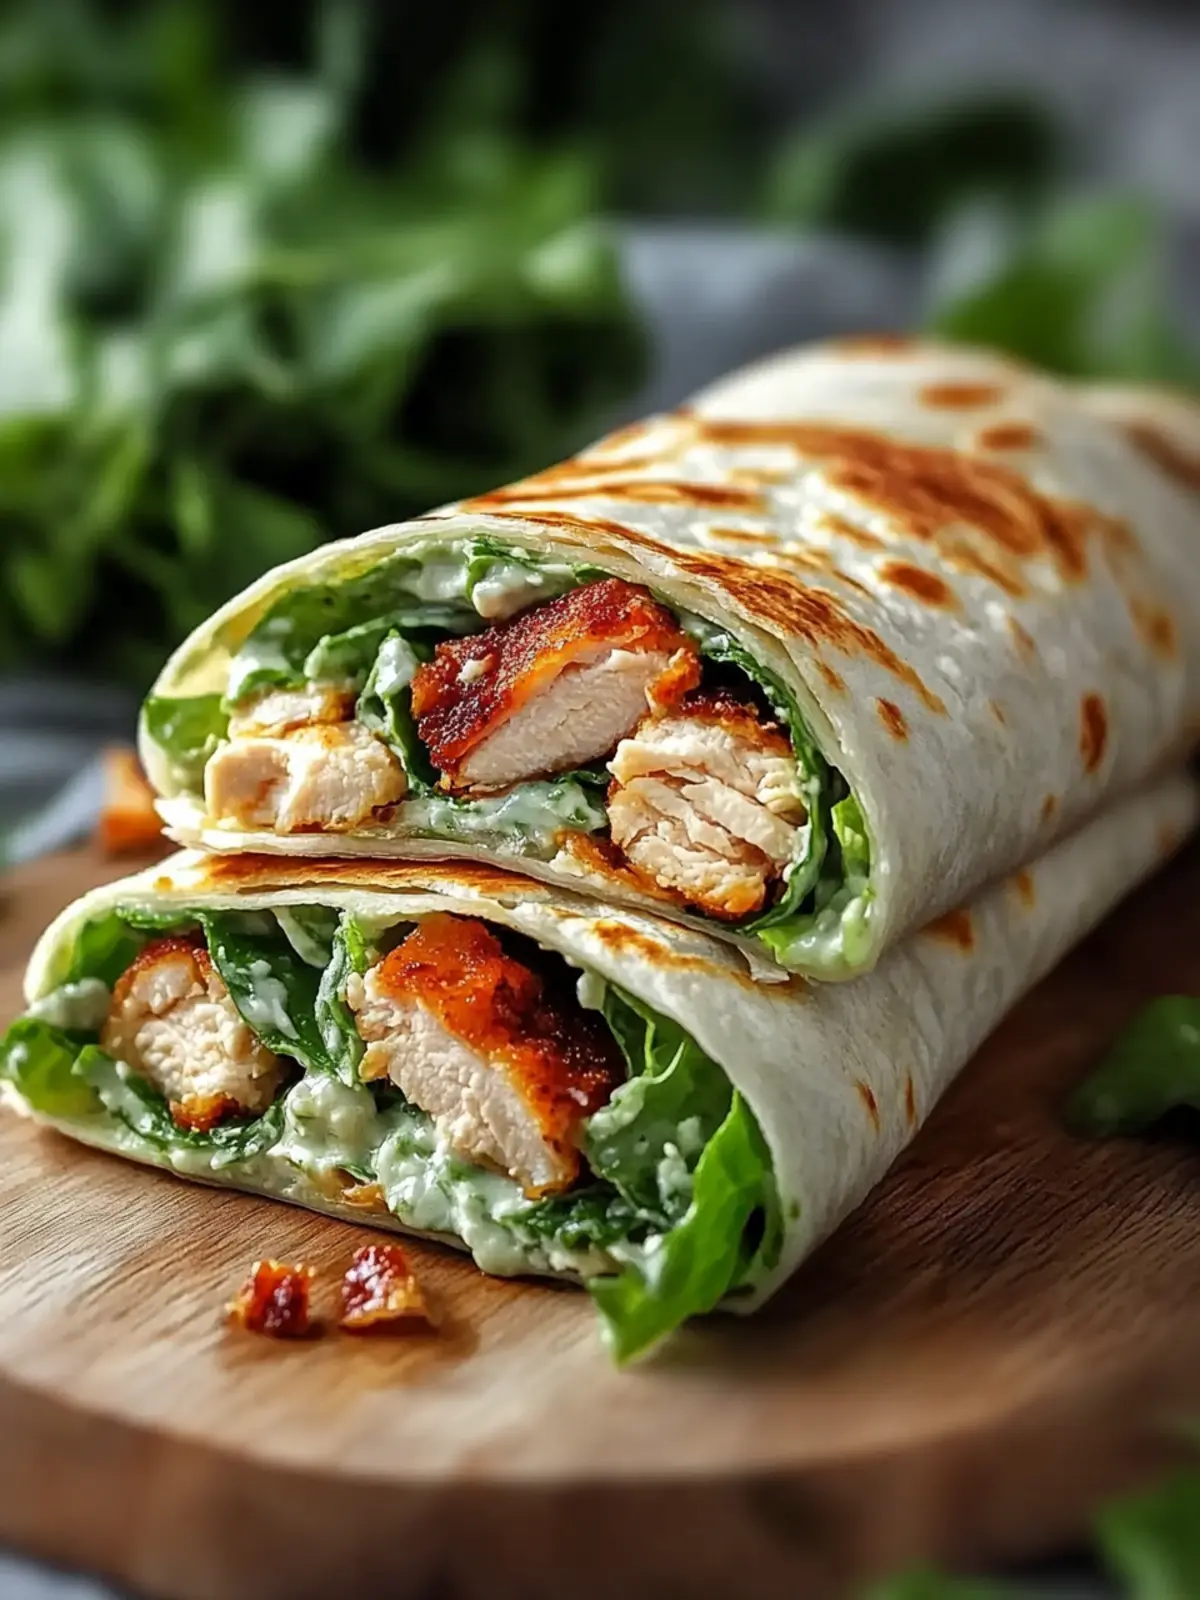
Why are Crispy Chicken Caesar Wraps a must-try?
Crispy chicken adds a delightful crunch that brings excitement to your lunch routine. Quick and easy, these wraps come together in no time, making them perfect for busy weekdays. Flavorful and satisfying, the creamy Caesar dressing elevates the taste. Versatile, you can customize these wraps with your favorite veggies or even swap the protein for a vegetarian option. Crowd-pleasing, they’re sure to impress family and friends at any gathering. For more quick ideas, check out our collection of easy dinner recipes.
Crispy Chicken Caesar Wraps Ingredients
• Let’s gather everything you need to make these delightful Crispy Chicken Caesar Wraps!
For the Chicken
- Chicken Breasts – Boneless, skinless chicken is perfect for effortless cooking.
- Panko Breadcrumbs – Opt for panko to ensure a wonderfully crispy texture.
- Olive Oil – Ideal for cooking and toasting; vegetable oil can be a good alternative.
For the Dressing
- Mayonnaise – This creamy base brings richness to your dressing; Greek yogurt can lighten it up.
- Lemon Juice – Freshly squeezed adds brightness; bottled juice will do in a pinch.
- Garlic – Fresh minced garlic provides aromatic depth; go easy on dried garlic.
- Dijon Mustard – Enhances the dressing with a kick; yellow mustard is a suitable substitute.
- Worcestershire Sauce – Adds a unique flavor profile; feel free to skip if you don’t have it.
- Parmesan Cheese – Freshly grated Parmesan elevates the taste beautifully.
For the Wraps
- Romaine Lettuce – Fresh romaine lends a nice crunch; spinach also works well for a twist.
- Tortilla Wraps – Look for large, pliable tortillas; low-carb options can be a healthier choice.
Get ready to create a meal that is not just quick but filled with delicious flavors that everyone will love!
How to Make Crispy Chicken Caesar Wraps
-
Prepare Chicken: Start by pounding the chicken breasts to an even 1/2-inch thickness. Season them generously with your favorite spices and set up a breading station with panko breadcrumbs and olive oil for a crisp finish.
-
Toast Panko: In a skillet, heat olive oil over medium heat. Add panko breadcrumbs and toast them for 2-3 minutes until they turn a beautiful golden brown, making sure to stir frequently to avoid burning.
-
Cook Chicken: Coat each chicken breast in the olive oil before pressing it into the toasted panko for even coverage. Cook the chicken in the skillet for about 5-6 minutes on each side until golden brown and cooked through (165°F/74°C). Let them rest for a few minutes before slicing.
-
Make Dressing: In a bowl, whisk together the mayonnaise, freshly grated Parmesan, minced garlic, lemon juice, Dijon mustard, and Worcestershire sauce until you have a smooth and creamy dressing that’s perfect for drizzling.
-
Assemble Wraps: Lay romaine lettuce leaves on each tortilla. Add the sliced crispy chicken on top and then drizzle generously with the creamy Caesar dressing to bring all the flavors together.
-
Wrap Well: Fold the sides of each tortilla inwards and roll tightly to secure the filling. For easy transport, consider wrapping the assembled wraps in parchment paper.
Optional: Serve with extra dressing on the side for dipping.
Exact quantities are listed in the recipe card below.
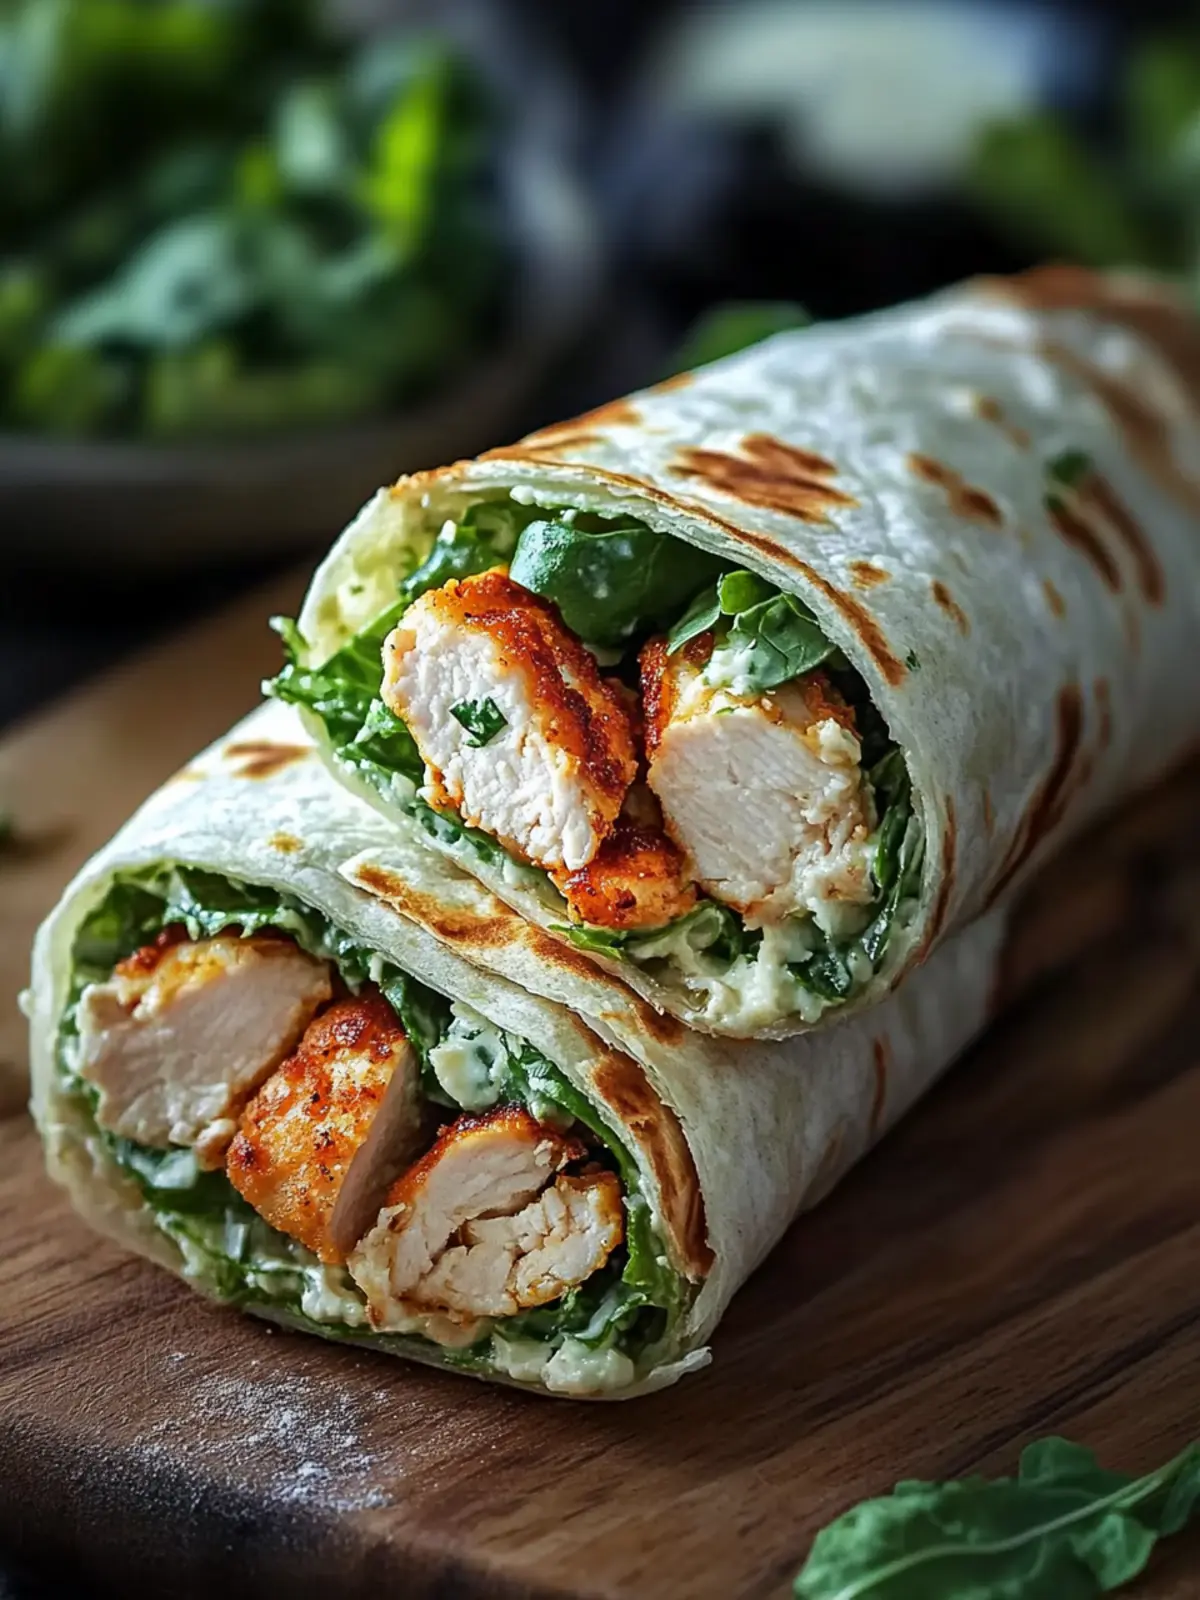
Crispy Chicken Caesar Wraps Variations
Get creative with your Crispy Chicken Caesar Wraps and make them uniquely yours!
-
Vegetarian: Swap crispy chicken for baked chickpeas or grilled halloumi cheese for a delicious meat-free option. Enjoy vibrant flavors while keeping the crunch intact.
-
Rotisserie Chicken: In a pinch for time? Use tender rotisserie chicken to skip the cooking step; just shred and layer for a speedy dinner solution.
-
Whole Wheat Wraps: Switch to whole wheat tortillas for a fiber boost while keeping the great wrap experience alive. A small change can make a big difference in taste.
-
Grilled Veggies: Add grilled bell peppers, zucchini, or onions for a pop of color and extra nutrients. Each bite becomes a medley of flavors and textures for your palate.
-
Avocado Spread: Spread a layer of ripe avocado on your tortilla before adding the romaine and chicken for an extra creamy touch. The delicious richness will have everyone asking for more.
-
Spicy Touch: Spice things up by adding sliced jalapeños or a dash of hot sauce to the dressing. This zesty flair elevates the whole wrap, perfect for those who love a bit of heat!
-
Nutty Flavor: Toss in a handful of toasted pine nuts or walnuts for a delightful crunch. These add a nutty flavor while enhancing texture, making the wraps even more enticing.
-
Different Greens: Substitute romaine with arugula or baby spinach for a slightly different flavor and an exciting twist. Each green brings its unique character, keeping your wraps fresh and fun!
Expert Tips for Crispy Chicken Caesar Wraps
- Fresh Ingredients: Always use freshly grated Parmesan and squeeze your own lemon juice for a vibrant taste.
- Achieve Crispiness: To keep your chicken crispy, reheat leftovers in an air fryer instead of the microwave, which can make them soggy.
- Wrap Smart: Avoid overfilling your tortillas, as this can lead to tears. For added flexibility, warm the tortillas slightly before wrapping.
- Flavor Boost: Feel free to add extra ingredients like diced tomatoes or avocados for a flavor and nutrition boost when making these Crispy Chicken Caesar Wraps.
- Time-Saving Option: Consider using rotisserie chicken to save preparation time while still achieving a delicious result.
Storage Tips for Crispy Chicken Caesar Wraps
- Fridge: Store assembled wraps (without dressing) in an airtight container for up to 1 day to maintain their crispiness.
- Dressing: Keep the creamy Caesar dressing in a sealed container in the fridge for up to 3 days, separate from the wraps until ready to serve.
- Freezer: While it’s best to eat the wraps fresh, you can freeze cooked chicken (separately) for up to 3 months. Thaw in the fridge before using.
- Reheating: To keep your leftover chicken crispy, reheat in an air fryer or oven at 375°F (190°C) for 5-7 minutes until heated through, avoiding the microwave.
What to Serve with Crispy Chicken Caesar Wraps?
Enhance your meal experience with delightful sides that perfectly complement your wraps.
-
Sweet Potato Fries: Their crispy sweetness balances the savory wraps and offers a comforting side.
-
Caesar Salad: Keeping it classic, a side of Caesar salad pairs beautifully, echoing the dressing’s flavors and adding extra crunch.
-
Roasted Vegetables: A medley of seasonal roasted veggies brings vibrant colors and earthy flavors that brighten your plate.
-
Chips and Salsa: For a fun twist, serve with tortilla chips and fresh salsa; the crunch and zest offer a playful appetizer.
-
Fruit Salad: A light fruit salad infuses a refreshing sweetness that contrasts nicely with the savory chicken.
-
Iced Tea: Enhance the meal with a glass of chilled iced tea, its crispness cutting through the richness of the dressing.
-
Chocolate Chip Cookies: For dessert, these warm, gooey cookies wrap up the meal perfectly, making it feel like a special treat.
Pair these sides and drinks with your Crispy Chicken Caesar Wraps for a delightful and wholesome dining experience!
Make Ahead Options
These Crispy Chicken Caesar Wraps are perfect for busy home cooks looking to save time! You can prep the chicken by breading and cooking it up to 24 hours in advance; simply refrigerate the cooked, sliced chicken in an airtight container to maintain its crispiness. The creamy dressing can also be whisked together a day ahead and stored in the fridge, ensuring all flavors meld beautifully. To keep the romaine fresh, wash and dry the leaves, storing them separately to prevent wilting. When you’re ready to assemble, simply pair the prepped components in a tortilla, and you’ll have a delicious wrap ready to enjoy in minutes—just as fresh and flavorful as if you made it all at once!
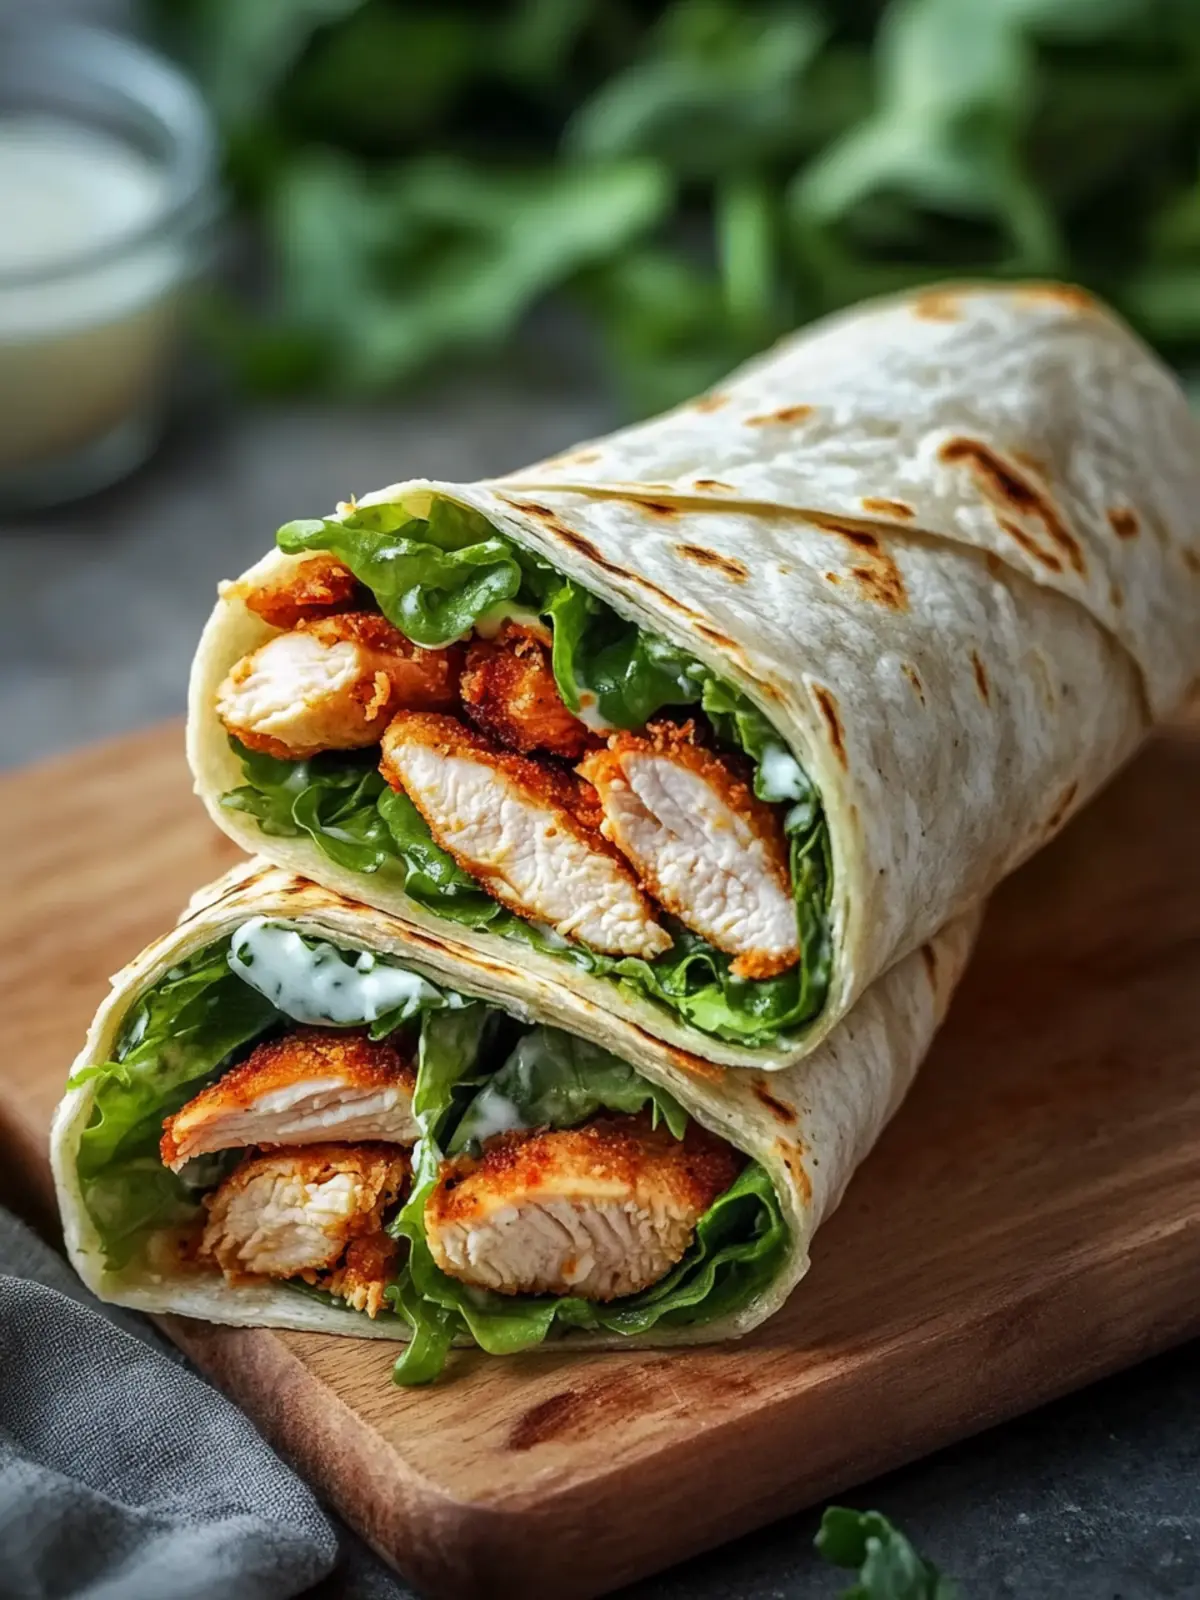
Crispy Chicken Caesar Wraps Recipe FAQs
What kind of chicken is best for Crispy Chicken Caesar Wraps?
Absolutely! Boneless, skinless chicken breasts are perfect for this recipe as they cook evenly and are easy to handle. If you prefer a juicier option, chicken thighs can also work beautifully, providing more flavor and moisture.
How should I store leftover Crispy Chicken Caesar Wraps?
Very good question! Store the assembled wraps without dressing in an airtight container for up to 1 day to keep them crisp. If you have leftover dressing, seal it in a separate container; it can last in the fridge for up to 3 days.
Can I freeze the components of Crispy Chicken Caesar Wraps?
Yes, you can! While it’s best to enjoy these wraps fresh, you can freeze the cooked chicken separately for up to 3 months. To freeze, allow the chicken to cool, then wrap it tightly in plastic wrap or aluminum foil before placing it in an airtight container. When you’re ready to use, thaw in the fridge overnight before reheating!
What can I do if my panko breadcrumbs are not toasting well?
Don’t worry! If your panko isn’t getting that lovely golden color, make sure your oil is hot enough when you add them to the pan. You can also stir continuously to ensure even toasting. If they’re taking too long, simply increase the heat slightly, but be careful not to burn them!
Are there any dietary considerations for Crispy Chicken Caesar Wraps?
Certainly! If you’re concerned about allergies, keep in mind that the wrap contains gluten (from the breadcrumbs and tortillas) and dairy (from the cheese and dressing). For gluten-free options, look for gluten-free breadcrumbs and wraps. Additionally, to make this dish dairy-free, you can substitute the mayonnaise with an avocado-based dressing or tahini.
What should I look for when selecting romaine lettuce for these wraps?
Great question! Always choose firm, vibrant romaine heads with crisp, green leaves. Avoid any that show dark spots or wilting, as this indicates they are past their prime. Fresh romaine elevates the crunch and flavor of your Crispy Chicken Caesar Wraps, so it’s worth the effort!
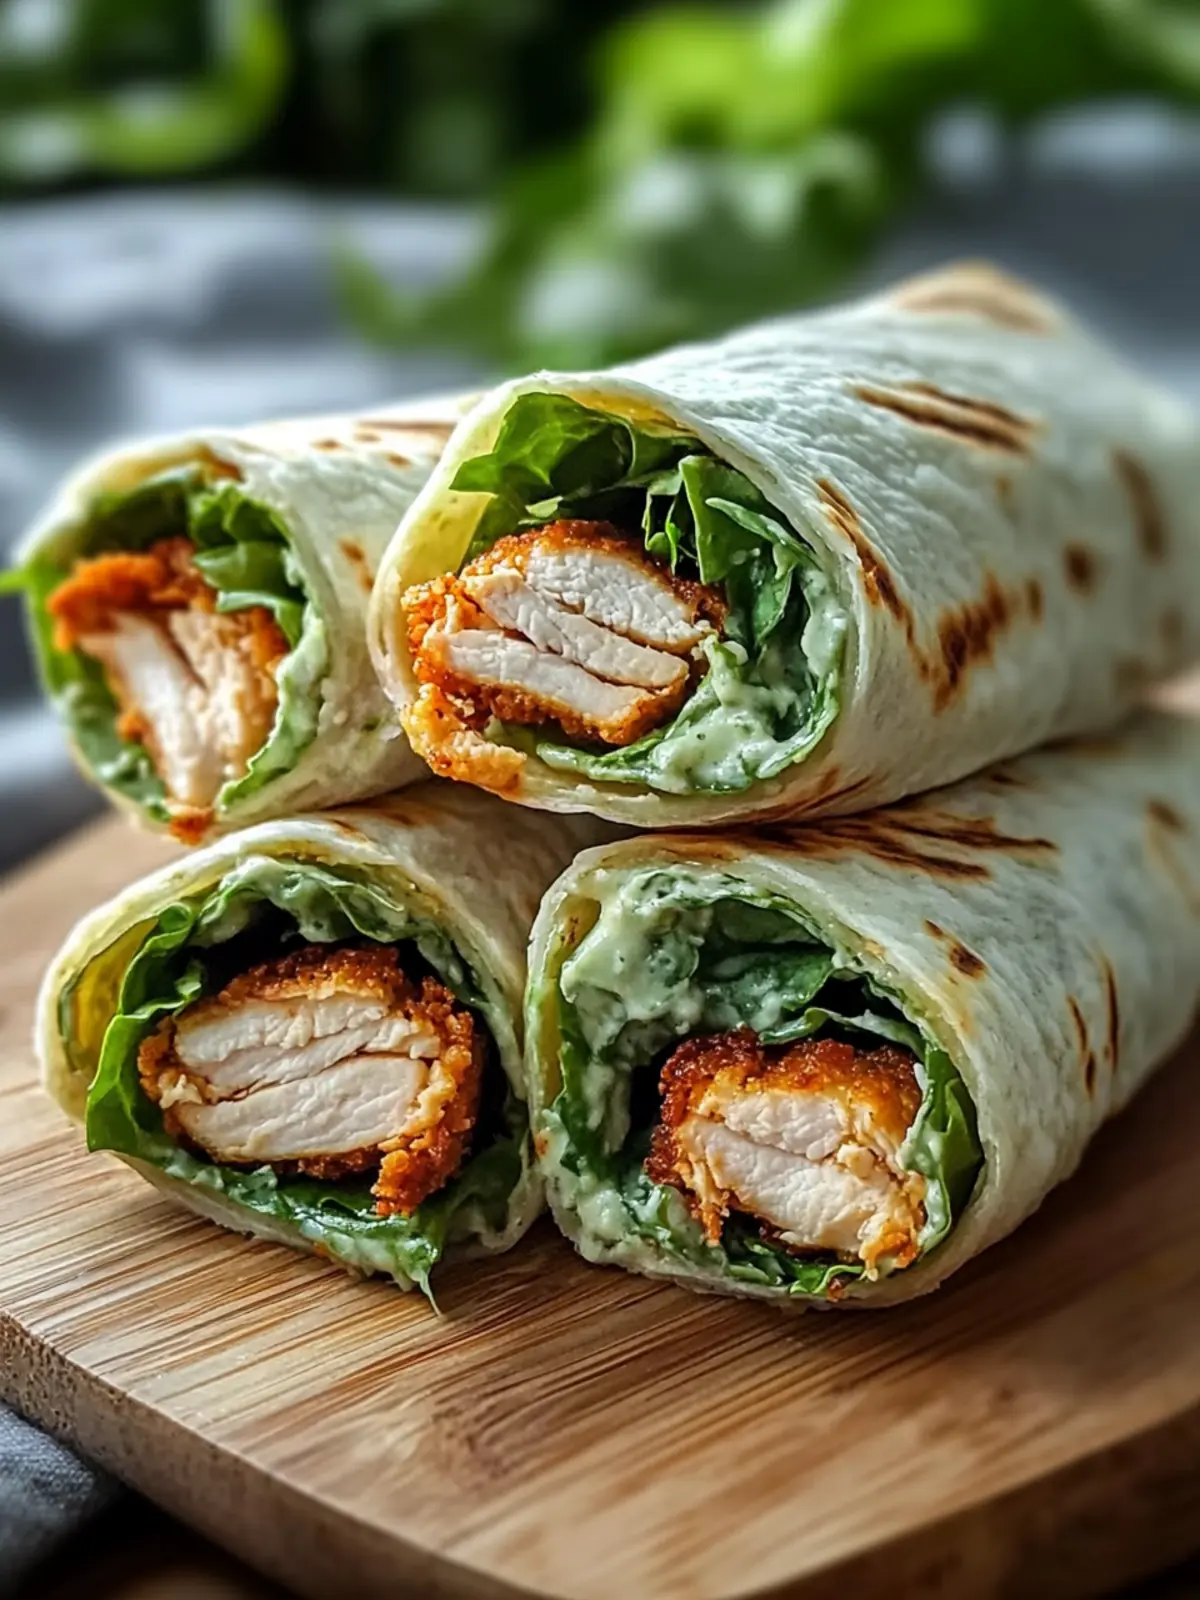
Crispy Chicken Caesar Wraps for a Quick, Flavor-Packed Lunch
Ingredients
Equipment
Method
- Prepare Chicken: Start by pounding the chicken breasts to an even 1/2-inch thickness. Season them generously with your favorite spices and set up a breading station with panko breadcrumbs and olive oil for a crisp finish.
- Toast Panko: In a skillet, heat olive oil over medium heat. Add panko breadcrumbs and toast them for 2-3 minutes until they turn a beautiful golden brown, making sure to stir frequently to avoid burning.
- Cook Chicken: Coat each chicken breast in the olive oil before pressing it into the toasted panko for even coverage. Cook the chicken in the skillet for about 5-6 minutes on each side until golden brown and cooked through (165°F/74°C). Let them rest for a few minutes before slicing.
- Make Dressing: In a bowl, whisk together the mayonnaise, freshly grated Parmesan, minced garlic, lemon juice, Dijon mustard, and Worcestershire sauce until you have a smooth and creamy dressing that’s perfect for drizzling.
- Assemble Wraps: Lay romaine lettuce leaves on each tortilla. Add the sliced crispy chicken on top and then drizzle generously with the creamy Caesar dressing to bring all the flavors together.
- Wrap Well: Fold the sides of each tortilla inwards and roll tightly to secure the filling. For easy transport, consider wrapping the assembled wraps in parchment paper.