
As the crisp autumn air settles in and the leaves turn golden, there’s nothing quite like the scent of sweet, spiced apples baking in the oven. It reminds me of cozy evenings spent with family, gathered around the table, sharing stories over a comforting dessert. This Easy Apple Crisp is my go-to recipe for those moments. With its tender apples kissed by warm cinnamon and a perfectly crunchy oat topping, it’s an effortless charm that brings smiles to every gathering.
I love how versatile this recipe is, allowing you to mix different apple types for a unique twist. Plus, it’s simple enough for even novice bakers to whip up! Imagine serving it warm, perhaps with a scoop of creamy vanilla ice cream melting on top. Sounds heavenly, right? Let’s dive into this delightful recipe that’s destined to become a beloved staple in your kitchen!
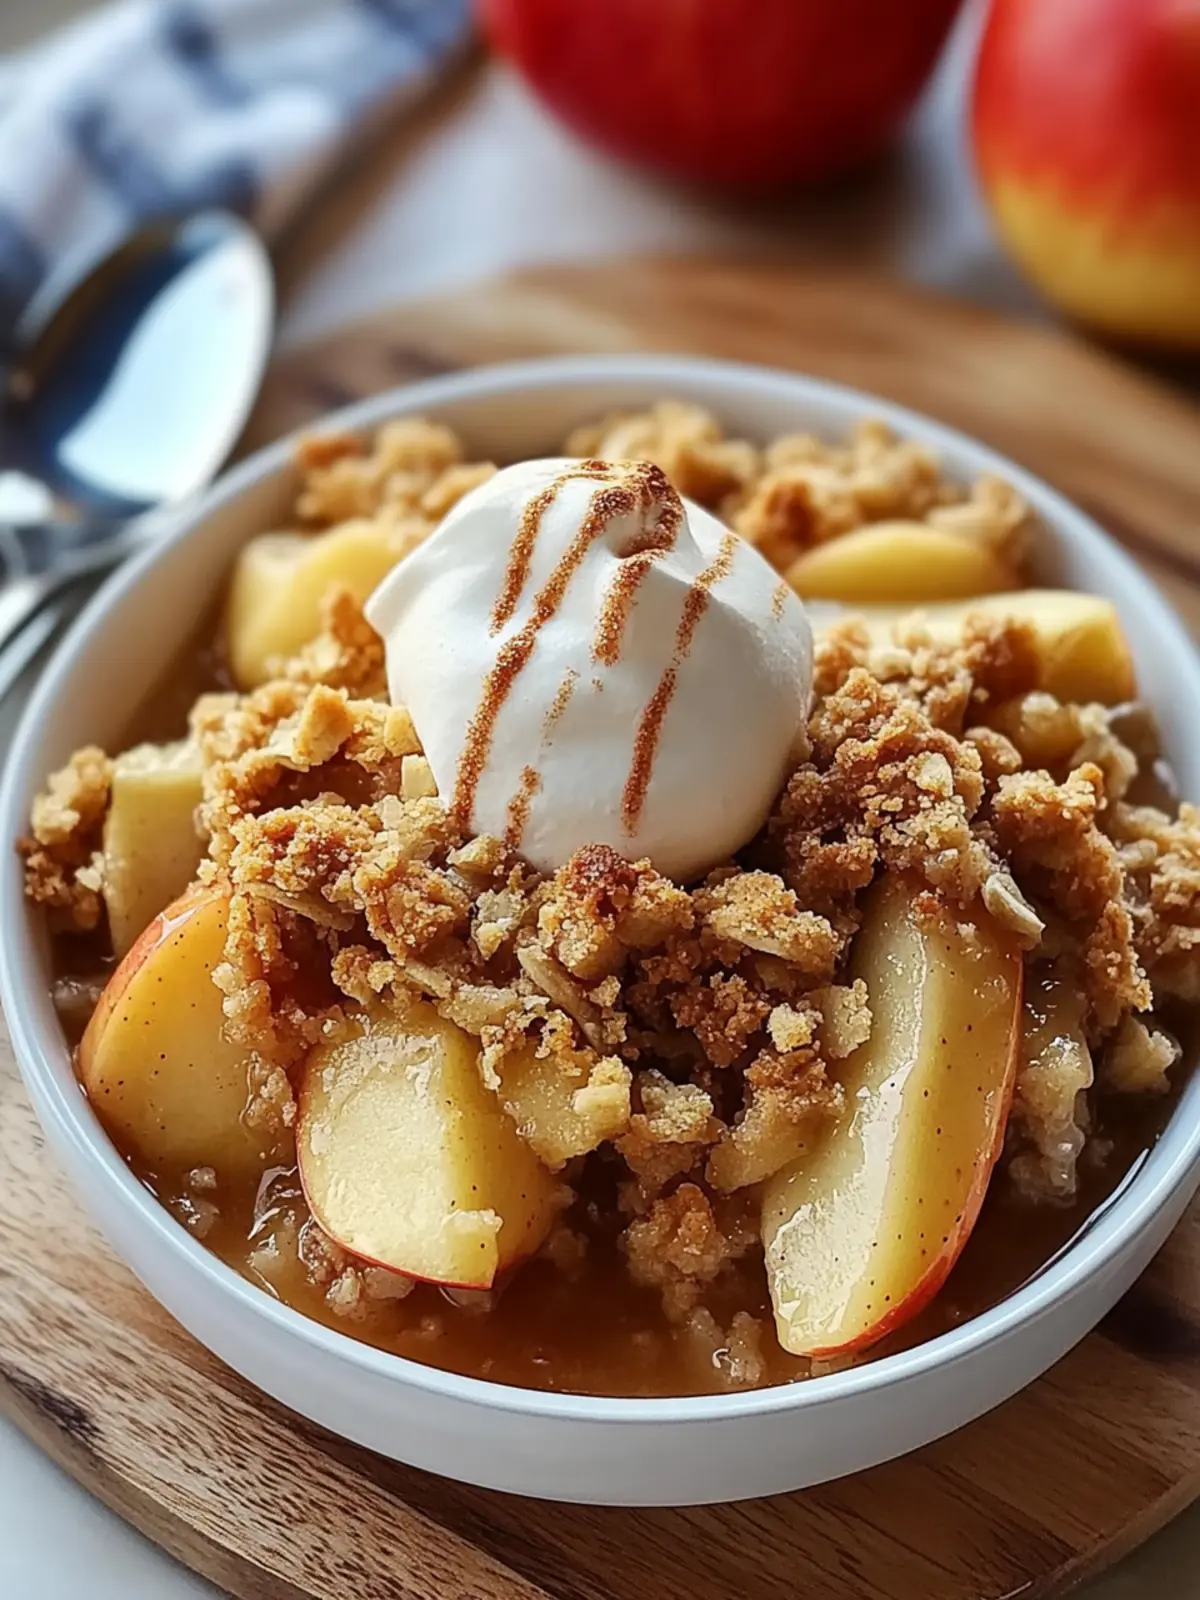
Why Will You Love This Easy Apple Crisp?
Warm, Cozy Comfort: This Easy Apple Crisp perfectly embodies the essence of fall, filling your home with an inviting aroma that beckons family and friends to gather around the table.
Versatile Delight: Feel free to customize the recipe by using a variety of apples, creating a unique taste each time.
Quick and Simple: With just a few ingredients and straightforward steps, you’ll have this delicious dessert ready in under an hour.
Crowd-Pleaser: It’s designed to impress, making it ideal for both casual weeknight dinners and festive gatherings.
Perfectly Indulgent: Serving it warm with vanilla ice cream transforms every bite into a heavenly experience that leaves everyone asking for seconds!
Easy Apple Crisp Ingredients
For the Apple Filling
• Apples – The star of the dish; use tart varieties like Granny Smith for structure or mix with sweeter options like Honeycrisp for added depth.
• Granulated Sugar – Sweetens the apples, making them juicy; feel free to reduce for less sweetness.
• Ground Cinnamon – Brings a warm, inviting flavor to the filling; pair with nutmeg for a more complex taste.
• Nutmeg – Enhances the cinnamon flavor; use sparingly as it’s quite potent.
For the Topping
• All-Purpose Flour – Provides structure and crispness; substitute with almond or oat flour for a gluten-free option.
• Old-Fashioned Rolled Oats – Create a chewy texture for the topping; quick oats will yield a finer crunch.
• Brown Sugar – Adds deep, caramel flavors to the topping; coconut sugar is a great alternative for a refined option.
• Salt – Enhances the overall flavors in the dish; a pinch of sea salt works beautifully.
• Unsalted Butter – Introduces richness and moisture to the topping; coconut oil is a suitable vegan substitute.
How to Make Easy Apple Crisp
-
Prepare Apples: Begin by peeling and thinly slicing 6 cups of your favorite apples—about 5 medium-sized ones. Toss them together with 1/4 cup of granulated sugar, 1 teaspoon of cinnamon, and 1/4 teaspoon of nutmeg until well coated.
-
Assemble: Next, spread the seasoned apple mixture evenly in a greased 9×9-inch baking dish, ensuring they’re layered nicely for even baking.
-
Mix Topping: In a separate bowl, combine 3/4 cup of all-purpose flour, 3/4 cup of old-fashioned rolled oats, 1/2 cup of brown sugar, and 1/4 teaspoon of salt. Pour in 1/2 cup of melted butter and mix until you achieve a crumbly topping texture.
-
Add Topping: Carefully sprinkle the oat mixture over the prepared apples, making sure to cover them evenly for a delicious crunch.
-
Bake: Place the dish in a preheated oven at 350°F (175°C) and bake for 40-45 minutes, or until the topping is golden brown and you see the apples bubbling beneath.
-
Cool and Serve: Once baked, allow your Easy Apple Crisp to cool for about 10 minutes before serving. It’s delightful served warm, especially with a scoop of vanilla ice cream or fresh whipped cream on top!
Optional: Top with chopped nuts for an even richer flavor.
Exact quantities are listed in the recipe card below.
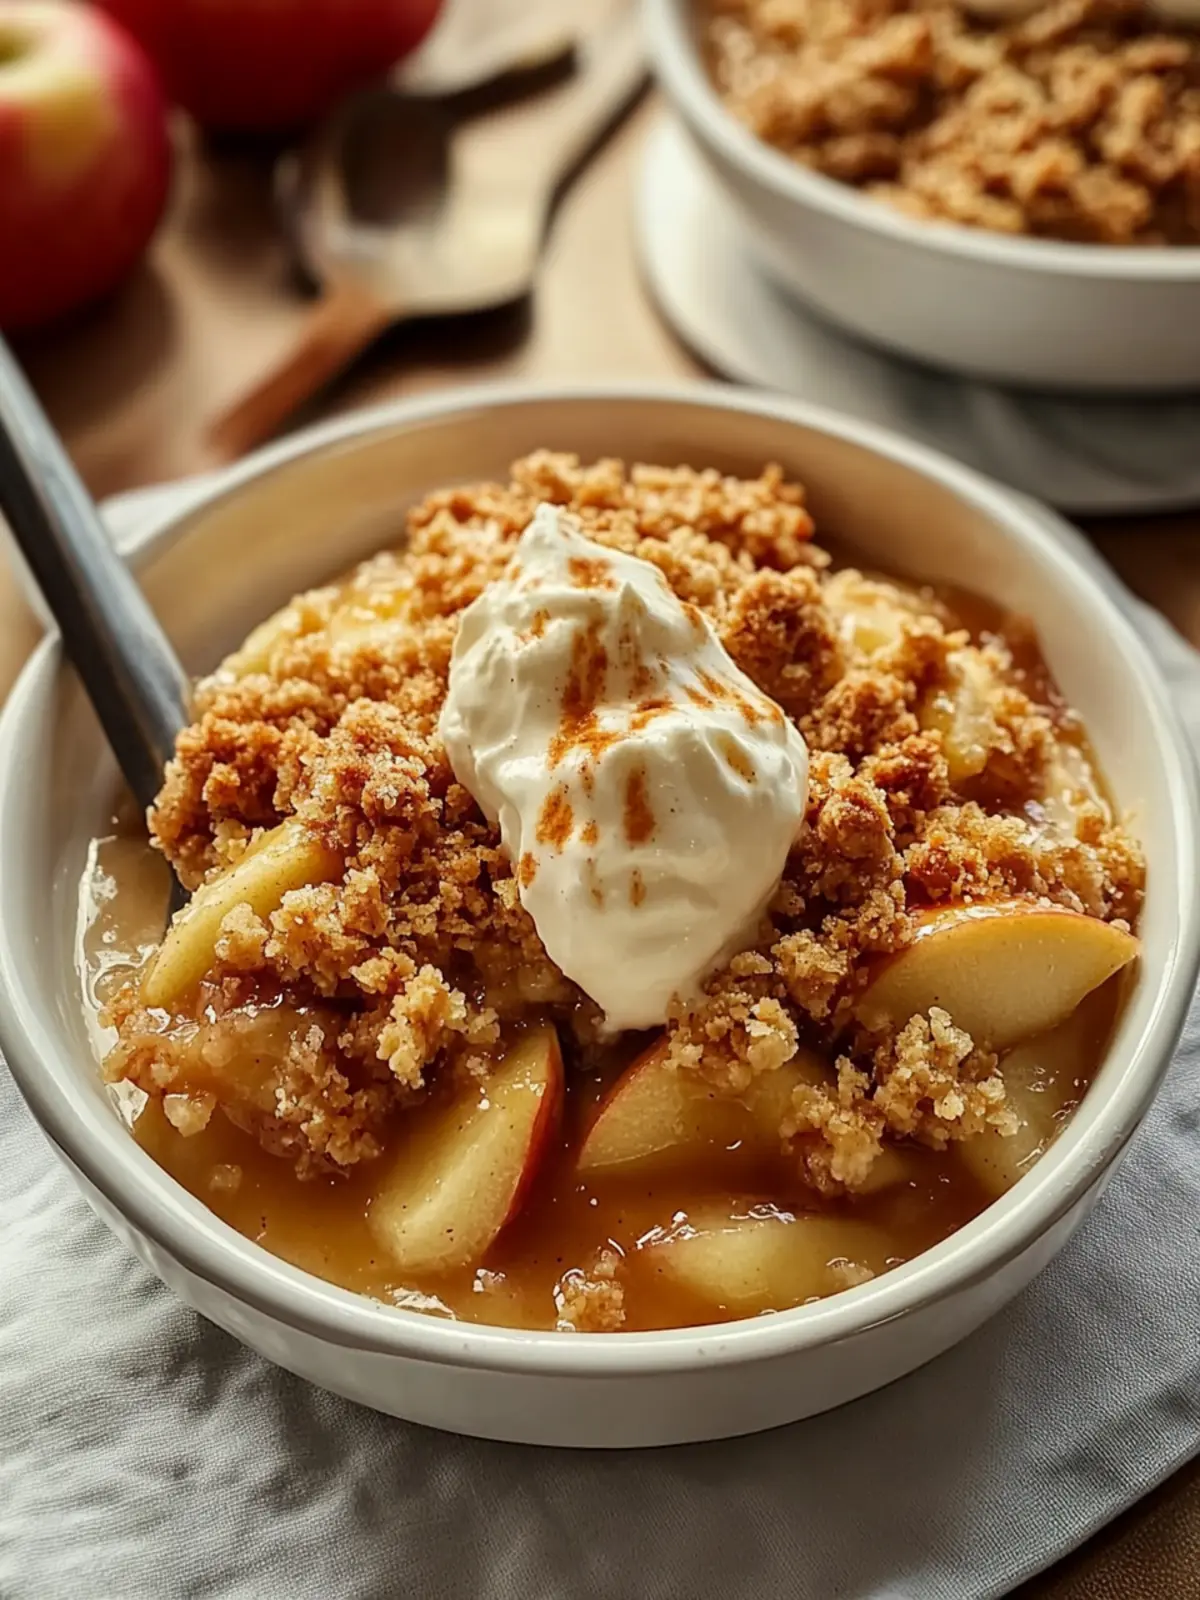
How to Store and Freeze Easy Apple Crisp
Fridge: Store the Easy Apple Crisp covered in the refrigerator for up to 4 days. Reheat individual servings in the microwave or warm oven for optimal taste.
Freezer: For longer storage, freeze the fully baked and cooled apple crisp for up to 2 months. When ready to enjoy, reheat in a 350°F (175°C) oven until thoroughly warmed.
Covering: Always cover the dish with plastic wrap or aluminum foil before freezing to prevent freezer burn and preserve flavor.
Make Ahead: You can assemble the Easy Apple Crisp and refrigerate it uncooked for 24 hours before baking, making prep easier for gatherings.
Easy Apple Crisp Variations
Feel free to personalize this recipe and bring your own flair to each bite of apple goodness!
-
Nutty Crumble: Fold in a handful of chopped walnuts or pecans into the topping for added crunch and richness.
-
Different Apples: Combine tart varieties like Granny Smith with sweet ones like Honeycrisp or Fuji for a delicious flavor balance.
-
Spice it Up: Add a pinch of allspice or ginger to the apple filling for a warm, zesty kick that deepens the flavor profile.
-
Sweetener Swap: Use maple syrup or honey instead of granulated sugar to impart a unique sweetness and complex flavor notes.
-
Gluten-Free: Replace all-purpose flour with almond flour or gluten-free oats to make this dessert a safe and delicious option for gluten-sensitive guests.
-
Coconut Bliss: Replace butter with melted coconut oil for a hint of tropical flavor, keeping it vegan-friendly and deliciously moist.
-
Berry Medley: Toss in some fresh or frozen berries, like blueberries or raspberries, for a delightful fruity twist alongside the apples.
-
Cinnamon Sugar Sprinkle: Before baking, sprinkle a little cinnamon sugar over the topping for an extra layer of sweetness and delightful caramelization.
Make Ahead Options
These Easy Apple Crisp preparations are perfect for busy cooks looking to save time! You can assemble the entire dish up to 24 hours in advance by preparing the apple filling and topping, then storing them separately in the refrigerator. To maintain quality, keep the apples covered to prevent browning, while the topping should remain in an airtight container. When you’re ready to serve, simply spread the apple mixture in a greased baking dish, sprinkle the topping on top, and pop it in a preheated oven at 350°F (175°C) for 40-45 minutes. You’ll enjoy fresh, warm dessert goodness with minimal effort!
Expert Tips for Easy Apple Crisp
• Apple Selection: Choose a mix of sweet and tart apples to create a balanced flavor profile in your Easy Apple Crisp.
• Texture Variation: For extra crunch, consider adding a handful of chopped nuts like walnuts or pecans to the topping before baking.
• Sugar Adjustment: If you prefer a less sweet dessert, reduce the granulated sugar in the apple filling without sacrificing flavor.
• Baking Time: Keep an eye on your crisp while baking; if the topping starts to brown too quickly, cover it with foil to prevent burning.
• Serving Warm: Serve the Easy Apple Crisp warm for the best texture, and don’t forget a scoop of vanilla ice cream or whipped cream for the ultimate indulgence!
What to Serve with Easy Apple Crisp?
As the tantalizing aroma of baked apples fills your kitchen, it’s the perfect time to consider what delectable accompaniments will round out this cozy dessert experience.
-
Vanilla Ice Cream: The classic choice! The creamy, cold ice cream melts beautifully over warm apple crisp, adding a delightful contrast.
-
Whipped Cream: Light and airy, whipped cream adds a fluffy texture that enhances the comforting flavors of the apple crisp.
-
Greek Yogurt: For a healthier twist, serve with tangy Greek yogurt. Its creaminess balances the sweetness, lending a refreshing note.
-
Caramel Sauce: Drizzling warm caramel over the crisp elevates the dessert to another level of indulgence, perfect for sweet tooth lovers.
-
Sharp Cheddar Cheese: A surprising yet classic pairing, the sharpness of cheddar cheese complements the sweet and spiced apples wonderfully.
-
Fresh Mint Leaves: Garnish with fresh mint for a pop of color and a minty freshness that brightens each bite.
-
Herbal Tea: Pair your apple crisp with a soothing cup of chamomile or peppermint tea to create a warm and inviting dining experience.
-
Apple Cider: Nothing screams fall like a glass of spiced apple cider, which harmonizes perfectly with the flavors of your sweet, baked dessert.
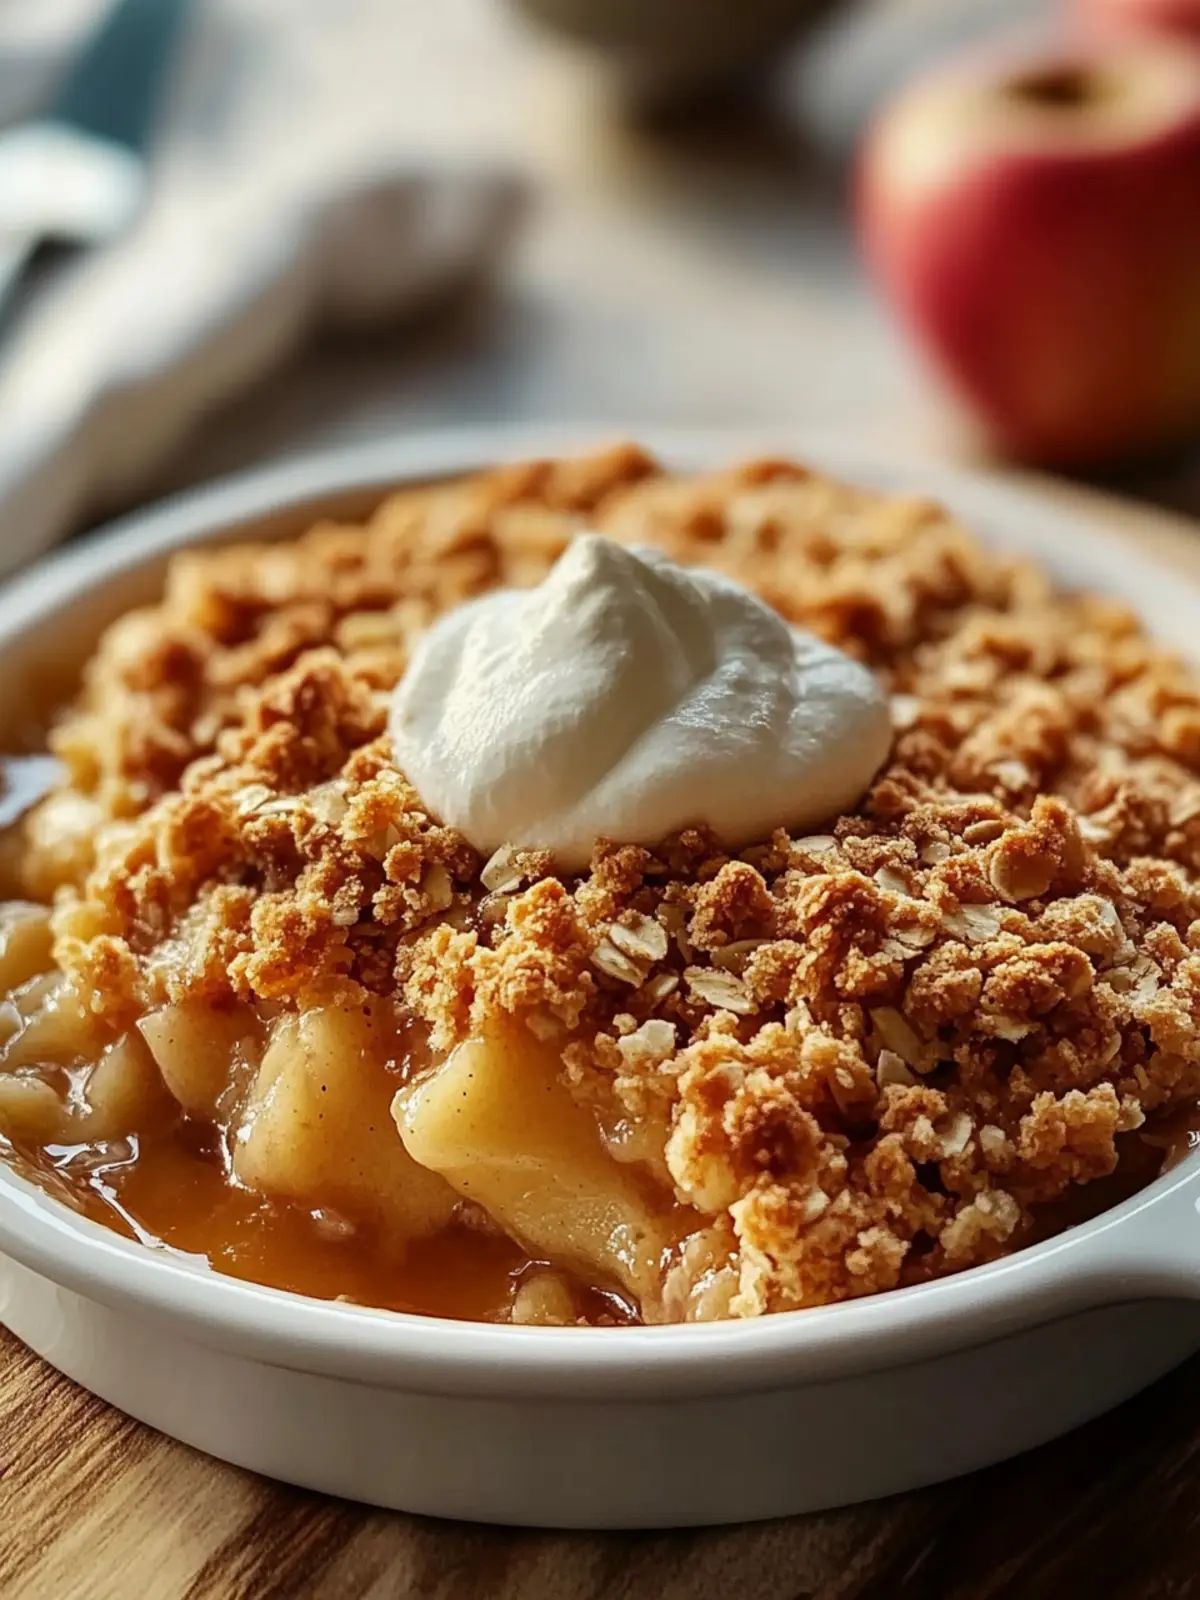
Easy Apple Crisp Recipe FAQs
What type of apples should I use for the Easy Apple Crisp?
Absolutely! I recommend using a mix of firm, tart apples like Granny Smith for structure and some sweeter varieties like Honeycrisp or Fuji for depth. This combination creates a delightful balance that enhances the flavor of your crisp!
How should I store leftover Easy Apple Crisp?
You can easily store the Easy Apple Crisp in the refrigerator, covered, for up to 4 days. Just reheat individual servings in the microwave or in a warm oven to bring back that comforting, just-baked taste.
Can I freeze Easy Apple Crisp for later use?
Yes, you can! After fully baking and cooling your crisp, cover it tightly with plastic wrap or aluminum foil and freeze it for up to 2 months. When you’re ready to enjoy, simply reheat it in a 350°F (175°C) oven until warmed throughout, typically about 20-30 minutes.
What if my apple filling is too watery?
If you find your apple filling is too watery, consider adding an extra tablespoon of flour to the apple mixture before baking. This will help thicken the juices, giving you that perfect texture. Also, ensuring your apples are well-coated with sugar and spices will help them hold their shape better while baking.
Is this Easy Apple Crisp suitable for a gluten-free diet?
Very! To make this dessert gluten-free, simply substitute the all-purpose flour with almond or oat flour. It provides a wonderful structure and allows you to enjoy the same great taste without the gluten.
Can I make the Easy Apple Crisp ahead of time?
Absolutely! You can assemble the Easy Apple Crisp up to 24 hours in advance. Just cover it and store it in the refrigerator uncooked. When you’re ready to serve, pop it in the oven for that fresh-baked aroma that fills the room, making it feel like you just whipped it up on the spot!
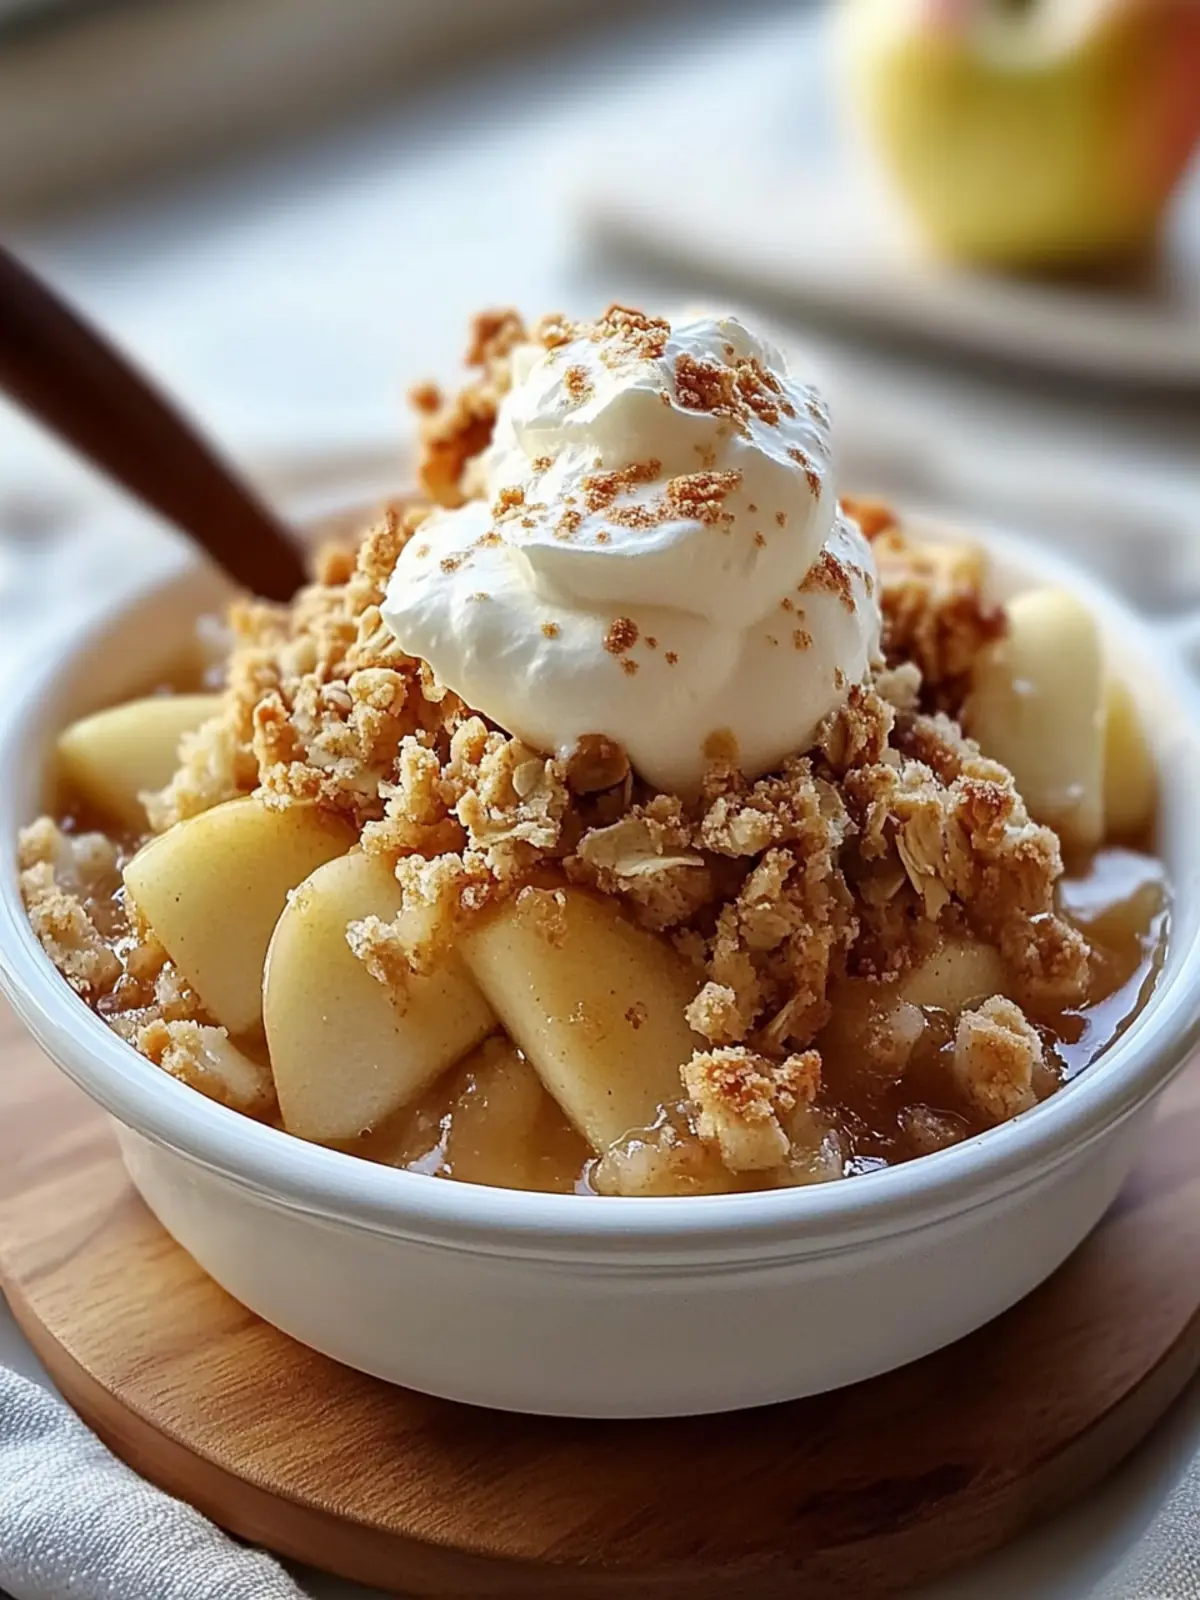
Irresistible Easy Apple Crisp: Your Fall Dessert Dream!
Ingredients
Equipment
Method
- Begin by peeling and thinly slicing the apples. Toss them with granulated sugar, cinnamon, and nutmeg until coated.
- Spread the seasoned apple mixture evenly in a greased baking dish.
- Combine flour, oats, brown sugar, and salt in a bowl. Add melted butter and mix until crumbly.
- Sprinkle the oat mixture over the prepared apples.
- Bake in a preheated oven at 350°F (175°C) for 40-45 minutes.
- Allow to cool for 10 minutes before serving.