
When the sun peeks through my kitchen window, casting a warm glow, I often find myself craving something freshly baked that fills the air with tantalizing scents. That’s when I whip up a batch of my cherished Garlic and Parmesan Bagels. Imagine the comforting aroma of garlic mingling with the rich, nutty notes of Parmesan wafting through the house, drawing family and friends to the kitchen like a warm hug.
These homemade delights are not just any bagels; they embody that perfect balance of a crispy crust and a soft, pillow-y interior, making them an irresistible option for breakfast, brunch, or even a hearty snack. What sets them apart is how easily they can be customized, ensuring they’ll satisfy your cravings, whether you enjoy them plain or topped with your favorite spreads. Join me as I share the joy of creating these Garlic and Parmesan Bagels, perfect for quality time with loved ones or simply indulging in homemade comfort.
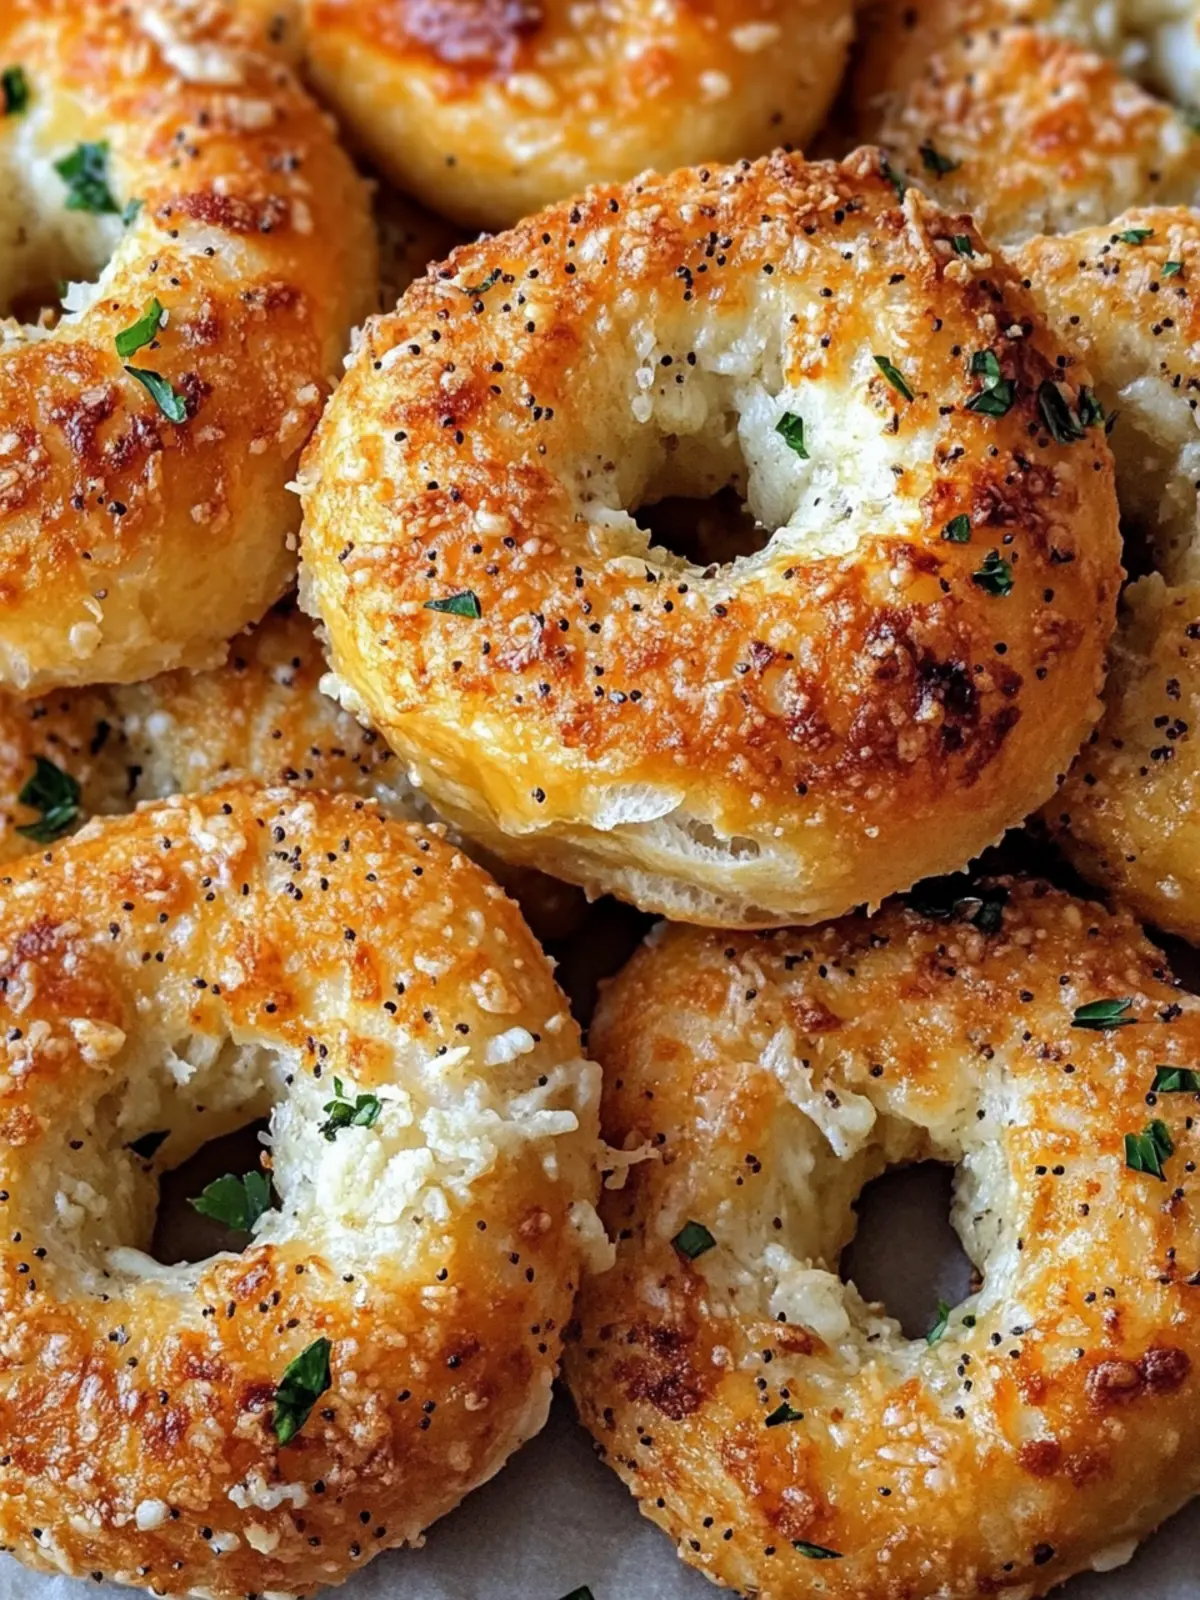
Why are Garlic and Parmesan Bagels a must-try?
Irresistible aroma: The moment these bagels are baking, your kitchen is transformed into a cozy haven filled with inviting scents.
Homemade goodness: Made from scratch, these bagels guarantee freshness and quality, leaving store-bought options in the dust.
Customizable delight: With endless topping options, you can easily cater to everyone’s preferences—add herbs, cheese, or even a sprinkle of spice!
Versatile enjoyment: Perfect for any meal, enjoy them as breakfast with cream cheese, or as a snack with hummus or smoked salmon.
Quality time: Baking these bagels together with family makes for a fun, bonding experience while creating delicious memories.
Garlic and Parmesan Bagel Ingredients
Homemade good vibes start here!
For the Bagel Dough
- All-Purpose Flour – the backbone of your bagels, providing the chewy texture we all crave.
- Garlic Powder – infuses the dough with savory notes; you can substitute with fresh minced garlic for a stronger punch.
- Sugar – enhances browning and balances the savory flavors for a perfect harmony.
- Baking Powder – a leavening agent that helps give your bagels a slightly airy rise during baking.
- Salt – enhances and elevates the taste of all ingredients; don’t skip this!
- Cottage Cheese – adds moisture and richness, ensuring that pillow-like softness; swap with Greek yogurt if needed.
- Water – adjust as necessary to achieve the right consistency for the dough; too much leads to sticky dough.
For the Toppings
- Egg (for wash) – gives your bagels that shiny, golden crust we all adore!
- Parmesan Cheese – a generous sprinkle adds umami goodness; feel free to experiment with cheddar or other hard cheeses too.
- Sesame Seeds (optional) – a delightful crunch that enhances flavor; they’re simply irresistible!
How to Make Garlic and Parmesan Bagels
-
Preheat oven: Set your oven to 425°F (220°C) and get a baking sheet ready by lining it with parchment paper. This helps to achieve that perfect golden crust without sticking!
-
Mix dry ingredients: In a large bowl, combine the all-purpose flour, garlic powder, sugar, baking powder, and salt. Stir well until everything is mixed evenly, creating a flavorful base for the dough.
-
Add cottage cheese: Gently fold in the cottage cheese until the mixture is well combined, ensuring that the richness is evenly distributed. It should look somewhat clumpy but cohesive.
-
Incorporate water slowly: Gradually pour in water, mixing as you go. Continue adding until a dough forms. Be careful not to add too much at once; you want a smooth dough, not a sticky mess!
-
Knead dough: Turn the dough onto a floured surface and knead for about 5-7 minutes. You’re aiming for a smooth and elastic texture—this is where the magic happens!
-
Shape bagels: Divide the dough into six pieces. Roll each piece into a ball and poke a hole through the center, then reshape it into a bagel. The kids love this part!
-
Prepare for baking: Place your shaped bagels on the lined baking sheet. Brush the tops generously with the egg wash, then sprinkle with Parmesan cheese and sesame seeds if desired.
-
Bake: Pop the bagels into the oven and bake for 20-25 minutes. You’re looking for a beautiful golden brown color—this is when they’ll be at their best!
-
Cool: Once baked, remove the bagels from the oven and let them cool slightly on a wire rack. This is crucial for maintaining their soft interior texture.
Optional: Serve warm with herbed butter for an extra tasty treat.
Exact quantities are listed in the recipe card below.
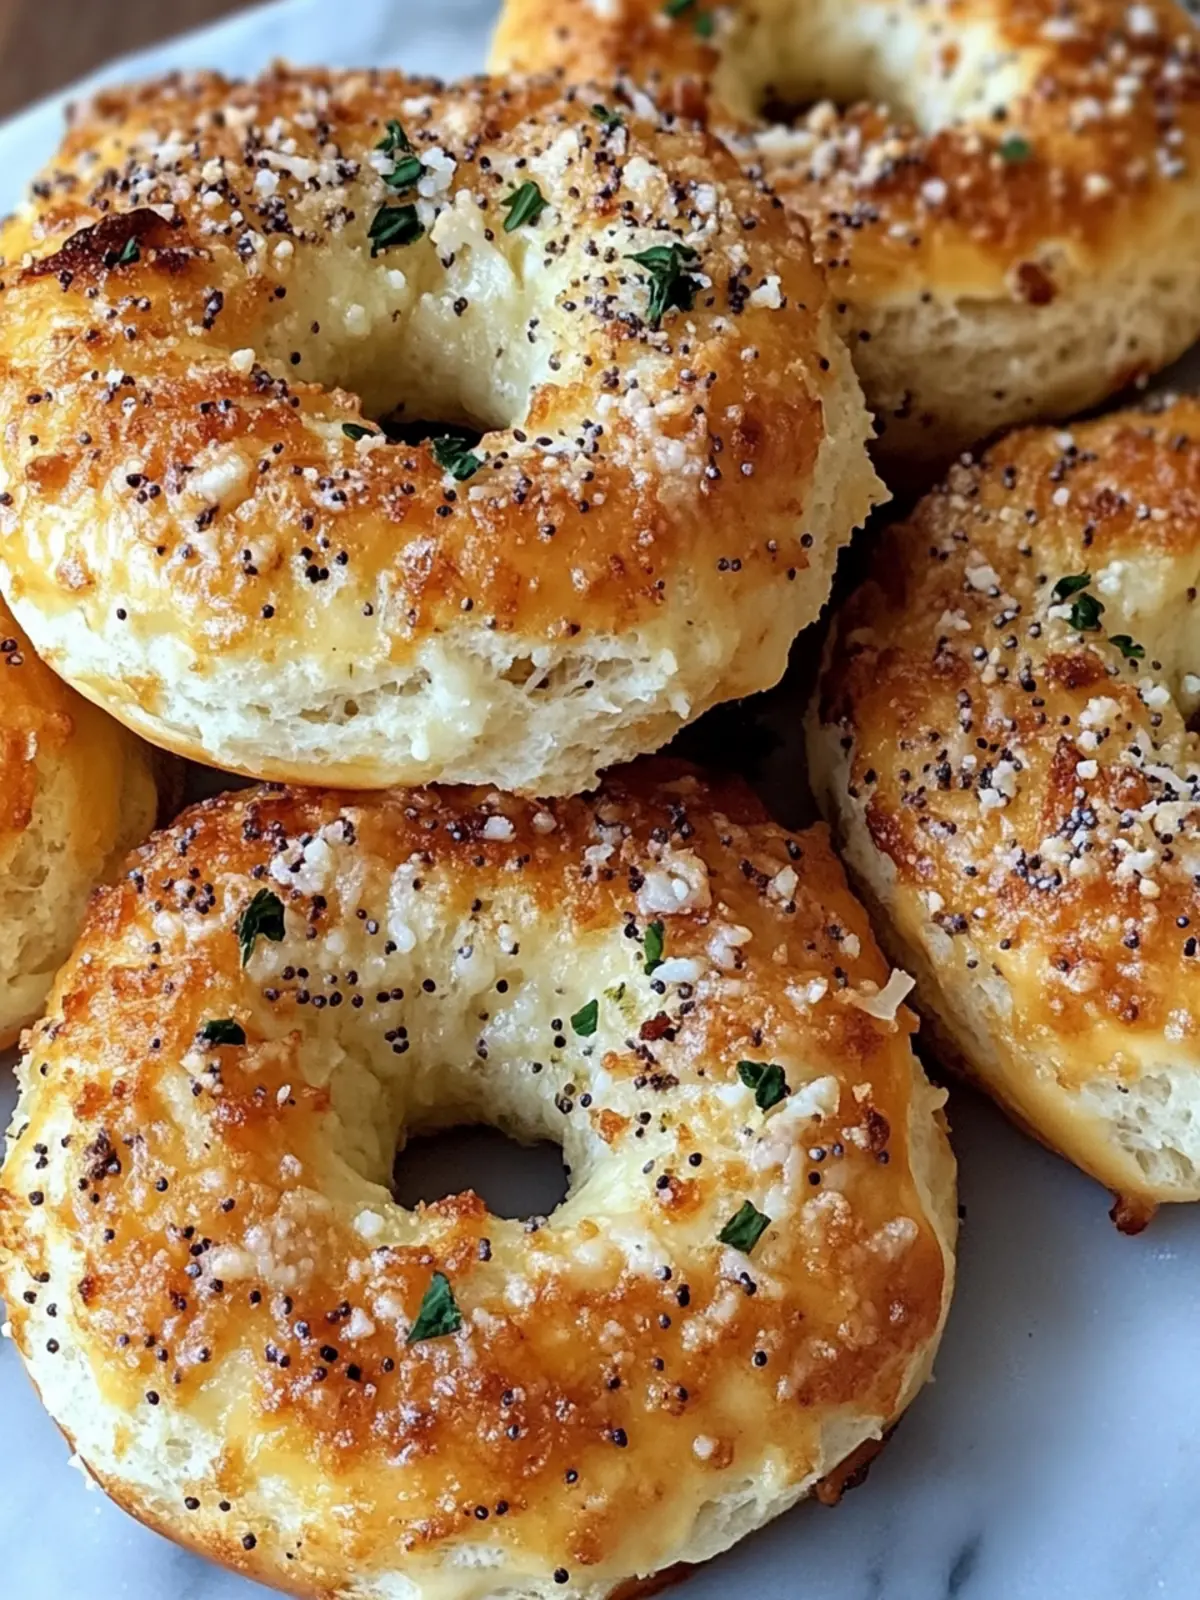
Garlic and Parmesan Bagels Variations
Feel free to get creative with these bagels, making them your own with delightful twists and substitutions!
- Dairy-Free: Swap cottage cheese with a dairy-free yogurt or nut-based cream cheese for a lactose-free version.
- Gluten-Free: Use a gluten-free flour blend and add xantham gum for that chewy texture without the gluten.
- Herb-Infused: Add fresh herbs like chopped rosemary or thyme to the dough for a burst of flavor in every bite!
- Spicy Kick: Mix in a teaspoon of chili flakes or cayenne pepper for a bit of heat that’ll wake up your taste buds.
- Cheese Lovers: Experiment with different hard cheeses! Try aged cheddar, Gruyère, or even feta for a unique twist.
- Savory Seeds: Swap sesame seeds for poppy seeds or everything bagel seasoning for a crunchy, flavorful topping.
- Sweet Twist: Drizzle with honey or maple syrup after baking for a delightful sweet and savory combination.
- Stuffed Bagels: Fill them with cream cheese and chives or sun-dried tomatoes before baking for an extra burst of deliciousness.
What to Serve with Garlic and Parmesan Bagels?
Elevate your meal experience with delightful pairings that enhance the cozy flavors of your homemade bagels.
-
Creamy Chive Spread: A luscious spread that perfectly complements the robustness of garlic and Parmesan, adding a refreshing herbal note.
-
Smoked Salmon: The smoky richness of salmon creates an indulgent contrast, making your bagels feel extra special and luxurious. Just think of brunch gatherings!
-
Roasted Tomato Soup: This comforting classic brings warmth and acidity, beautifully balancing the savory nature of bagels. Perfect for dipping!
-
Herbed Butter: A simple yet flavorful addition, this spread infuses your bagels with a generous dose of rich, creamy happiness with every bite.
-
Fresh Green Salad: Crisp greens with a light vinaigrette add some crunch and brightness, which complements the bagels’ soft texture alluringly.
-
Fruit Jam: Sweet and fruity spreads provide a delightful contrast, allowing you to enjoy your garlic and Parmesan bagels with a sweet twist.
-
Cucumber and Cream Cheese Bites: Combine thin slices of cucumber with cream cheese for a refreshing, crunchy accompaniment that’s light and delightful.
-
Sparkling Lemonade: This bubbly drink’s zesty kick elevates your bagel experience, cleansing the palate between bites with a cheerful effervescence.
Whichever combination you choose, these pairings will turn your Garlic and Parmesan Bagels into a truly memorable meal!
Make Ahead Options
These Garlic and Parmesan Bagels are perfect for busy home cooks looking to save time during the week! You can prepare the bagel dough up to 24 hours in advance by mixing the dry ingredients and adding in the cottage cheese, then refrigerate the shaped bagels covered with plastic wrap. This allows for flavor development while ensuring they stay fresh. When you’re ready to bake, simply take them out of the fridge, let them sit at room temperature for about 30 minutes, brush with the egg wash, sprinkle with Parmesan, and bake as directed. This way, you’ll enjoy delicious homemade bagels without the last-minute rush, achieving delightful results just as if they were freshly made!
How to Store and Freeze Garlic and Parmesan Bagels
-
Room Temperature: Store completely cooled bagels in an airtight container at room temperature for up to 3 days. This keeps them fresh and ready to enjoy!
-
Fridge: If you want to extend their life, keep the bagels in the fridge for up to 5 days. Just make sure they’re well-wrapped to prevent them from drying out.
-
Freezer: Freeze your homemade Garlic and Parmesan Bagels for up to 3 months. Ensure they’re individually wrapped or placed in a freezer-safe bag to avoid freezer burn.
-
Reheating: For the best flavor, reheat thawed bagels in a toaster or a preheated oven at 350°F (175°C) for about 5-10 minutes until warm and crispy. Enjoy!
Expert Tips for Garlic and Parmesan Bagels
- Knead Properly: Ensure the dough is well-kneaded for about 5-7 minutes to develop that chewy texture; under-kneading can lead to dense bagels.
- Correct Consistency: Add water gradually until the dough is smooth but not sticky; too much water can spoil your mixture.
- Let It Rest: Allow the dough to rest for 10-15 minutes after kneading to further enhance flavor and texture before shaping.
- Watch the Oven: Keep an eye on your bagels while baking; they can go from perfect to overdone quickly. Look for a golden-brown color!
- Customize Flavors: Don’t hesitate to play around with toppings like fresh herbs or a sprinkle of chili flakes to make your Garlic and Parmesan Bagels uniquely yours.
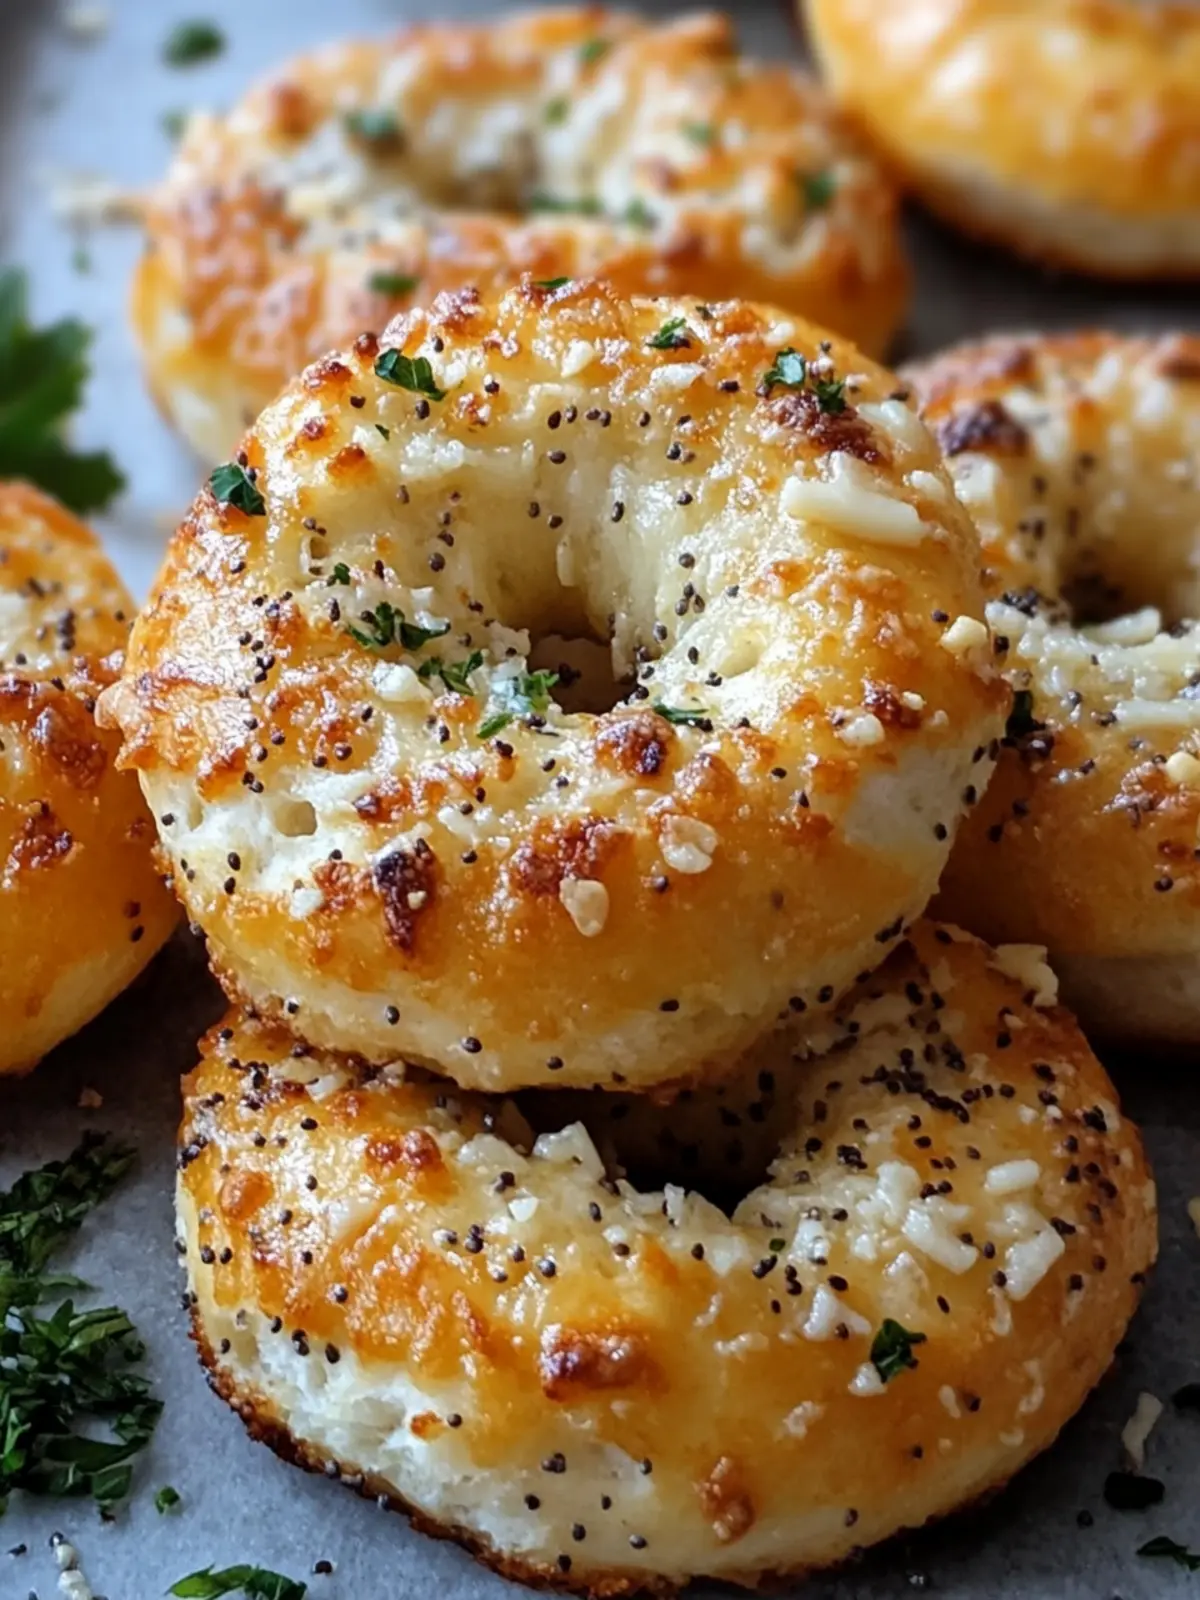
Garlic and Parmesan Bagels Recipe FAQs
What type of garlic works best in the bagels?
Absolutely! I recommend using garlic powder for a balanced flavor throughout the dough. If you prefer a stronger taste, feel free to substitute with fresh minced garlic, adding about 1-2 cloves to the mix. Just be mindful of the moisture content as it can affect the dough consistency!
How should I store leftover Garlic and Parmesan Bagels?
You can store your cooled bagels in an airtight container at room temperature for up to 3 days. If you’d like to keep them fresher for longer, wrap them well and keep them in the fridge for up to 5 days. Just make sure they’re tightly sealed to prevent dryness.
Can I freeze Garlic and Parmesan Bagels? How do I do it?
Yes, you can freeze them for up to 3 months! To freeze, allow the bagels to cool completely, then wrap each one individually in plastic wrap. Place them in a freezer-safe bag or container, squeezing out as much air as possible before sealing. When you’re ready to enjoy them, simply thaw in the fridge overnight and reheat in the toaster or oven!
What can I do if the dough is too sticky?
Very! If your dough feels sticky during the kneading process, sprinkle a little more flour on your workspace and knead until you’re back to a smooth consistency. Remember, the dough should be soft but manageable, so adjust the flour and water as needed while forming it.
Are these bagels suitable for dietary restrictions?
Yes! They are vegetarian-friendly. If you have any allergies, be cautious with the Parmesan cheese; you can either omit it or substitute with a dairy-free cheese alternative. For gluten-free options, use a gluten-free flour blend and add xanthan gum to achieve the right texture, making them safe for those who can’t have gluten.
How can I customize these bagels?
Oh, the more the merrier! You can add toppings like everything bagel seasoning, fresh herbs, or chili flakes before baking. Experiment with your favorite cheeses for a unique twist! Mix and match to create your ideal flavor profile and enjoy every bite of your Garlic and Parmesan Bagels.
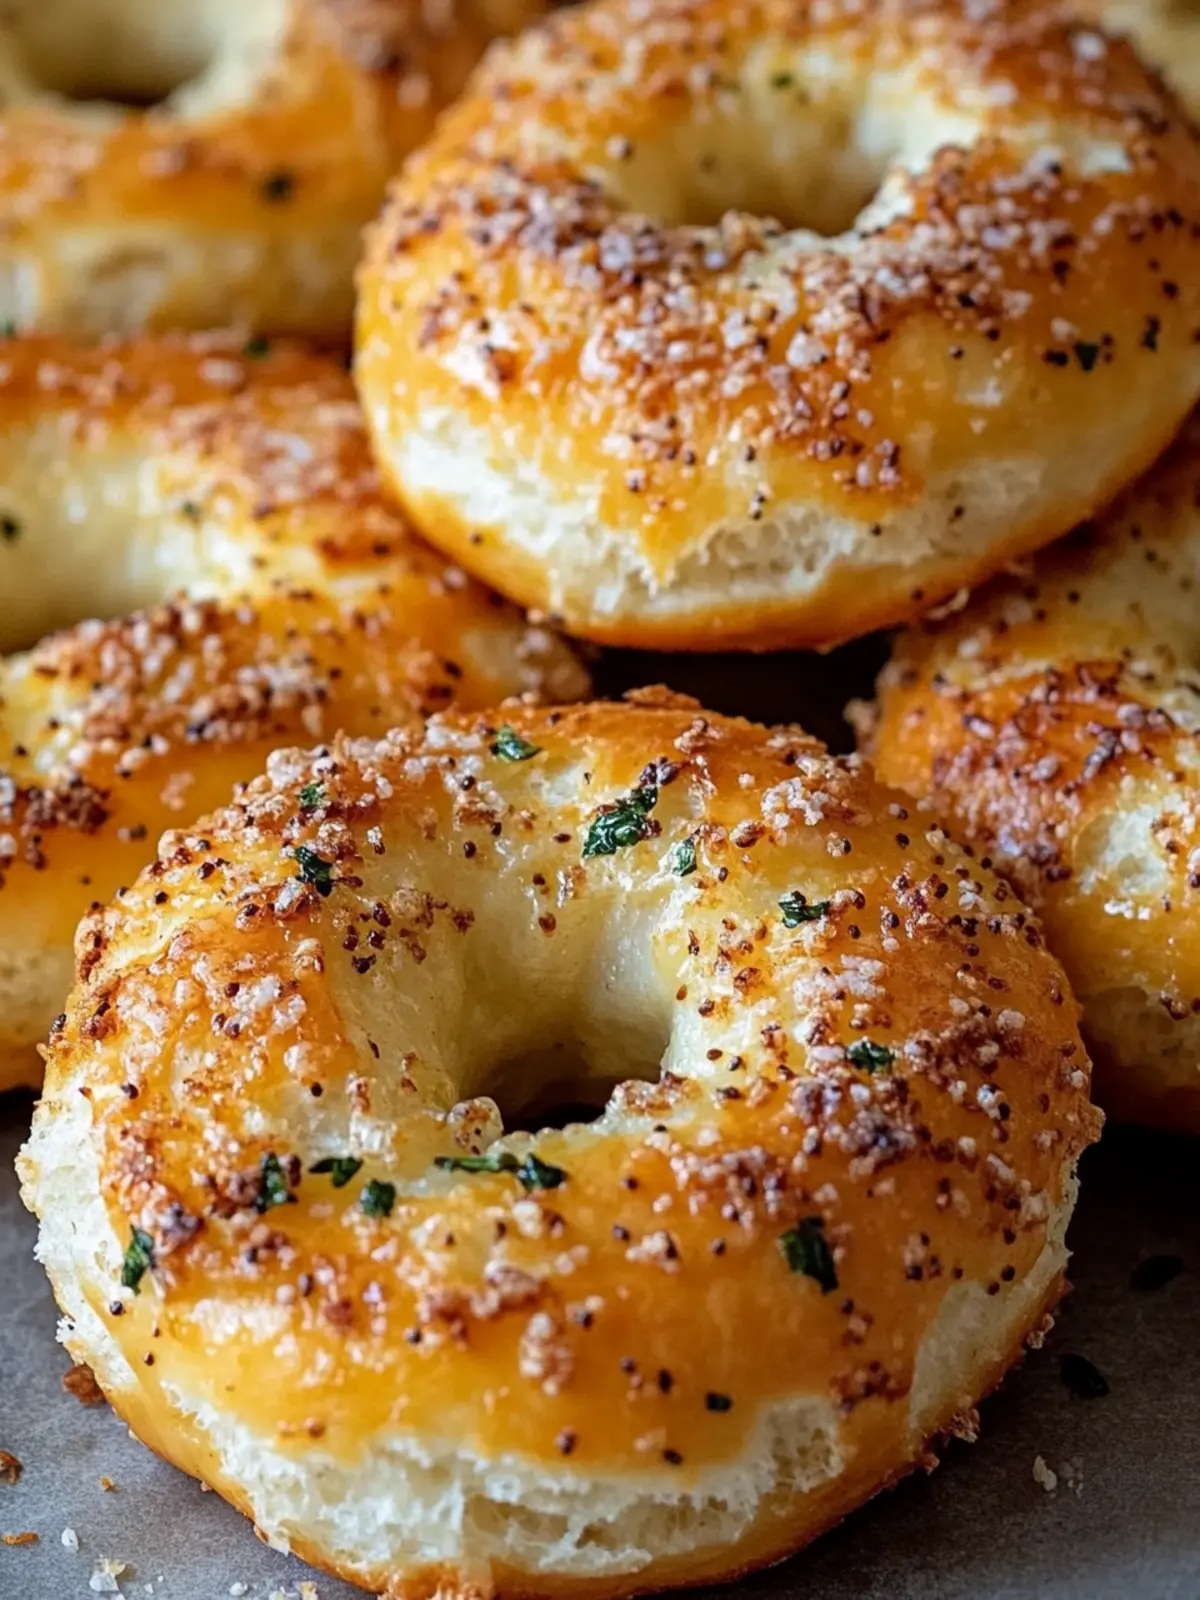
Homemade Garlic and Parmesan Bagels for Cozy Mornings
Ingredients
Equipment
Method
- Preheat oven: Set your oven to 425°F (220°C) and get a baking sheet ready by lining it with parchment paper.
- Mix dry ingredients: In a large bowl, combine the all-purpose flour, garlic powder, sugar, baking powder, and salt. Stir well.
- Add cottage cheese: Gently fold in the cottage cheese until the mixture is well combined.
- Incorporate water slowly: Gradually pour in water, mixing as you go until a dough forms.
- Knead dough: Turn the dough onto a floured surface and knead for about 5-7 minutes.
- Shape bagels: Divide the dough into six pieces. Roll each piece into a ball and poke a hole through the center.
- Prepare for baking: Place your shaped bagels on the lined baking sheet. Brush the tops with the egg wash, then sprinkle with Parmesan cheese and sesame seeds.
- Bake: Pop the bagels into the oven and bake for 20-25 minutes until golden brown.
- Cool: Once baked, remove the bagels from the oven and let them cool slightly on a wire rack.