
There’s no better way to sweeten up your day than with a batch of Homemade Butterfinger Caramel Crunch Bars! Imagine the rich, buttery aroma wafting through your kitchen as you whip up a dessert that marries smooth caramel and the satisfyingly crisp crunch of cereal. I stumbled upon this simple recipe during one of those busy weeks when takeout just wouldn’t cut it. It’s a delightful no-bake treat that can be thrown together in a matter of minutes, making it perfect for family movie nights or last-minute gatherings.
These bars are not only gluten-free and family-friendly, but they can also be customized to your taste—whether you love the classic peanut butter flavor or want to spice things up with nuts or a drizzle of dark chocolate. With every bite, you’ll find yourself indulging in a nostalgic treat that both adults and kids will adore. Let’s dive in and create something irresistibly sweet and crunchy!
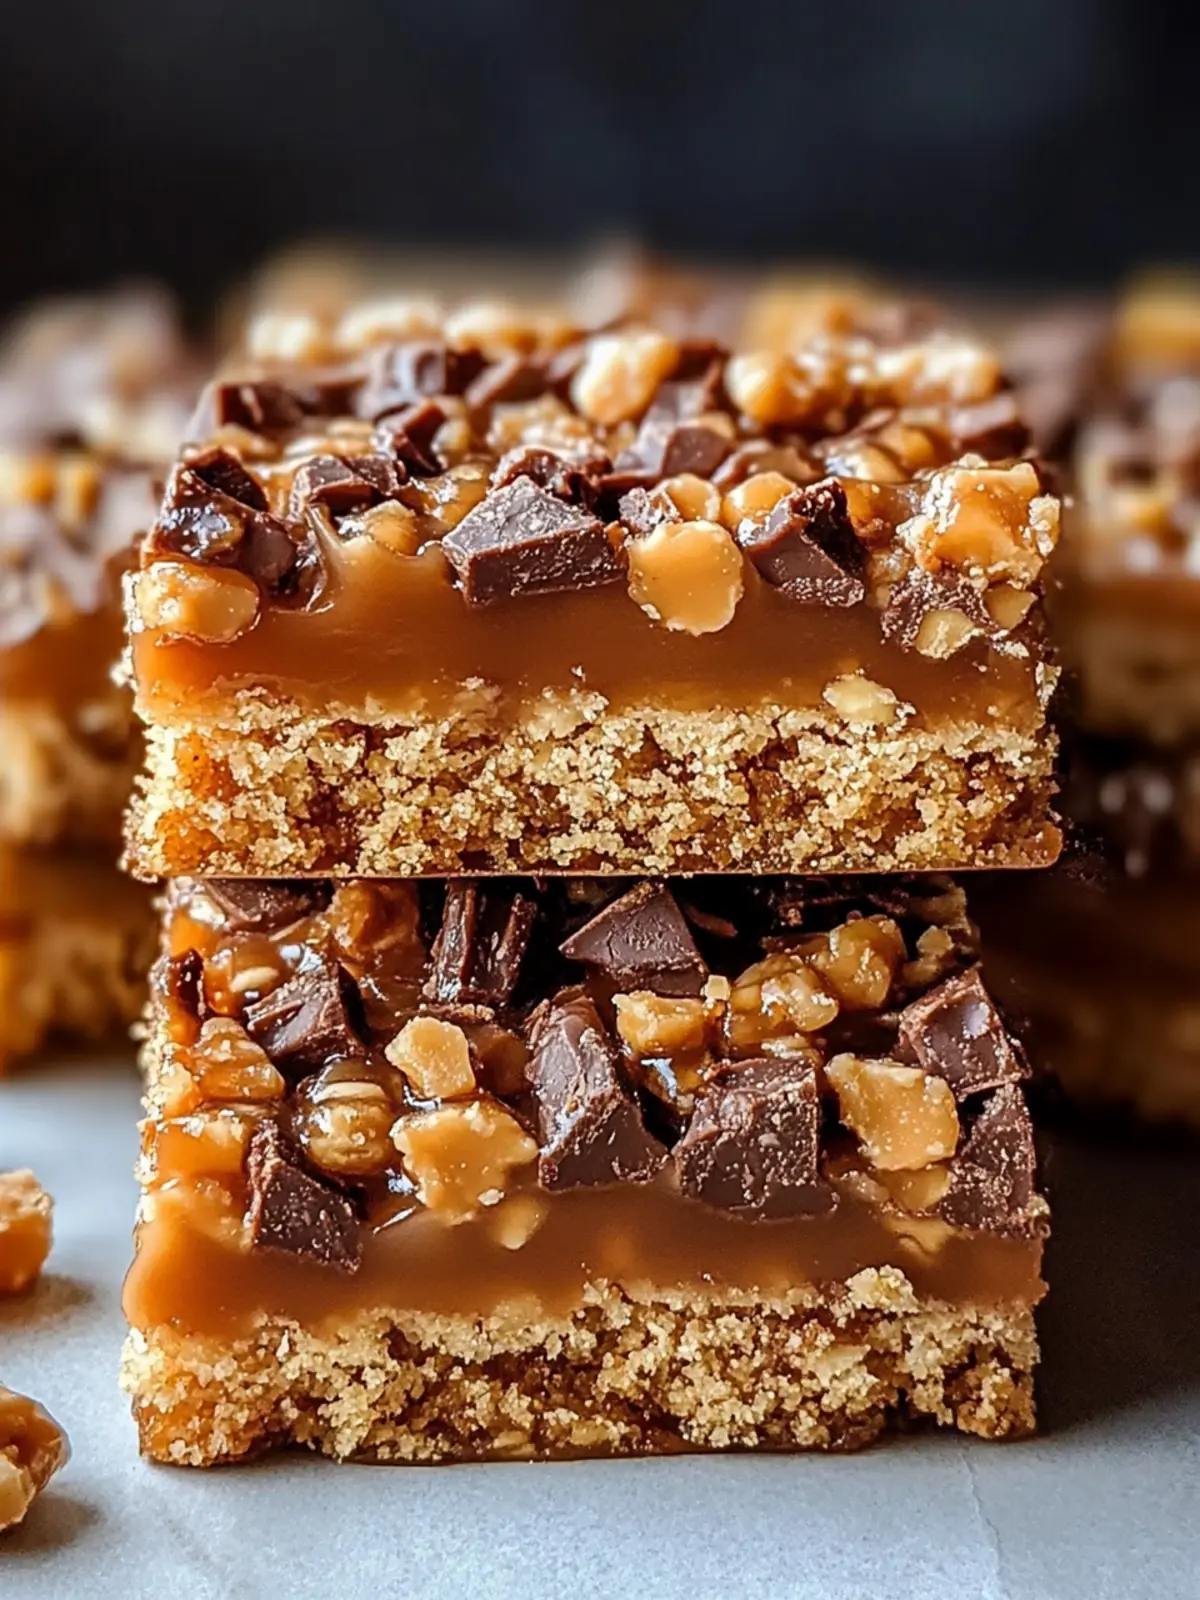
Why You’ll Love These Homemade Butterfinger Caramel Crunch Bars
Irresistible flavor: The rich buttery caramel combined with a crispy texture delivers a taste that’s simply addictive.
No-bake convenience: Whip these up in minutes without turning on the oven, making them a go-to for busy days.
Gluten-free goodness: Perfect for those with dietary restrictions, everyone can enjoy a sweet treat.
Customizable options: Feel free to experiment with different chocolates or add nuts to suit your family’s preferences.
Crowd-pleasing dessert: These bars are a hit at gatherings, bringing smiles to both kids and adults alike. Treat yourself to this delightful snack and discover what makes these bars a standout choice!
Homemade Butterfinger Caramel Crunch Bars Ingredients
For the Caramel Layer
• Unsalted Butter – Adds richness and depth to the bars.
• Granulated Sugar – Provides sweetness and is essential for creating the caramel.
• Light Corn Syrup – Prevents crystallization in the caramel for a smooth consistency.
• Sweetened Condensed Milk – Contributes creaminess to the caramel layer.
• Creamy Peanut Butter – Delivers the signature flavor and texture; use almond butter for a nut-free version.
For the Crunch Base
• Crispy Rice Cereal – Provides the essential crunchy texture that defines these bars.
• Vanilla Extract – Enhances the overall flavors of the bars.
For the Chocolate Coating
• Semi-Sweet Chocolate Chips – Used to coat the bars, adding a rich chocolate flavor.
These ingredients come together to create the ultimate Homemade Butterfinger Caramel Crunch Bars, sure to delight everyone!
How to Make Homemade Butterfinger Caramel Crunch Bars
-
Prepare the Pan: Line a 9×13-inch baking pan with parchment paper, leaving some overhang for easy removal of the bars later. This step is crucial for a smooth serving experience.
-
Melt the Butter: In a saucepan over medium heat, melt the unsalted butter until it becomes bubbly and fragrant. Make sure to keep an eye on it to avoid burning.
-
Combine Ingredients: Add granulated sugar and light corn syrup to the melted butter. Stir everything until it reaches a rolling boil, then reduce the heat and continue stirring for 5 minutes. You want a smooth, bubbling mixture.
-
Mix in Creamy Ingredients: Remove the saucepan from heat, then stir in the sweetened condensed milk and creamy peanut butter until it’s completely smooth. Return to low heat for an additional 3-5 minutes to thicken slightly before removing from heat.
-
Add Crunch: Pour the caramel mixture over the crispy rice cereal in a large bowl. Gently fold the mixture together, ensuring all the cereal is coated without crushing it.
-
Press the Mixture: Using a spatula or your hands, press the mixture evenly into the prepared baking pan. This helps create a solid base for your bars.
-
Melt the Chocolate: In a microwave or double boiler, melt the semi-sweet chocolate chips until smooth. Pour the melted chocolate over the pressed mixture, spreading it evenly across the top.
-
Cool and Set: Allow the bars to cool at room temperature for 30 minutes before transferring them to the refrigerator. Chill for at least 2 hours until fully set.
-
Slice and Enjoy: Once set, lift the bars out of the pan using the parchment paper overhang. Slice into squares or rectangles and indulge in the deliciousness!
Optional: Drizzle with extra melted chocolate for a decorative touch before serving.
Exact quantities are listed in the recipe card below.
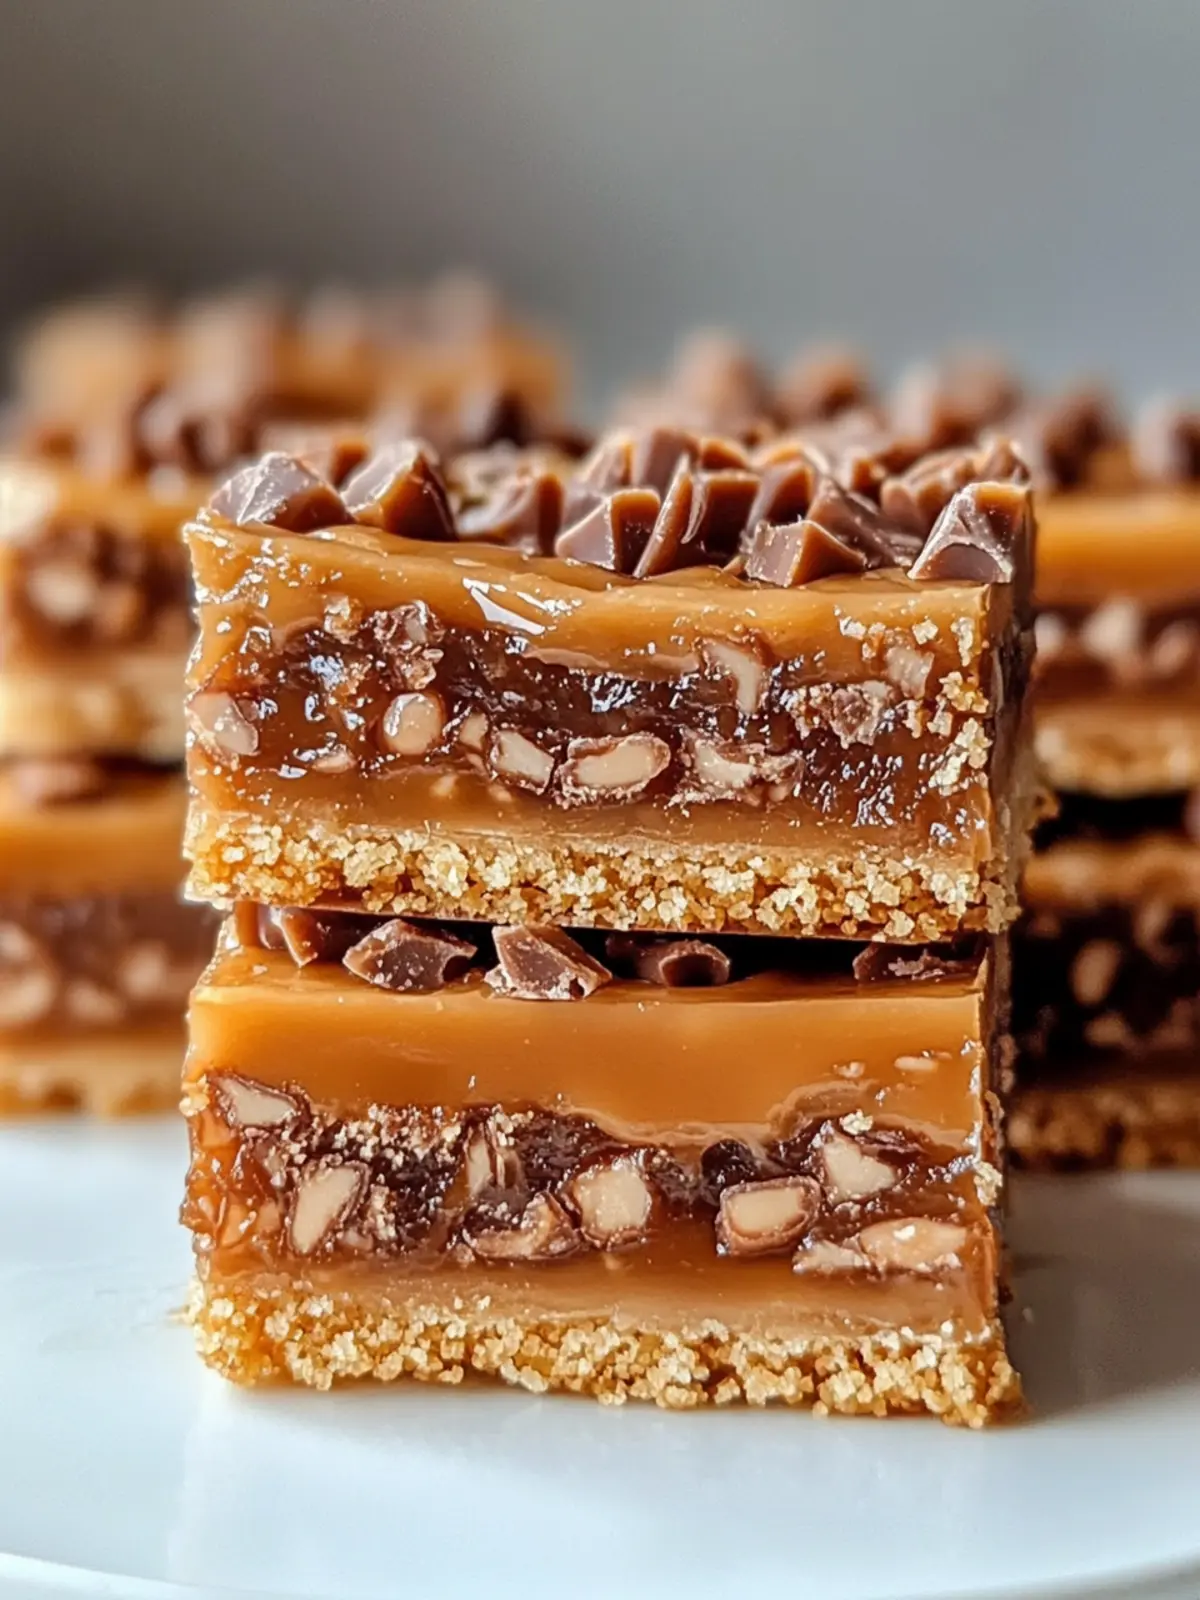
Expert Tips for Homemade Butterfinger Caramel Crunch Bars
• Melt Carefully: Make sure to melt the chocolate chips gently to avoid burning. Use a microwave in short intervals or a double boiler for best results.
• Avoid Hard Caramel: If your caramel becomes too hard, gently reheat it and add a splash of water or milk to soften. This keeps the texture smooth.
• Fold Gently: When mixing the caramel with the crispy rice cereal, fold the mixture gently to prevent crushing the cereal. This preserves that crunchy texture essential for delicious Homemade Butterfinger Caramel Crunch Bars.
• Perfect Cooling Time: Allow the bars to cool at room temperature before refrigerating to ensure an even set. Skipping this can lead to a mushy texture.
• Creative Toppings: Consider adding a sprinkle of flaky sea salt on top of the chocolate for a sweet-and-salty flavor that beautifully complements the bars.
How to Store and Freeze Homemade Butterfinger Caramel Crunch Bars
- Room Temperature: Store the bars in an airtight container at room temperature for up to 1 week. This will help maintain their delicious chewy and crunchy texture.
- Fridge: If you prefer a firmer texture, you can refrigerate the bars for up to 2 weeks. Just be sure to keep them in an airtight container to prevent drying out.
- Freezer: For longer storage, wrap individual bars in plastic wrap and place them in a freezer-safe bag. They can be frozen for up to 3 months without losing the charm of Homemade Butterfinger Caramel Crunch Bars.
- Reheating: If desired, thaw the bars at room temperature or microwave them for a few seconds to enjoy the caramel’s gooey goodness again.
What to Serve with Homemade Butterfinger Caramel Crunch Bars?
Indulging in these sweet treats opens the door to a delightful meal experience everyone will love.
- Fresh Fruit Salad: Juicy berries and crisp apples create a refreshing contrast to the rich bars, balancing sweetness with a burst of freshness.
- Vanilla Ice Cream: The creamy coldness of vanilla ice cream complements the bars perfectly, making each bite a blissful mix of textures.
- Coffee or Espresso: A robust cup of coffee brings out the deep chocolate flavors in the bars, enhancing the overall sweet experience.
- Chocolate Dipped Strawberries: Keep the chocolate theme going with luscious strawberries that add a fruity element to your dessert spread.
- Peanut Butter Smoothie: A creamy smoothie with peanut butter ties in beautifully, echoing the flavor of the bars while providing a nutritious pop.
- Nut Mix: A mix of toasted almonds, cashews, and walnuts adds a crunchy, savory element to the sweet indulgence, creating a delightful textural contrast.
- Cheesecake Bites: Mini cheesecake bites offer a rich, creamy dessert experience that pairs well with the bars for a truly decadent treat.
- Soda Float: Try pairing with a soda float made with vanilla soda and ice cream for a fun, nostalgic drink that will delight both kids and adults alike.
- Coconut Macaroons: The chewy texture and coconut flavor of macaroons provide an interesting twist and add diversification to the dessert table.
Homemade Butterfinger Caramel Crunch Bars Variations
Feel free to explore these delightful twists that can elevate your homemade treat into a new realm of deliciousness!
-
Nutty Crunch: Add chopped almonds or walnuts for an added layer of texture and nutty flavor that complements the caramel beautifully.
-
Chocolate Twist: Swap semi-sweet chocolate chips for dark or white chocolate to give your bars a different flavor profile that’s just as tempting.
-
Minty Fresh: Incorporate crushed peppermint candies into the caramel for a refreshing holiday-inspired treat that everyone’s sure to love.
-
Cinnamon Spice: Sprinkle a teaspoon of ground cinnamon into the caramel mixture for a warm flavor kick that adds depth and warmth.
-
Fruity Surprise: Fold in dried cranberries or chopped dried apricots along with the cereal for a chewy and tangy twist that brightens each bite.
-
Spicy Kick: For a hint of heat, add a pinch of cayenne pepper or chili powder to the chocolate coating, creating a sweet and spicy contrast.
-
Salty Sweet: Drizzle melted peanut butter on top before the chocolate sets, then sprinkle with flaky sea salt for that irresistible sweet-and-salty combo.
-
Crunchy Granola: Replace some of the crispy rice cereal with granola for an added chew and wholesome flavor that makes these bars even more satisfying.
Make Ahead Options
These Homemade Butterfinger Caramel Crunch Bars are perfect for busy cooks looking to save time! You can prepare the caramel mixture and press it into the baking pan up to 24 hours in advance, covering it tightly with plastic wrap to maintain freshness. Additionally, once the bars are set, feel free to slice them and store them in an airtight container in the refrigerator for up to 3 days. Just before serving, melt some chocolate and drizzle it over the top for a fresh finish that tastes just as delicious as when first made. With these prep-ahead steps, you’ll have a delightful treat ready for any occasion, saving you precious time!
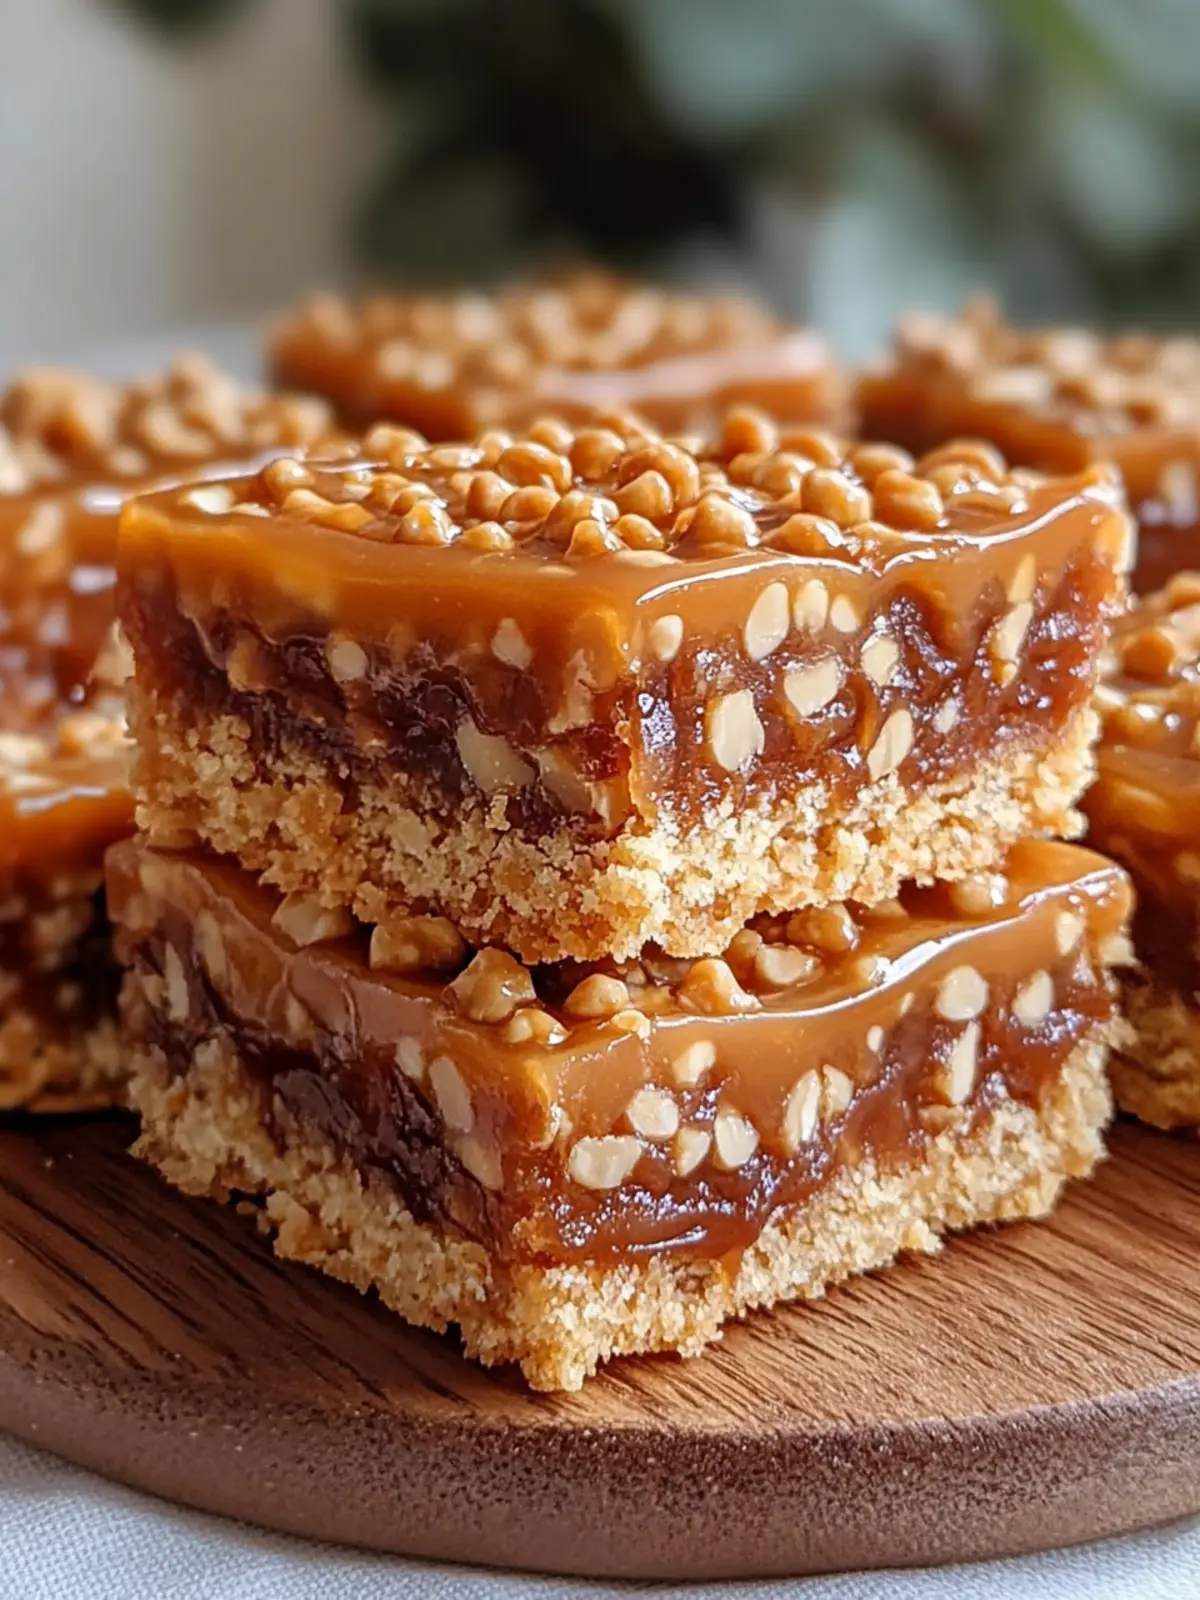
Homemade Butterfinger Caramel Crunch Bars Recipe FAQs
What type of peanut butter should I use?
I recommend using creamy peanut butter for a smooth texture in your bars. If you prefer a nut-free option, almond butter is an excellent substitution that maintains the rich flavor.
How should I store my Homemade Butterfinger Caramel Crunch Bars?
Store the bars in an airtight container at room temperature for up to a week for the best texture. If you’d like them to last longer, you can refrigerate them for up to 2 weeks. Just remember to keep them in an airtight container to lock in that scrumptious flavor!
Can I freeze Homemade Butterfinger Caramel Crunch Bars?
Absolutely! To freeze, individually wrap each bar in plastic wrap and place them in a freezer-safe bag. You can freeze them for up to 3 months. When you’re ready to enjoy, simply thaw them at room temperature or microwave them briefly for a deliciously gooey treat.
What can I do if my caramel becomes too hard?
If the caramel turns out too hard, don’t worry! Just reheat it gently in a saucepan over low heat. Add a splash of water or milk while stirring to soften it, making it easier to work with and restoring that lovely consistency.
Can I make these bars allergy-friendly?
Yes! To make allergy-friendly Homemade Butterfinger Caramel Crunch Bars, you can use almond butter instead of peanut butter for a nut-free version, and ensure your crispy rice cereal is gluten-free if necessary. Always check labels to avoid allergens.
What if I want to customize my bars?
The more the merrier! You can mix in chopped nuts like almonds or walnuts for added crunch. Experiment with different types of chocolate, such as dark or white chocolate, for varied flavor profiles. For a seasonal twist, crushed peppermint candies or a sprinkle of cinnamon can elevate your bars beautifully.
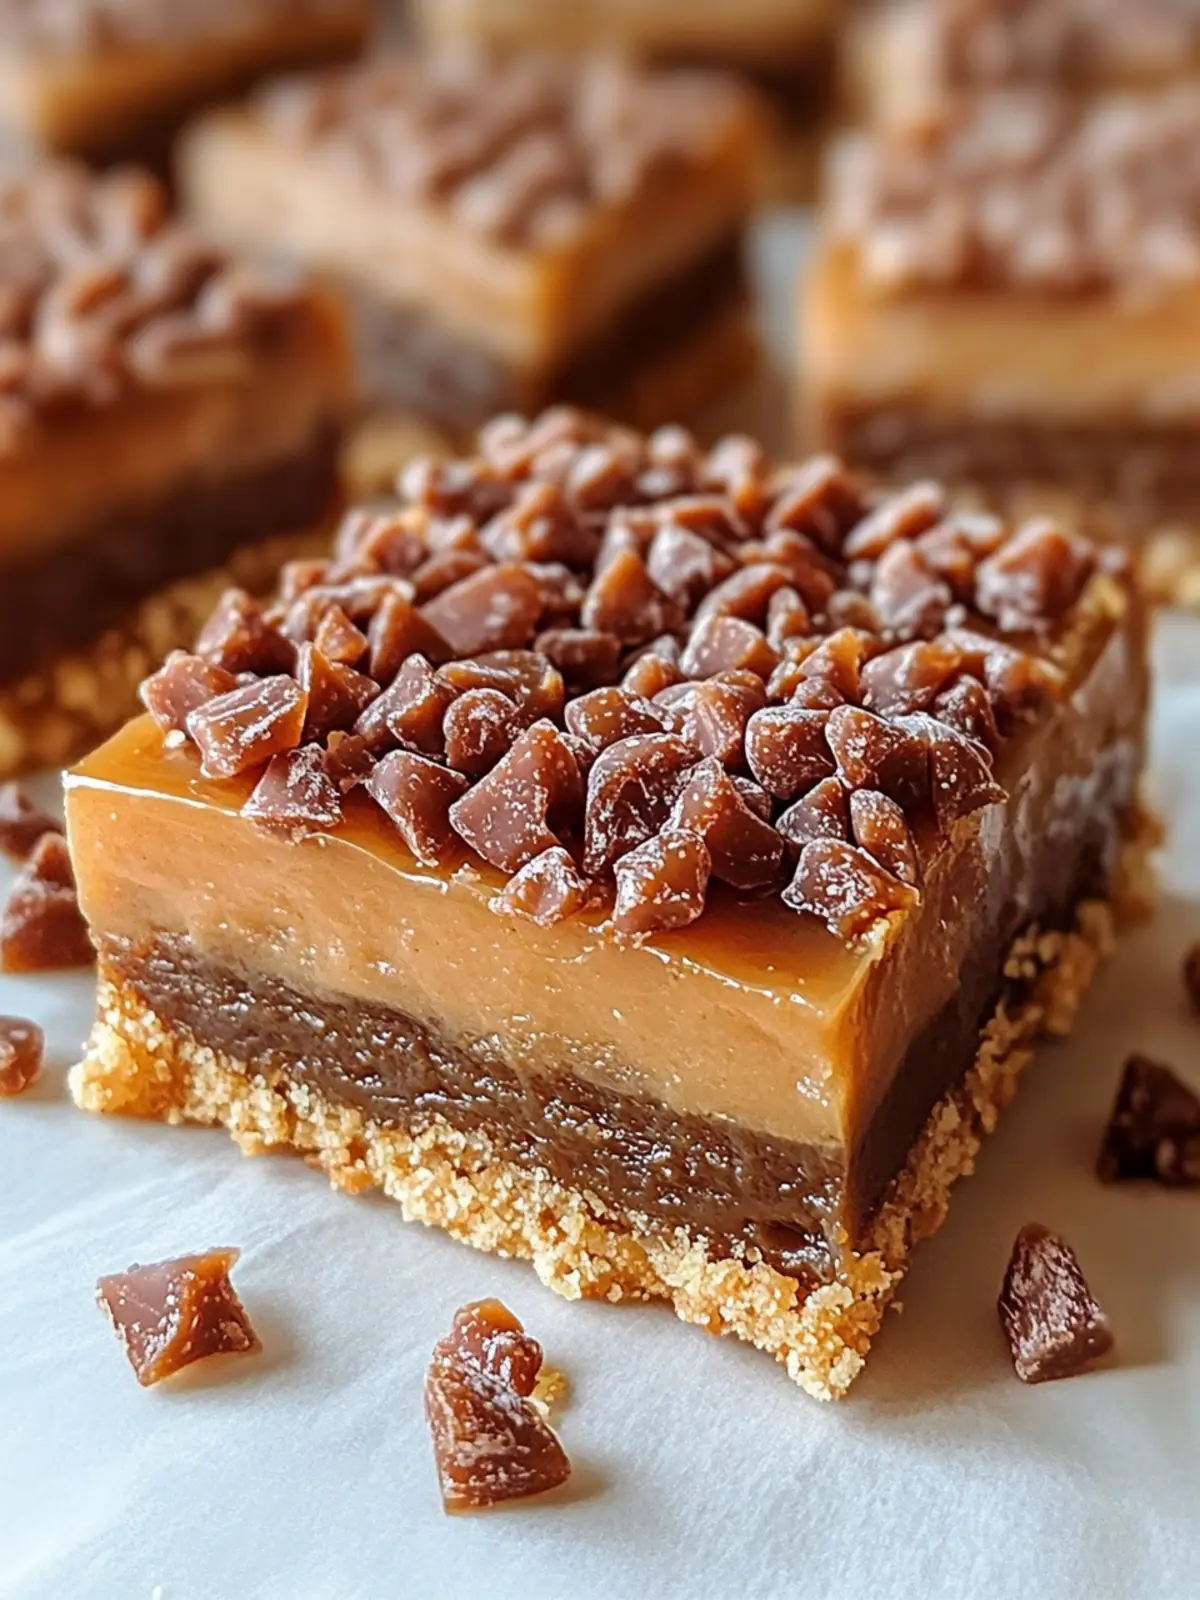
Irresistible Homemade Butterfinger Caramel Crunch Bars Recipe
Ingredients
Equipment
Method
- Line a 9x13-inch baking pan with parchment paper, leaving some overhang.
- Melt the unsalted butter in a saucepan over medium heat until bubbly and fragrant.
- Add granulated sugar and light corn syrup to the melted butter. Stir until it reaches a rolling boil, then reduce heat and stir for 5 minutes.
- Remove from heat, stir in sweetened condensed milk and creamy peanut butter until smooth. Return to low heat for 3-5 minutes to thicken slightly before removing from heat.
- Pour the caramel mixture over the crispy rice cereal in a large bowl and gently fold together.
- Press the mixture evenly into the prepared baking pan using a spatula or your hands.
- Melt the semi-sweet chocolate chips until smooth, then pour it over the pressed mixture, spreading evenly.
- Allow the bars to cool at room temperature for 30 minutes, then refrigerate for at least 2 hours until fully set.
- Lift the bars out of the pan using the parchment overhang, slice into squares or rectangles.