
There’s something truly delightful about the thought of taking a bite out of a warm cookie that hides a creamy surprise inside. Imagine the initial crunch of the cookie shell, only to reveal a luscious cheesecake center bursting with rich flavors! These Oreo Cheesecake Cookie Bombs blend the nostalgia of childhood treats with the elegance of dessert sophistication. Perfect for a cozy night in or a show-stopping addition to your next gathering, they embody the very essence of comfort food.
After a long day, or when the festivities call for a sweet indulgence, these little gems of joy will be your go-to recipe. Trust me, not only will they satisfy your sweet tooth, but they’ll also spark joyful conversations and excited smiles at any table. So grab your mixing bowl and let’s dive into making these creamy, crunchy delights that are destined to become your new favorite dessert!
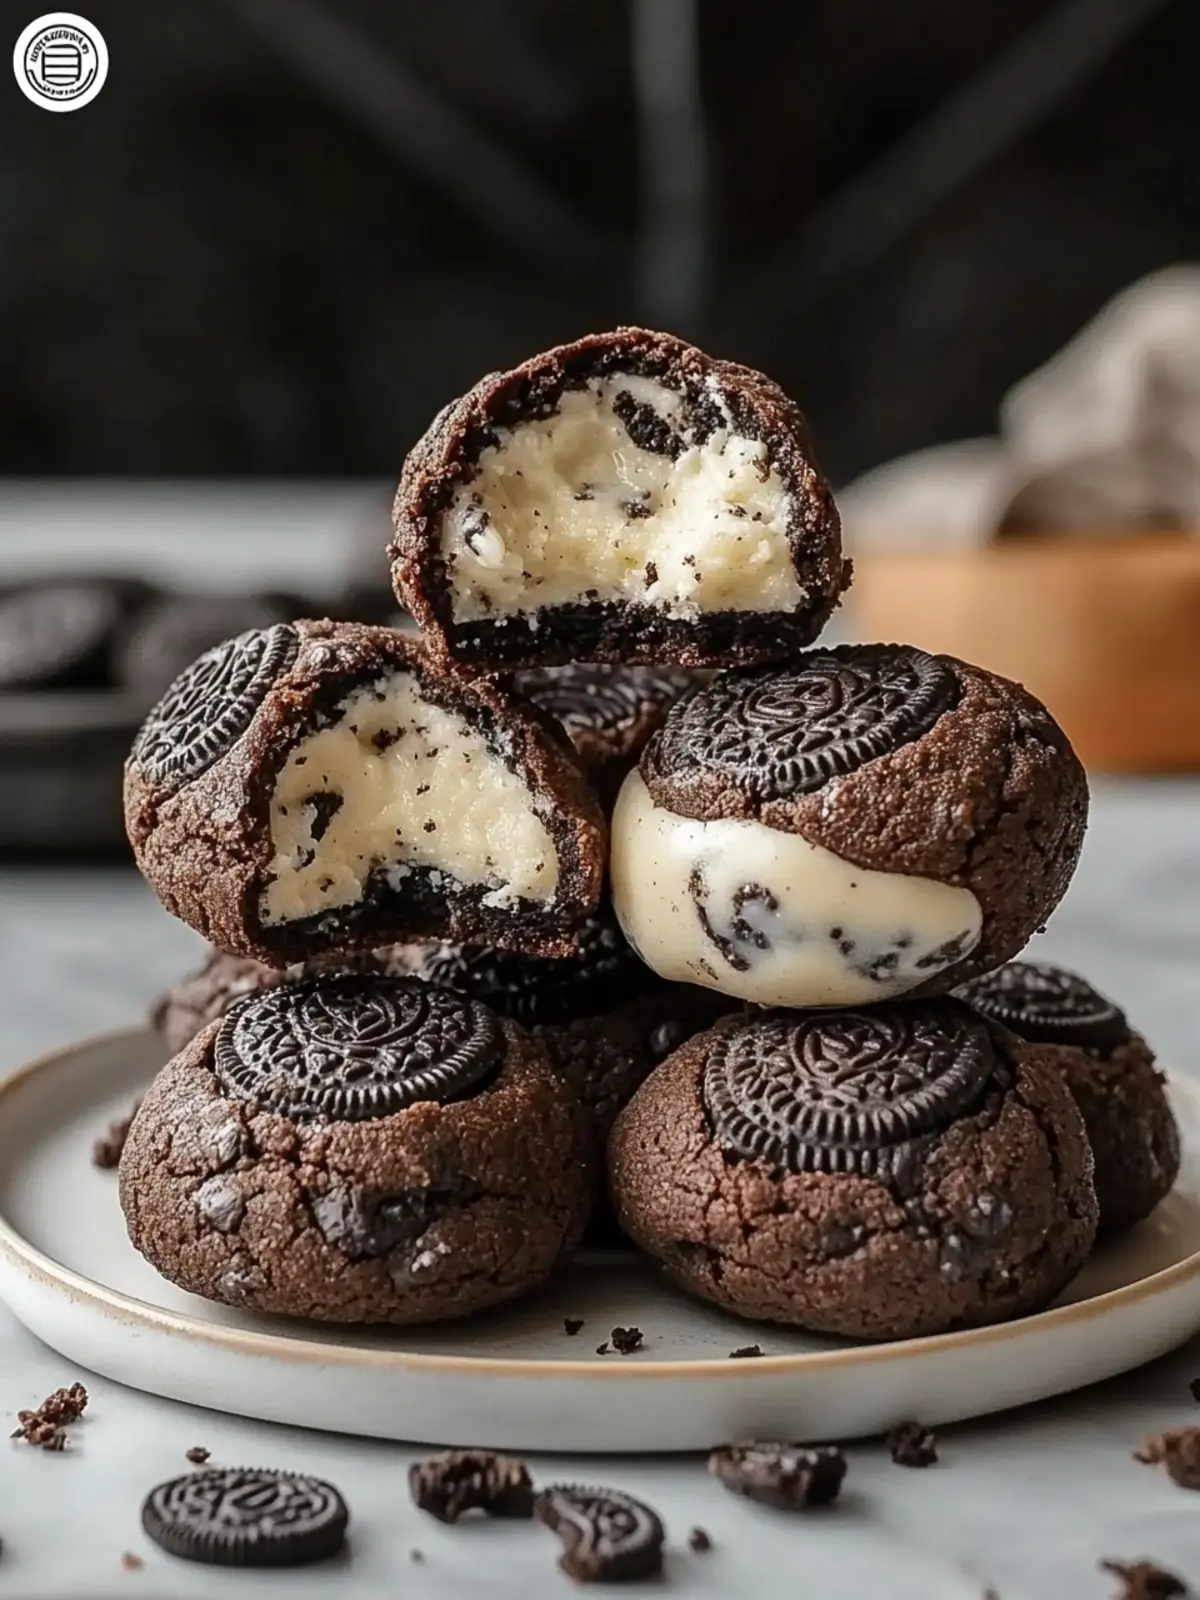
Why Are Oreo Cheesecake Cookie Bombs So Irresistible?
Decadent surprise: Each cookie explosion reveals a creamy cheesecake center that’s incredibly satisfying.
Nostalgic flavor: Combining the beloved tastes of Oreo cookies with rich cheesecake creates a unique twist on classic comfort food.
Easy-to-make: With simple ingredients and straightforward steps, these cookie bombs can be whipped up in no time.
Crowd-pleaser: Ideal for parties or gatherings, they’ll have guests raving about your baking skills.
Versatile variations: Feel free to experiment with different cookie types or toppings for a personalized touch; check out our variation ideas for inspiration.
Get ready to impress with these delightful treats that truly elevate dessert time!
Oreo Cheesecake Cookie Bomb Ingredients
For the Cookie Shell
• Oreo Cookies – These provide crunch and chocolate flavor; substitute with chocolate wafer cookies for a similar taste.
• Butter – Binds the cookie base together and adds richness; can use vegan butter as a dairy-free alternative.
• Granulated Sugar – Sweetens the cheesecake filling; brown sugar can deepen the flavor.
• Eggs – Helps with binding and lift in the cookie; flax eggs can be used for a vegan version.
• All-Purpose Flour – Gives structure to the cookie shell; substitute with gluten-free flour for a gluten-free option.
For the Cheesecake Filling
• Cream Cheese – Adds creaminess and rich texture; use low-fat cream cheese for a lighter version.
• Vanilla Extract – Enhances the overall flavor profile; substitute with almond extract for a different twist.
These ingredients come together to create the delicious Oreo Cheesecake Cookie Bombs that will leave everyone wanting more!
How to Make Oreo Cheesecake Cookie Bombs
-
Prep Dough: In a mixing bowl, cream the butter and granulated sugar until light and fluffy, about 3-4 minutes. Then, add in your eggs and vanilla extract, mixing everything until well combined.
-
Combine Dry Ingredients: Gradually sift in the all-purpose flour along with crushed Oreo crumbs. Stir gently until just combined, taking care not to overmix, which can lead to dense cookies.
-
Make Cheesecake Filling: In a separate bowl, use a hand mixer to beat the cream cheese, granulated sugar, and vanilla extract until smooth and creamy, about 2-3 minutes. Make sure there are no lumps!
-
Form Cookie Bombs: Scoop a portion of the cookie dough into your hand. Press it flat, then place a dollop of cheesecake filling in the center. Gently wrap the dough around the filling and seal it tightly, forming it into a ball.
-
Bake: Preheat your oven to 350°F (175°C). Place the cookie bombs on a lined baking sheet, ensuring they’re spaced apart. Bake for about 15 minutes, or until they’re golden brown on the bottom.
-
Cool: Let the cookie bombs cool on the baking sheet for a few minutes, then carefully transfer them to a wire rack to cool completely. This step is essential to keep the texture just right!
Optional: Drizzle with melted chocolate for extra indulgence!
Exact quantities are listed in the recipe card below.
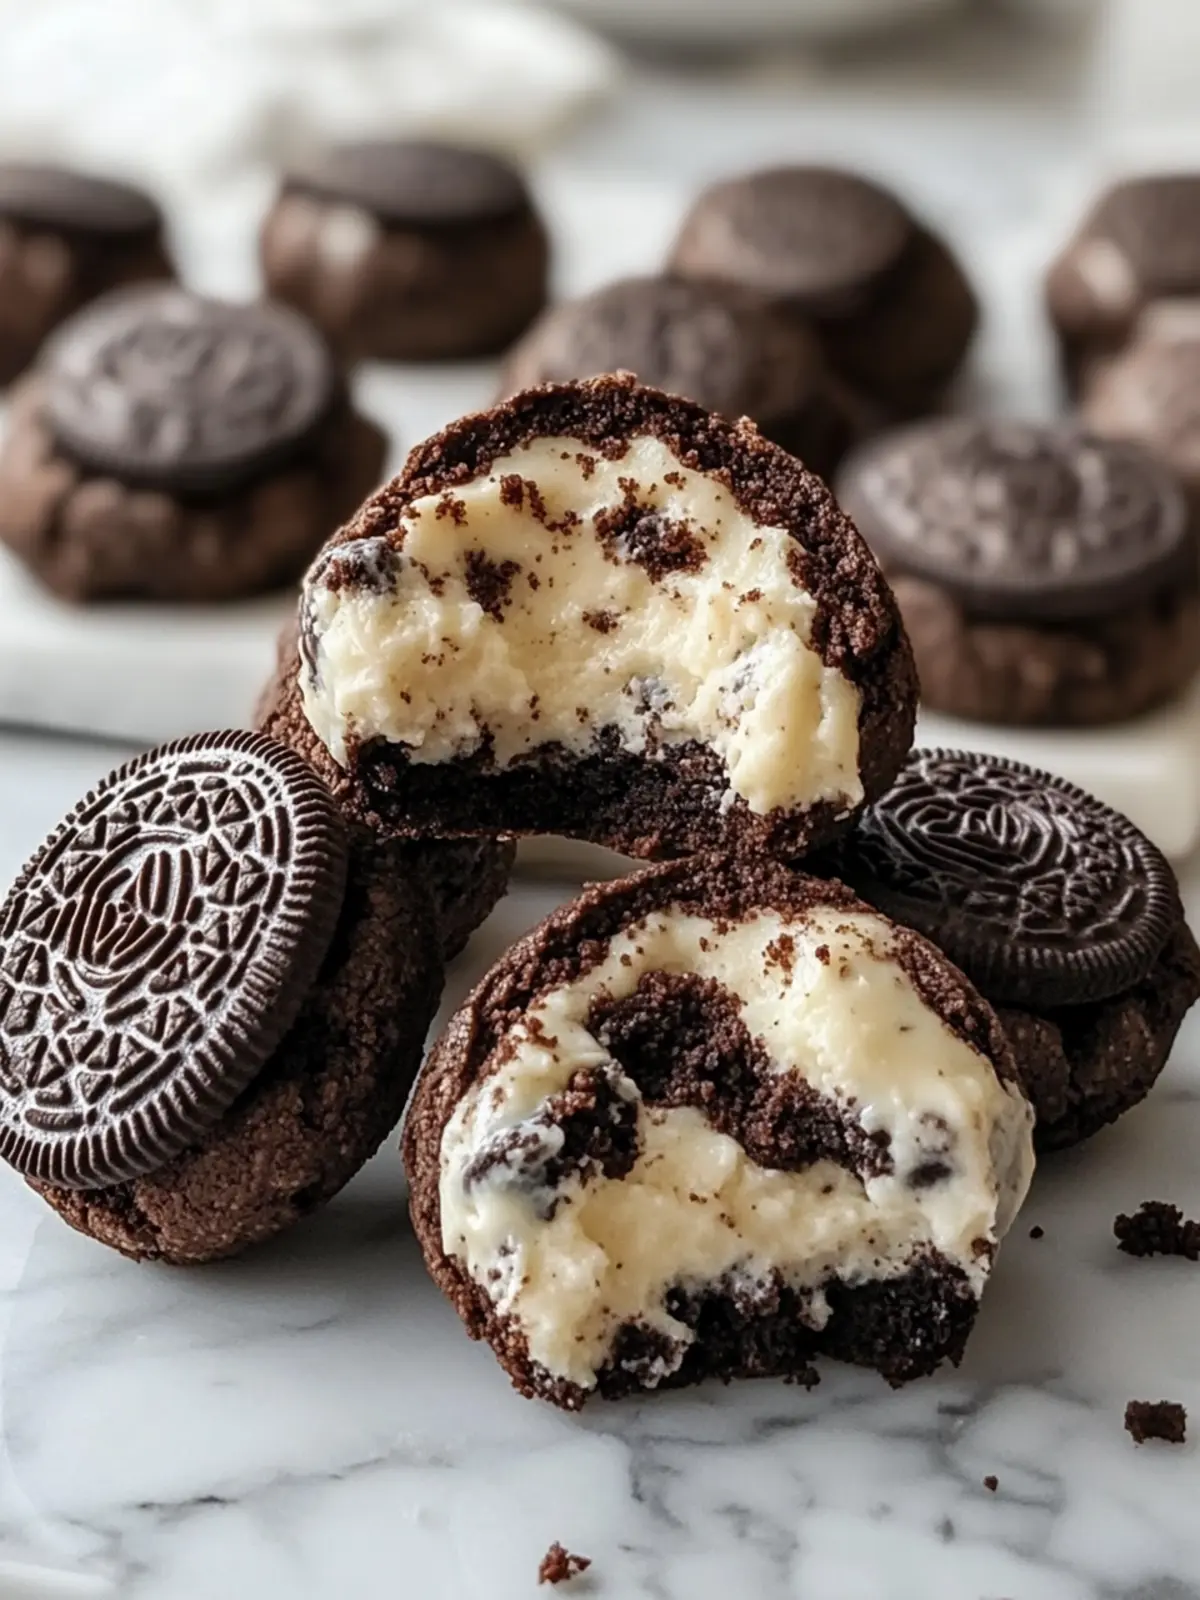
Make Ahead Options
These Oreo Cheesecake Cookie Bombs are a fantastic solution for busy home cooks looking to save time without sacrificing flavor! You can prepare the cookie dough up to 24 hours in advance; simply mix the ingredients as directed and refrigerate it in an airtight container. The cheesecake filling can also be made up to 3 days ahead and stored in the refrigerator, ensuring it remains smooth and creamy. When you’re ready to enjoy these treats, scoop and fill the dough with the chilled cheesecake before baking as instructed. This prep method not only streamlines your cooking process but ensures you have delicious, freshly baked desserts ready to impress your guests with minimal last-minute effort!
What to Serve with Oreo Cheesecake Cookie Bombs?
Elevate your dessert experience by pairing these delightful treats with some fabulous accompaniments that accentuate their rich flavors and textures.
-
Vanilla Ice Cream: A scoop of creamy vanilla ice cream perfectly balances the warmth and richness of the cookie bombs, adding a refreshing touch.
-
Whipped Cream: Light, fluffy whipped cream offers a beautiful contrast to the dense cookie and cheesecake, enhancing every mouthful’s texture.
-
Chocolate Sauce: Drizzling warm chocolate sauce over the cookie bombs intensifies the dessert experience, satisfying every chocolate lover’s craving.
-
Fresh Berries: Burst of fresh raspberries or strawberries brighten the plate and add a delightful tartness that complements the sweetness. These juicy gems cut through the richness beautifully.
-
Espresso or Coffee: A cup of rich espresso or coffee enhances the decadence of the cookie bombs, offering a delightful contrast that stimulates the palate.
-
Milk: A classic glass of cold milk is always a welcome companion, especially for cookie recipes, providing a comforting, nostalgic pairing.
-
Caramel Sauce: Add indulgence with a drizzle of warm caramel sauce. The sweet, buttery flavor brings another layer of richness to your dessert adventure!
With these pairing suggestions, your Oreo Cheesecake Cookie Bombs will take center stage, giving everyone the sweet experience they desire!
How to Store and Freeze Oreo Cheesecake Cookie Bombs
-
Room Temperature: Keep cookie bombs in an airtight container at room temperature for up to 3 days to maintain their fresh taste and texture.
-
Fridge: For longer shelf life, store in the refrigerator for up to a week. This will help keep the cheesecake filling creamy.
-
Freezer: To freeze, wrap each cookie bomb tightly in plastic wrap and place in a freezer-safe bag. They can be frozen for up to 2 months, ensuring you have a delicious treat on hand!
-
Reheating: Reheat frozen cookie bombs by placing them in the oven at 350°F (175°C) for about 10 minutes. Enjoy the revived warmth and gooey center for an indulgent treat!
Oreo Cheesecake Cookie Bombs Variations & Substitutions
Feel free to explore these exciting alternatives and make the cookie bombs truly your own!
-
Gluten-Free: Substitute all-purpose flour with a gluten-free blend for a deliciously inclusive treat.
-
Vegan: Use flax eggs and coconut cream in place of cream cheese for a completely plant-based version. The flavors still shine through beautifully!
-
Healthier Twist: Swap granulated sugar for a natural sweetener like honey or maple syrup, enhancing the taste without added sugars.
-
Nutty Flavor: Mix in finely chopped nuts like pecans or walnuts for a delightful crunch that complements the creamy filling perfectly.
-
Minty Fresh: Add a few drops of peppermint extract to the cheesecake filling for a refreshing minty twist that echoes the classic mint Oreo experience!
-
Chocolate Explosion: Fold in mini chocolate chips into the cookie dough for bursts of chocolate in every bite, enriching the decadent experience.
-
Caramel Drizzle: Top with a warm caramel drizzle before serving to elevate the taste and add a luscious sweetness.
-
Berry Fusion: Incorporate crushed berries, like raspberries or strawberries, in the cheesecake filling for a fruity variation that brightens every bite!
These variations offer delightful ways to enjoy the classic Oreo Cheesecake Cookie Bombs while keeping your creative spirit alive!
Expert Tips for Oreo Cheesecake Cookie Bombs
-
Room Temperature Cream Cheese: Ensure your cream cheese is at room temperature to avoid lumps and achieve a smooth cheesecake filling.
-
Don’t Overmix: Mix your cookie dough just until combined to prevent dense cookie bombs; a few lumps are okay for a tender texture.
-
Seal Well: Properly encase the cheesecake filling in the cookie dough to prevent leaking during baking; double-check that the seams are sealed.
-
Chill for Better Flavor: For an enhanced flavor, chill your cookie bomb dollops for 30 minutes before baking; this helps the flavors meld beautifully.
-
Watch Baking Time: Keep an eye on your cookie bombs while baking; they should be golden on the bottom but soft in the center for that perfect chewy bite.
These tips will help you master the art of making irresistible Oreo Cheesecake Cookie Bombs!
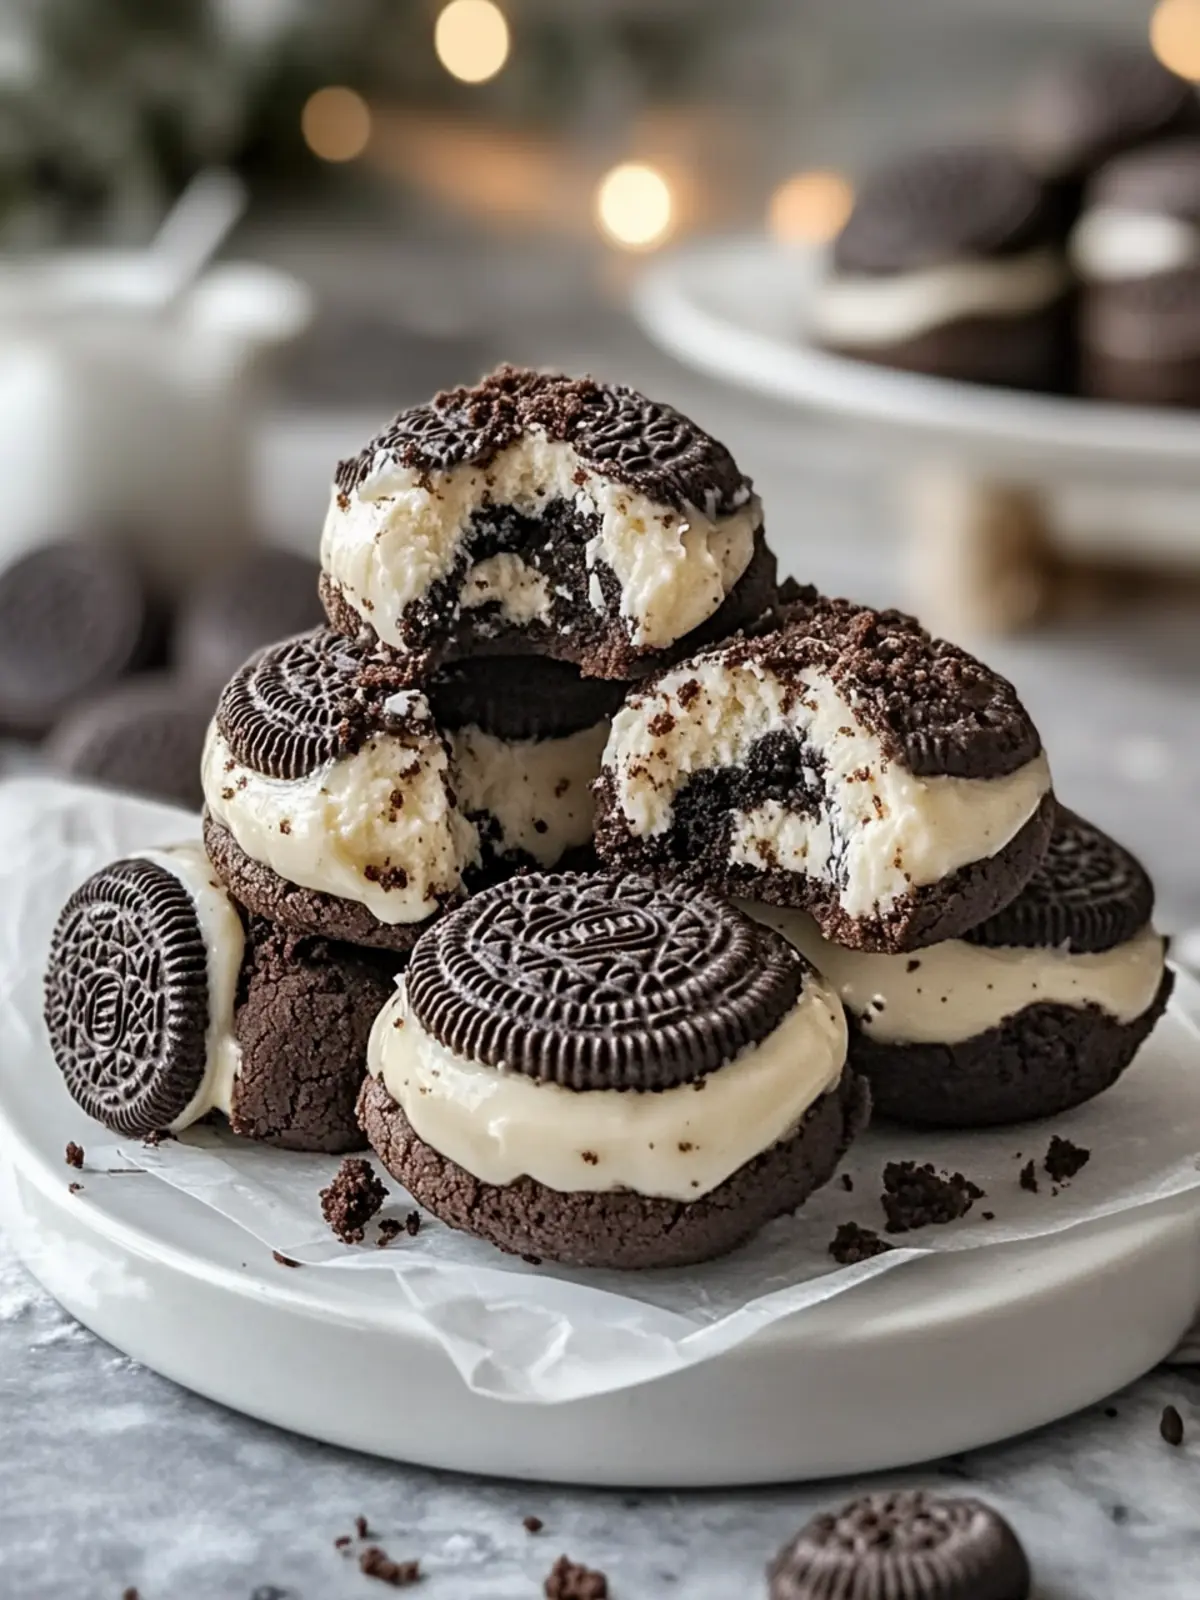
Oreo Cheesecake Cookie Bombs Recipe FAQs
How do I choose the right cookies for my Oreo Cheesecake Cookie Bombs?
Absolutely! For an authentic taste, use the classic Oreo cookies. The rich chocolate and cream combination enhances the flavor. If you’re feeling adventurous, you can try using Golden Oreos for a different twist or substitute with chocolate wafer cookies if you want a similar crunch.
What’s the best way to store Oreo Cheesecake Cookie Bombs?
I often recommend storing these delightful cookie bombs in an airtight container at room temperature for up to 3 days. If you want them to last longer, refrigerate them for up to a week. Just remember that refrigeration will keep the cheesecake center creamy!
Can I freeze Oreo Cheesecake Cookie Bombs?
Absolutely! Freezing is a great way to save these treats for later. Wrap each cookie bomb tightly in plastic wrap and then place them in a freezer-safe bag. They can be stored in the freezer for up to 2 months. When you’re ready to enjoy, simply reheat them in the oven at 350°F (175°C) for about 10 minutes for that fresh-baked warmth.
What do I do if my cookie bombs are leaking filling?
Oh no! If you notice leaking filling, it might be due to not sealing the dough tightly around the cheesecake center. Be sure to completely enclose the filling with dough and press it firmly to seal. If it still happens, don’t worry! Just enjoy the explosions of flavor; they’ll still taste amazing!
Are Oreo Cheesecake Cookie Bombs safe for pets or individuals with dairy allergies?
While the ingredients in Oreo Cheesecake Cookie Bombs are delightful for humans, they should be avoided by pets, especially due to chocolate content, which can be toxic. For those with dairy allergies, consider substituting the cream cheese with a dairy-free alternative like cashew cream or softened vegan cream cheese, and use vegan butter to make it a completely dairy-free treat. Take these measures to keep everyone safe and satisfied!
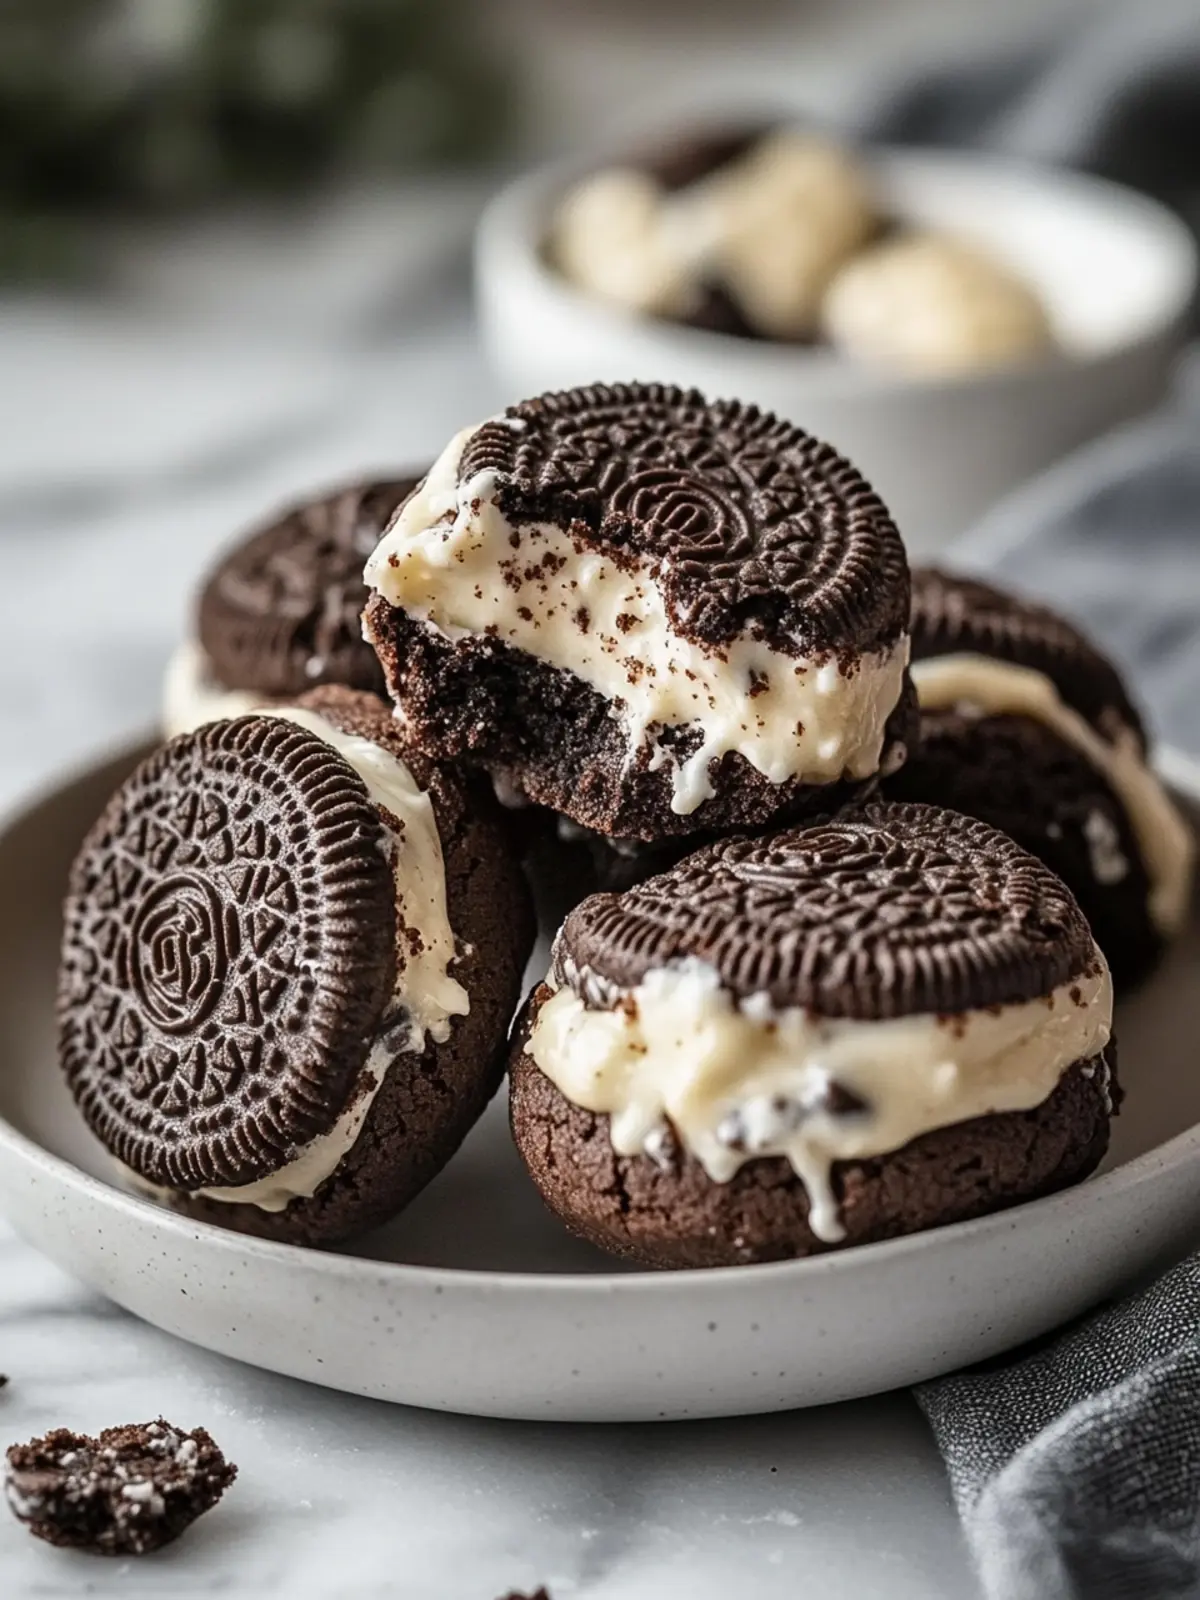
Oreo Cheesecake Cookie Bombs: A Creamy Decadent Delight
Ingredients
Equipment
Method
- In a mixing bowl, cream the butter and granulated sugar until light and fluffy, about 3-4 minutes. Then, add in your eggs and vanilla extract, mixing everything until well combined.
- Gradually sift in the all-purpose flour along with crushed Oreo crumbs. Stir gently until just combined, taking care not to overmix.
- In a separate bowl, use a hand mixer to beat the cream cheese, granulated sugar, and vanilla extract until smooth and creamy, about 2-3 minutes.
- Scoop a portion of the cookie dough into your hand. Press it flat, then place a dollop of cheesecake filling in the center. Wrap the dough around the filling tightly to form a ball.
- Preheat your oven to 350°F (175°C). Place the cookie bombs on a lined baking sheet and bake for about 15 minutes, or until golden brown on the bottom.
- Let the cookie bombs cool on the baking sheet for a few minutes, then transfer to a wire rack to cool completely.